Dollhouse DIY Upholstered Sofa Tutorial

Things are getting busy in the dollhouse. Today we are making one of the major pieces of furniture for the living room - a sofa. This design uses a foam core base, wrapped in felt or batting, and covered in fabric. There is only sewing required for the cushions. Most everything else is glued!
I would consider this advanced beginner level. If you are looking for a first foray into upholstered furniture, this would be a great place to start. I have included a PDF printable with all your pieces to be cut and templates for each. Let’s get going!
Materials
Foam Core Board
Mat Board (or heavy cardstock)
Felt (any color)
Woven Fabric
Batting (like for quilts)
Stuffing, Poly-fil, etc - or just grab a tiny bit from the inside of a throw pillow you already have
X-Acto Knife
Hot Glue (used sparingly)
Fabric Glue
Dollhouse 1:12 Sofa Tutorial
Start by gathering all your base materials and cutting out the structure from foam core. Use the PDF download below for a full list of what needs to be cut out and some templates.
Upholstered Sofa Template & Cut List PDF
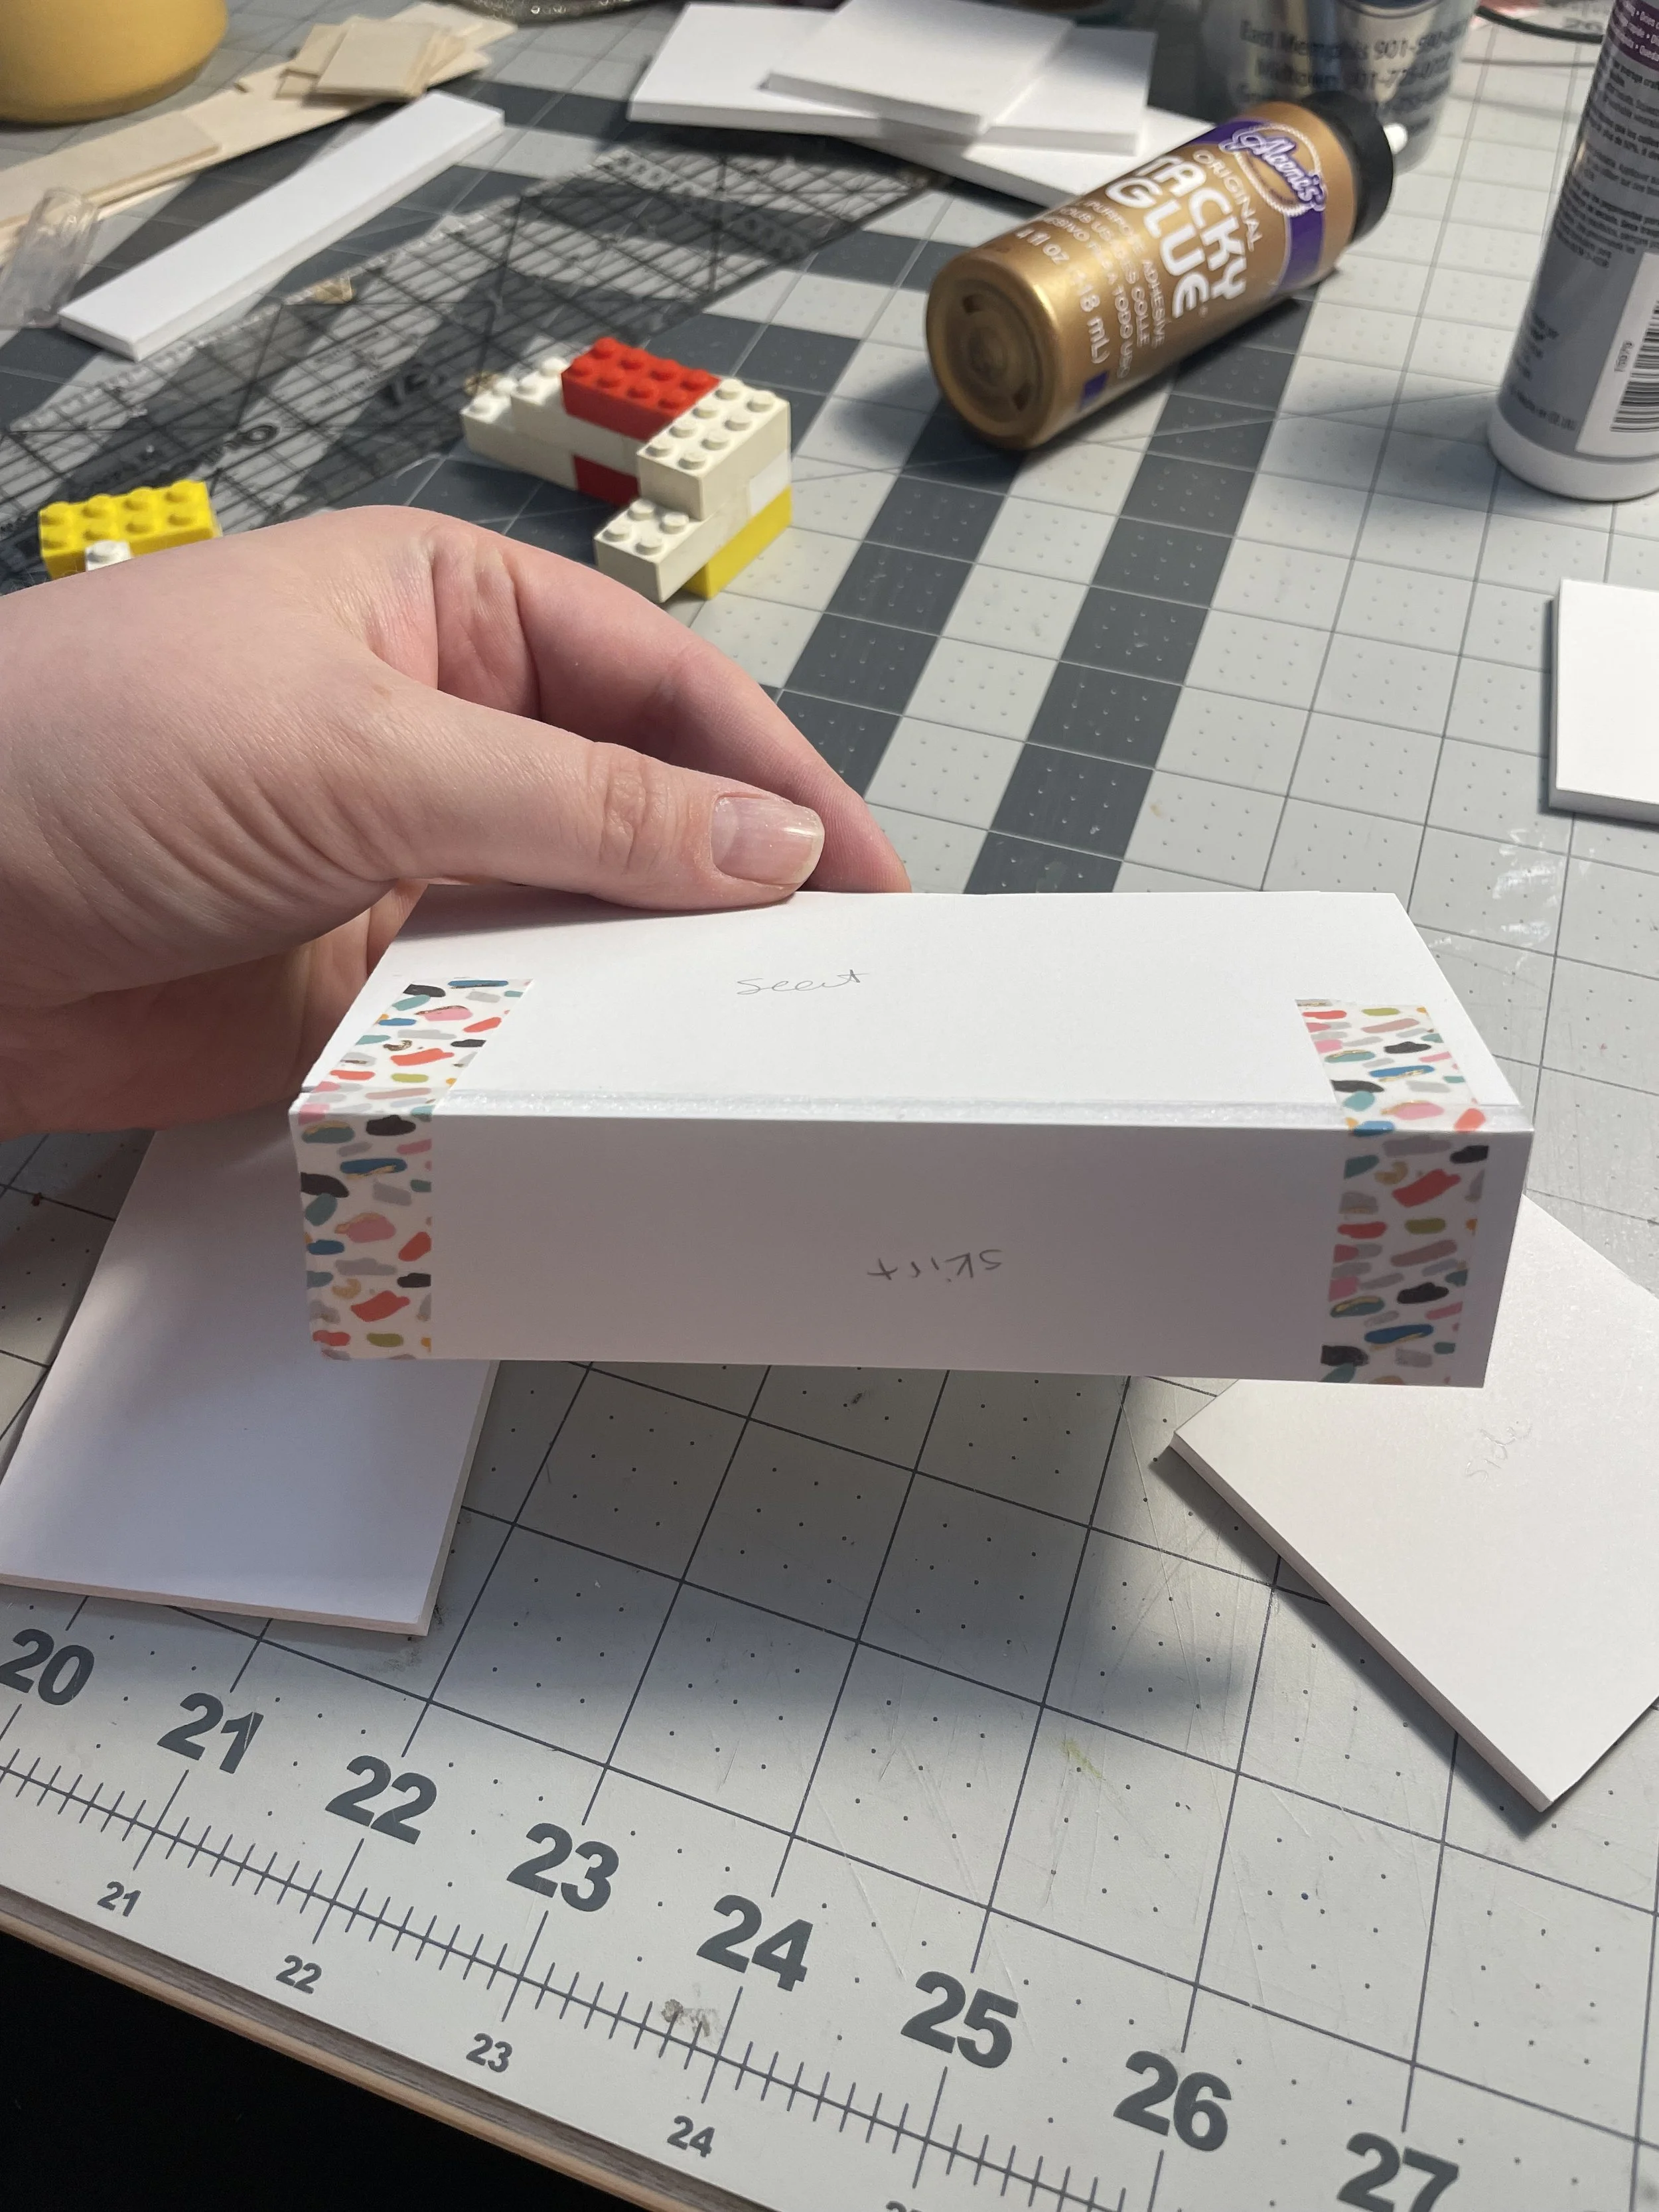
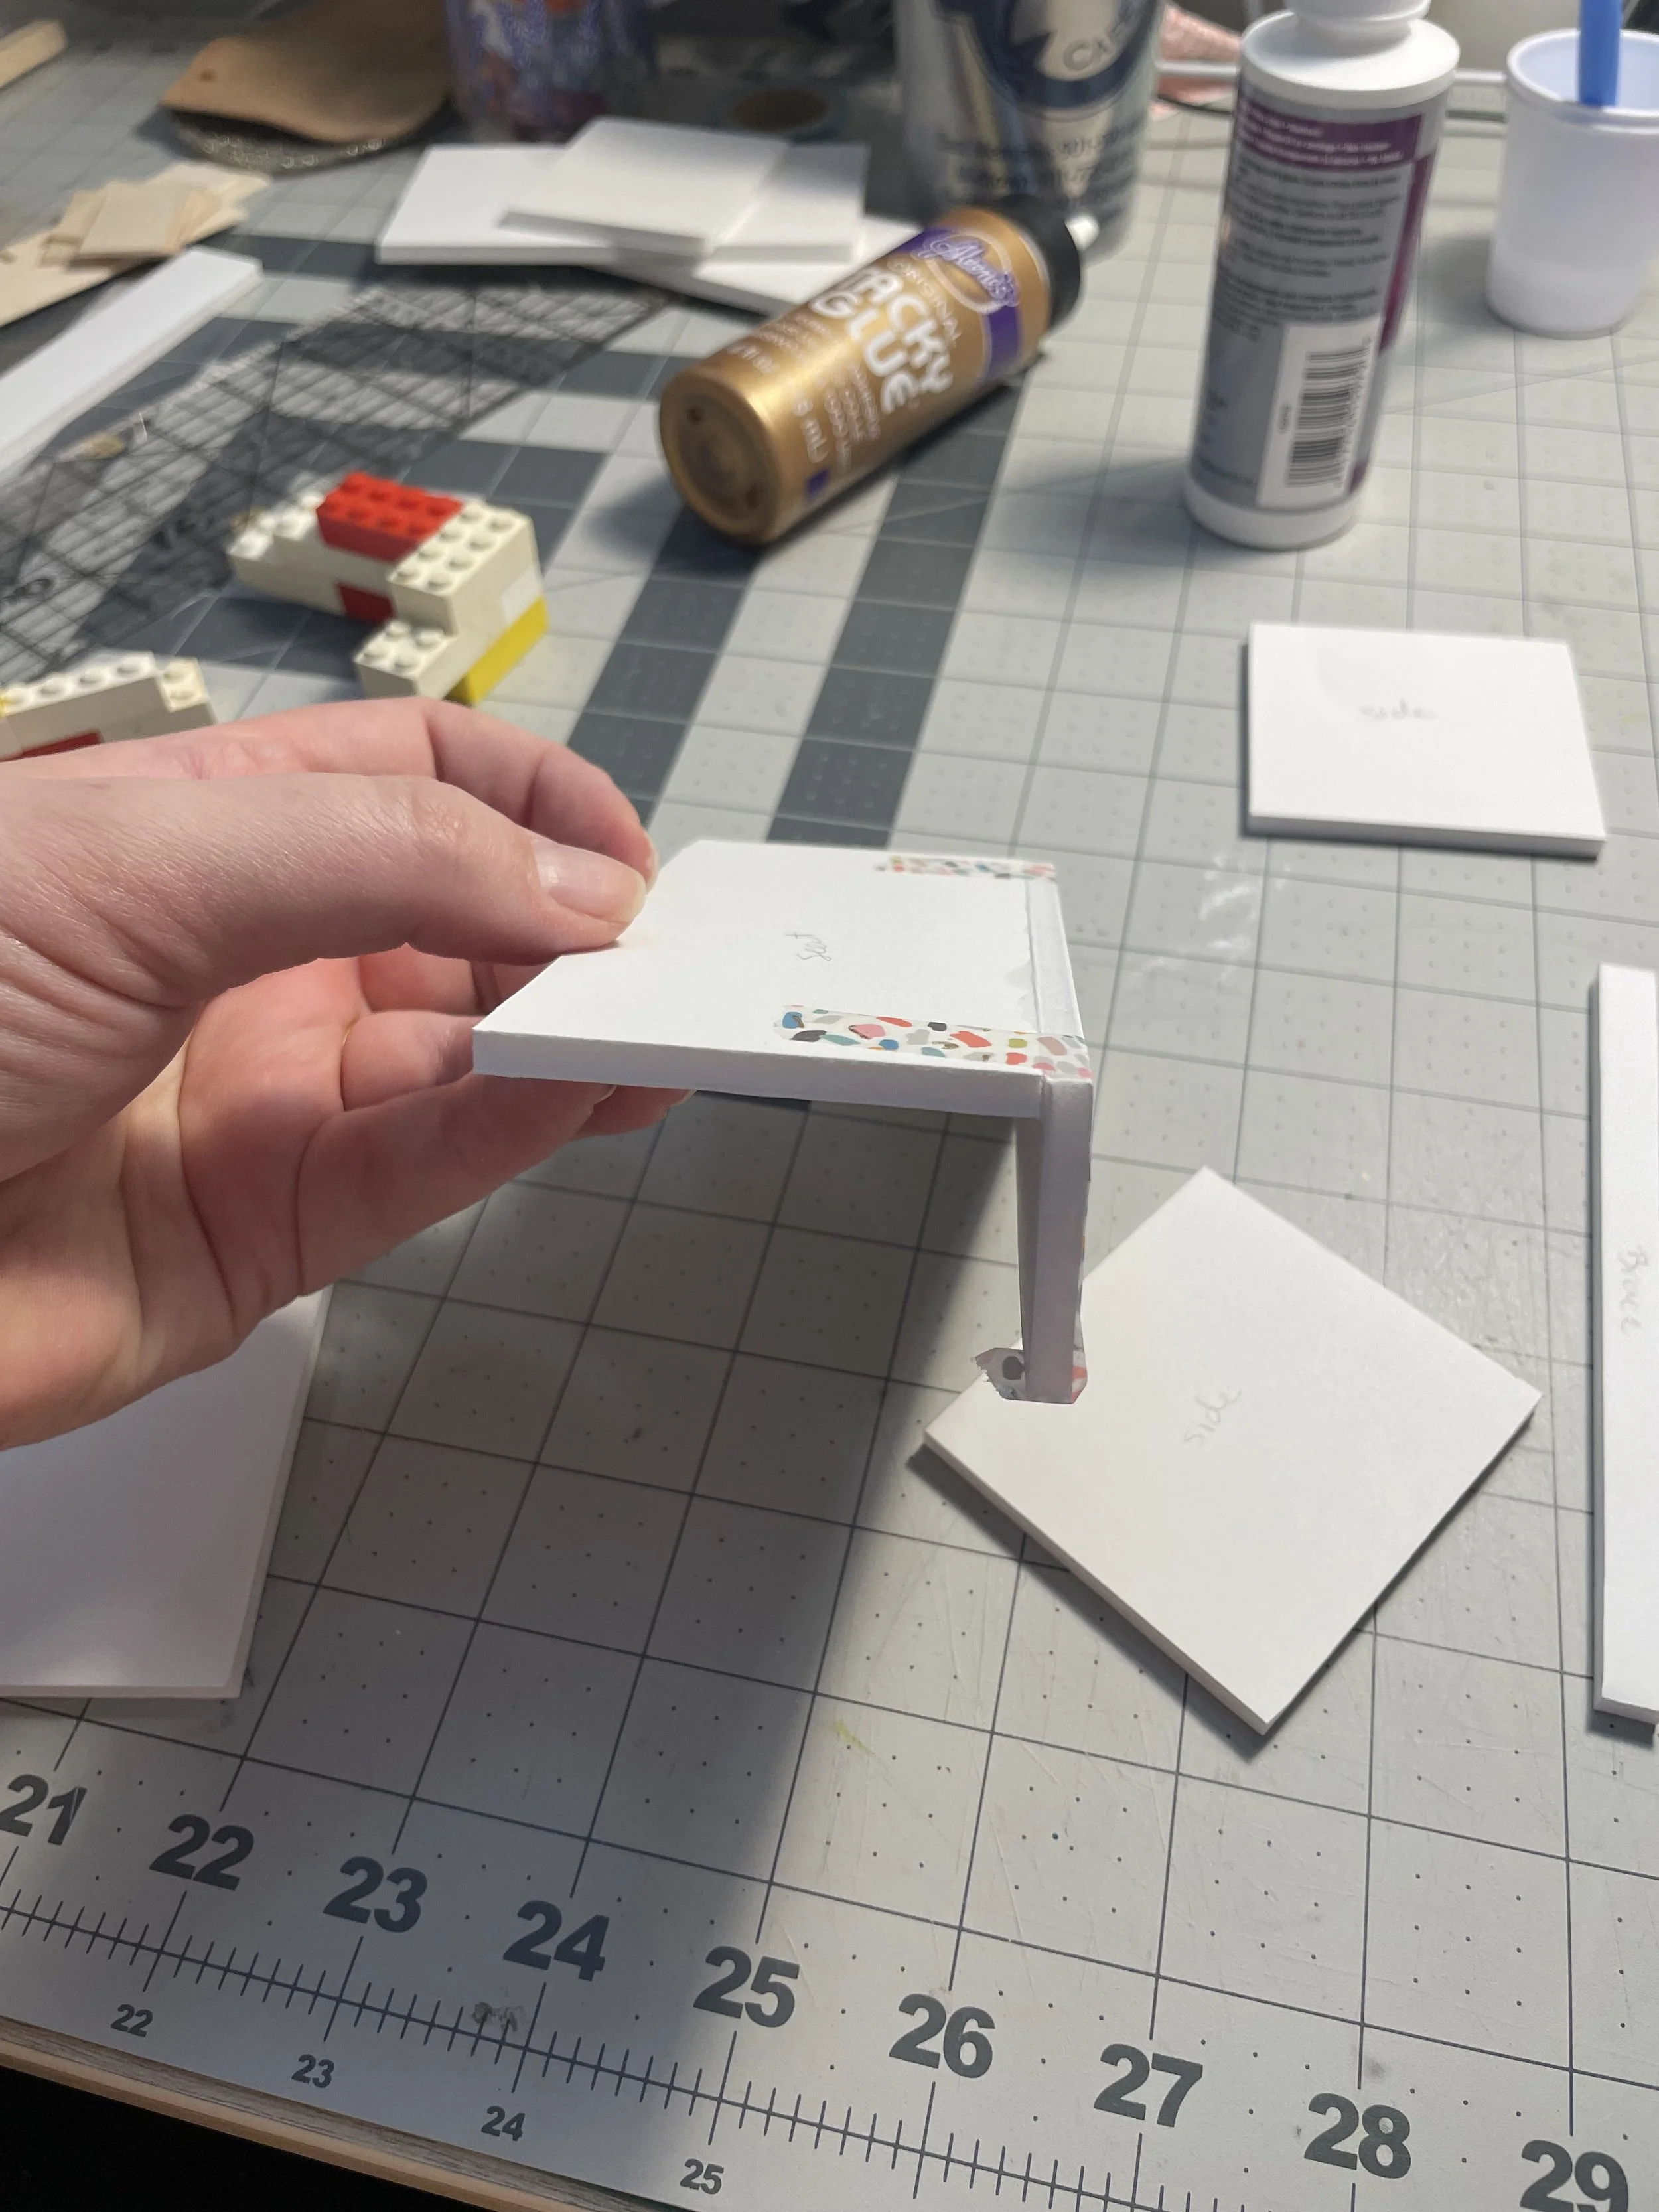
Make sure as you glue, that all your angles are perfect right angles. Use Lego blocks or a right angle ruler if you need to. I used fast drying tacky glue for most of these connections. Occasionally to help something hold faster, I would add a dot of hot glue, but try to use mostly craft glue like tacky glue. I also used washi tape to hold things together while the glue dried.
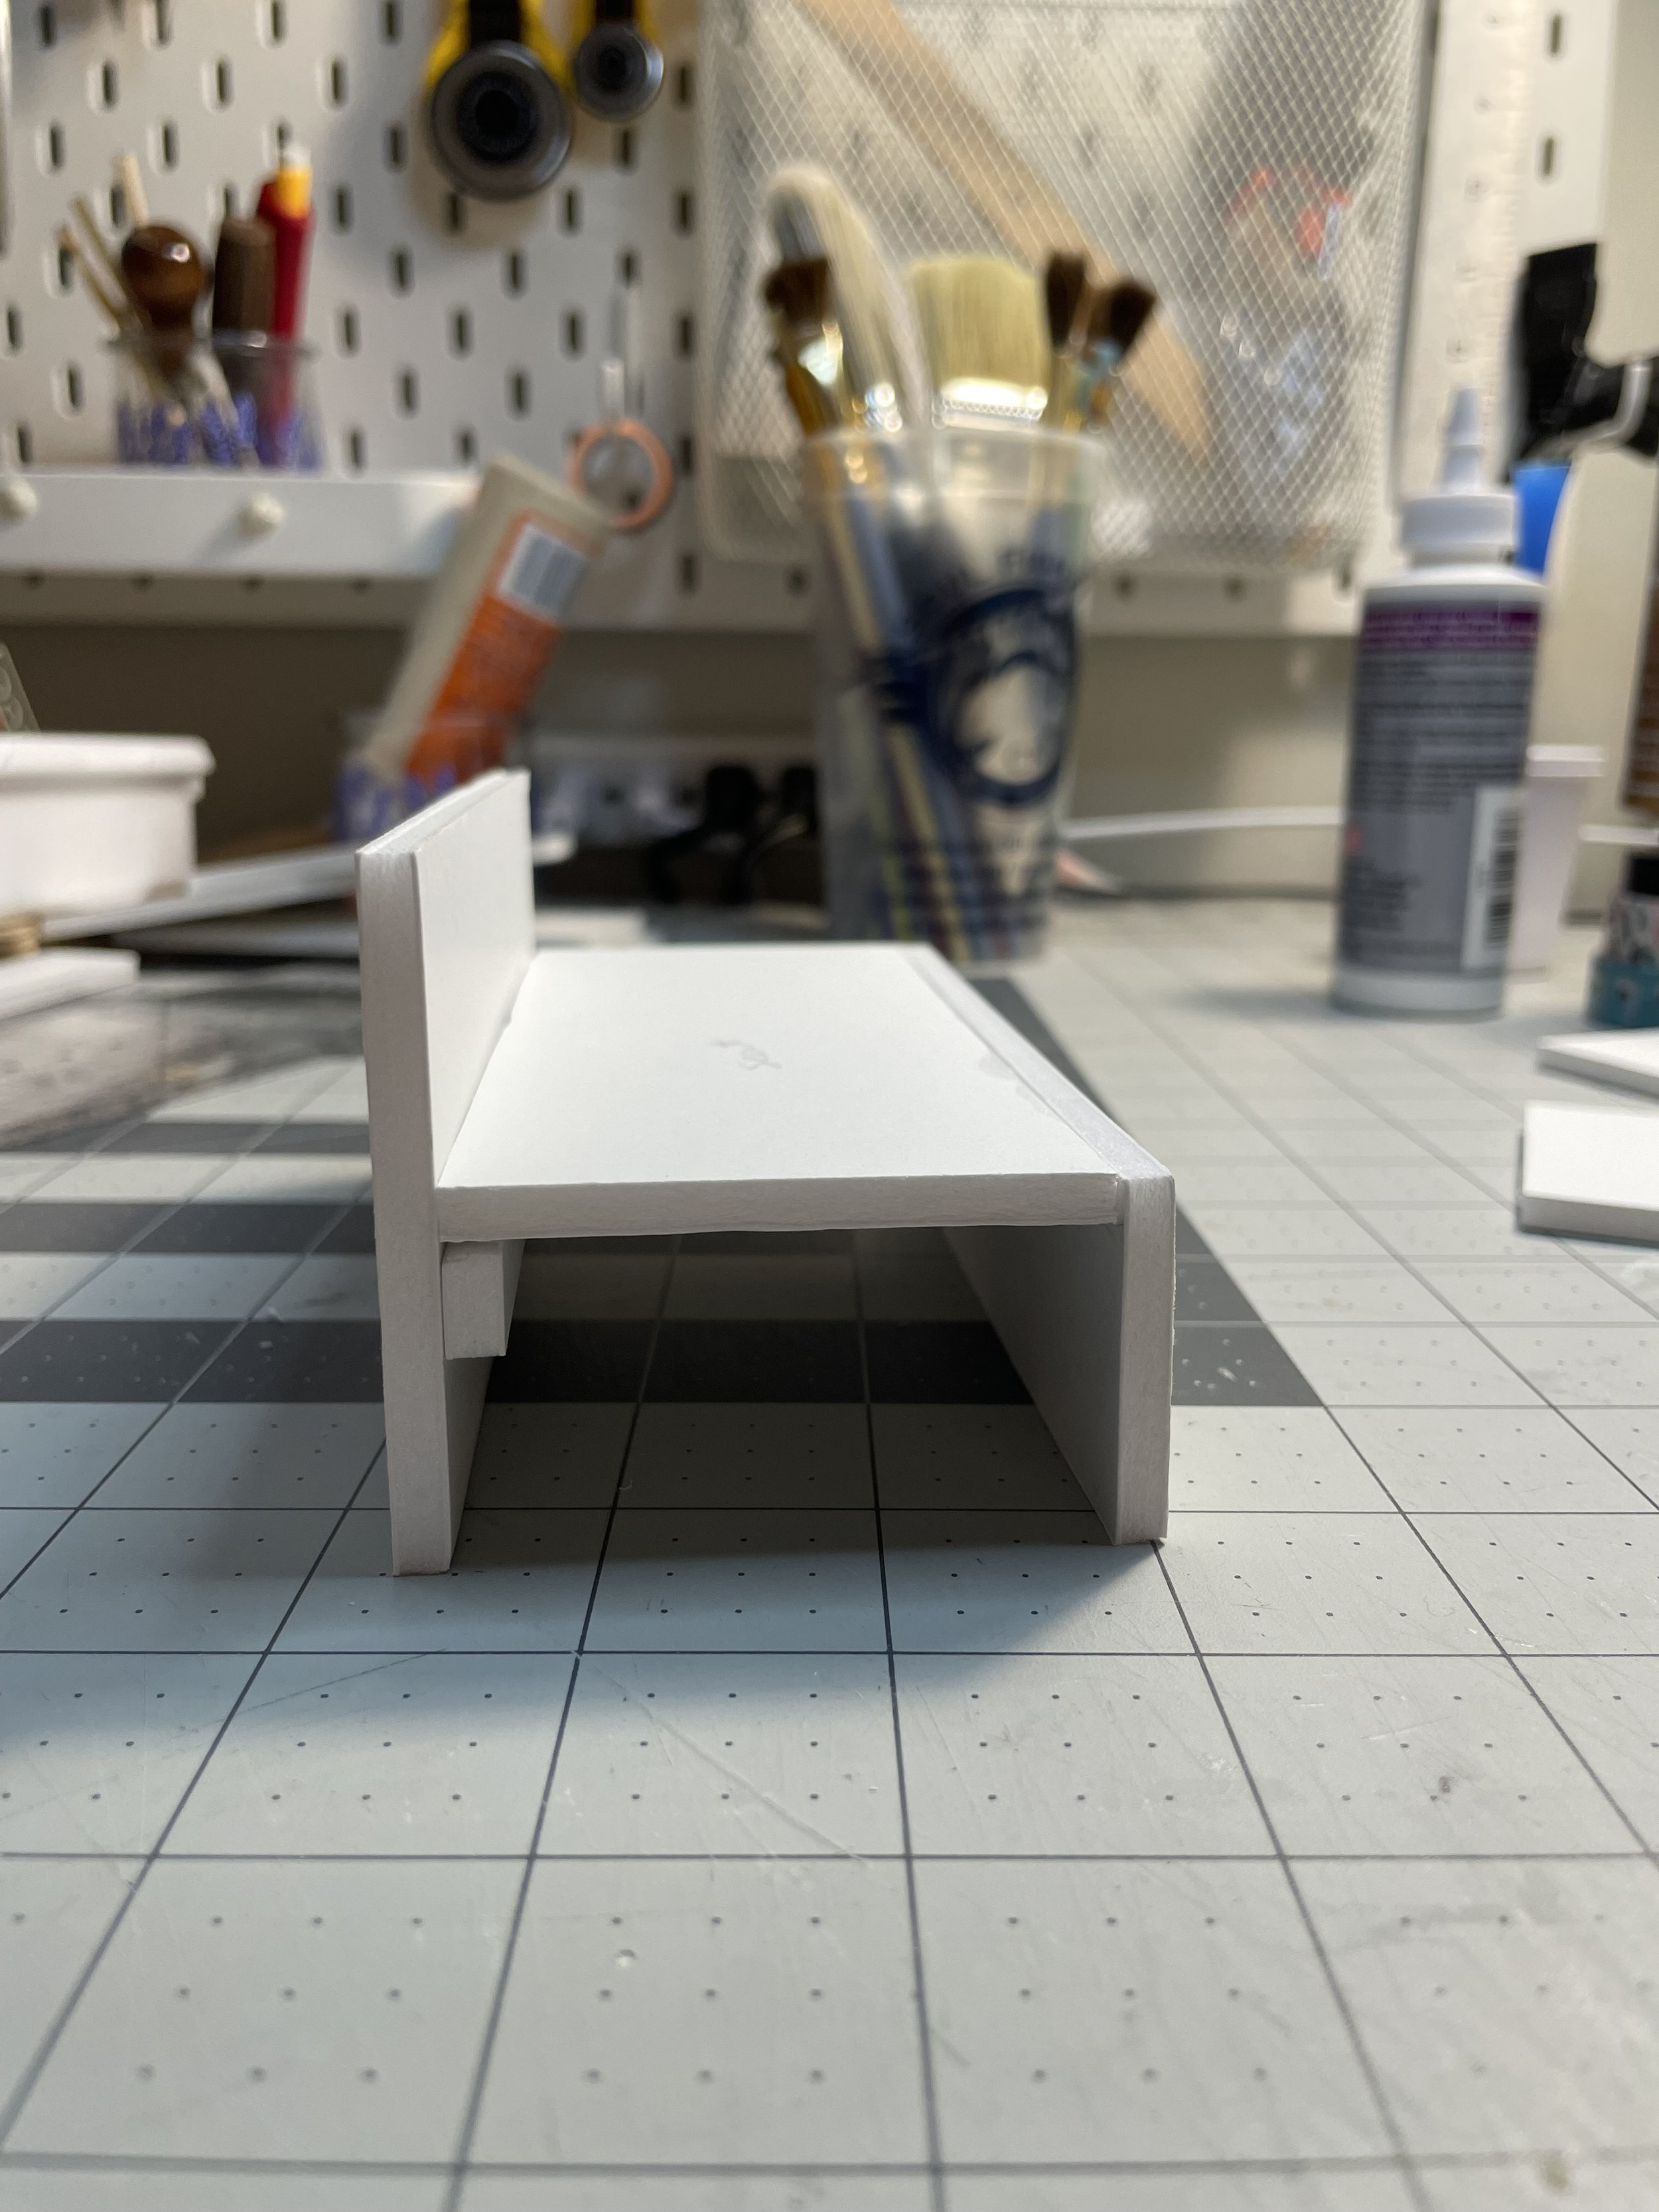
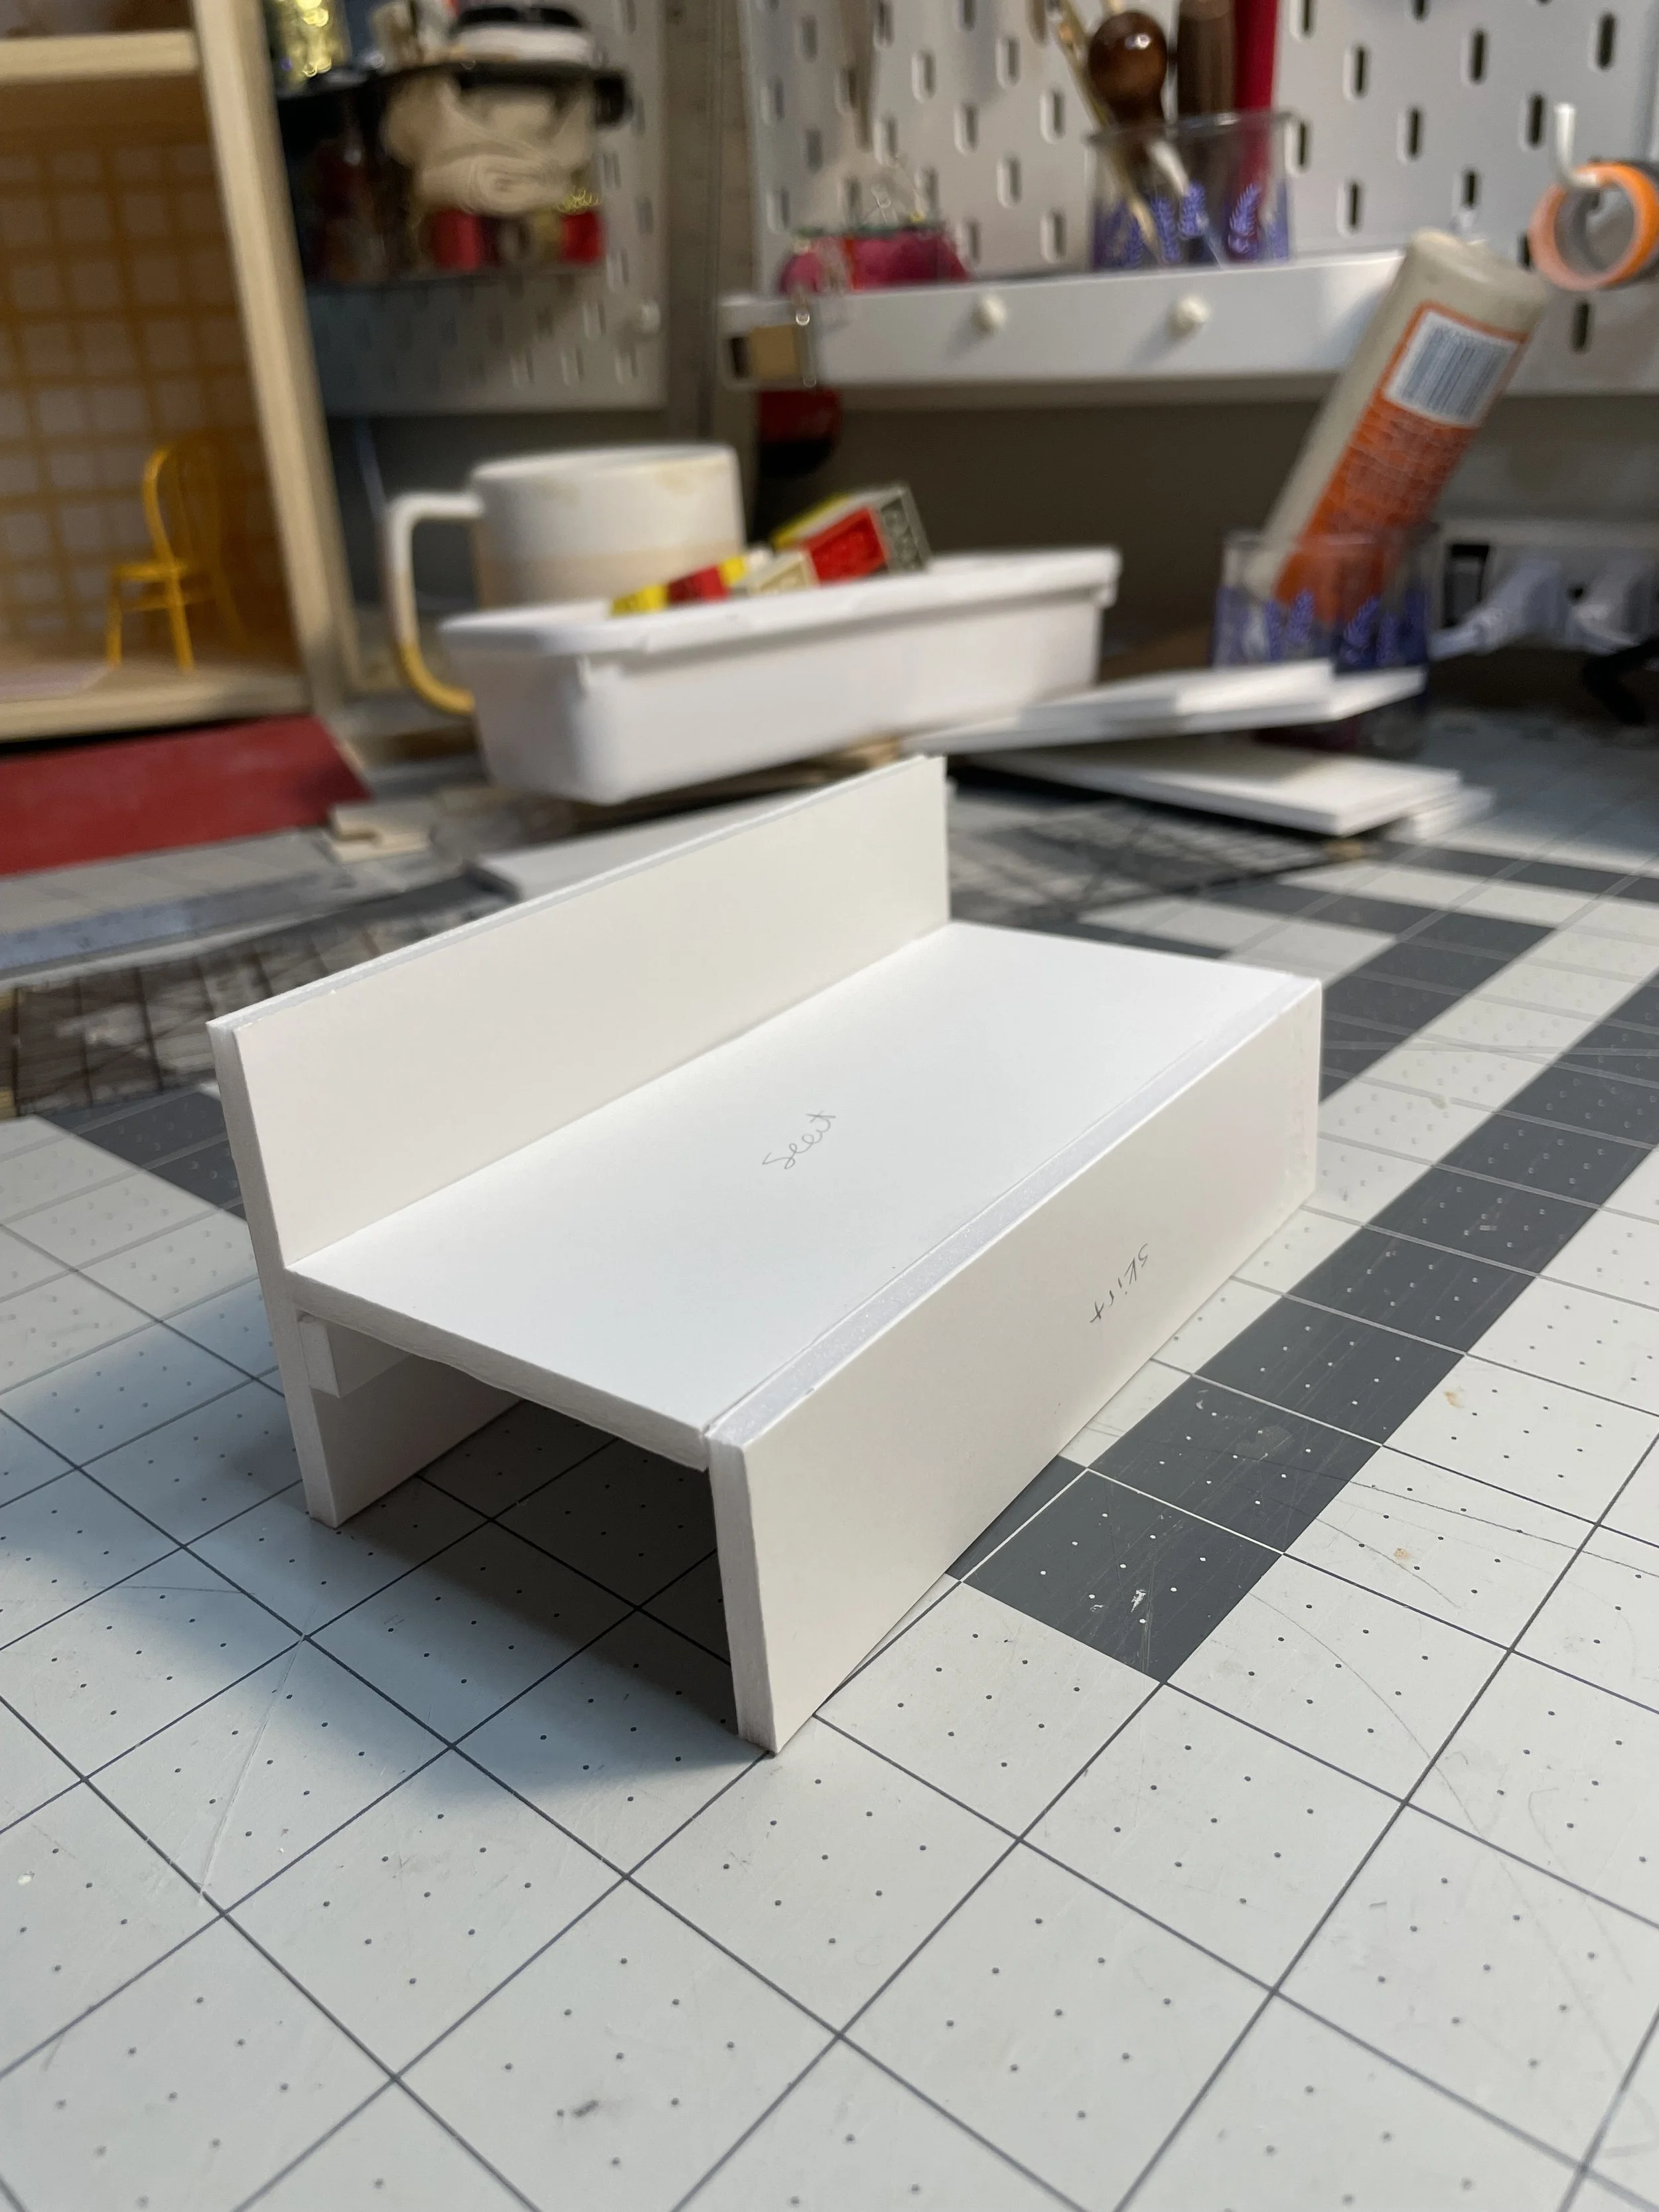
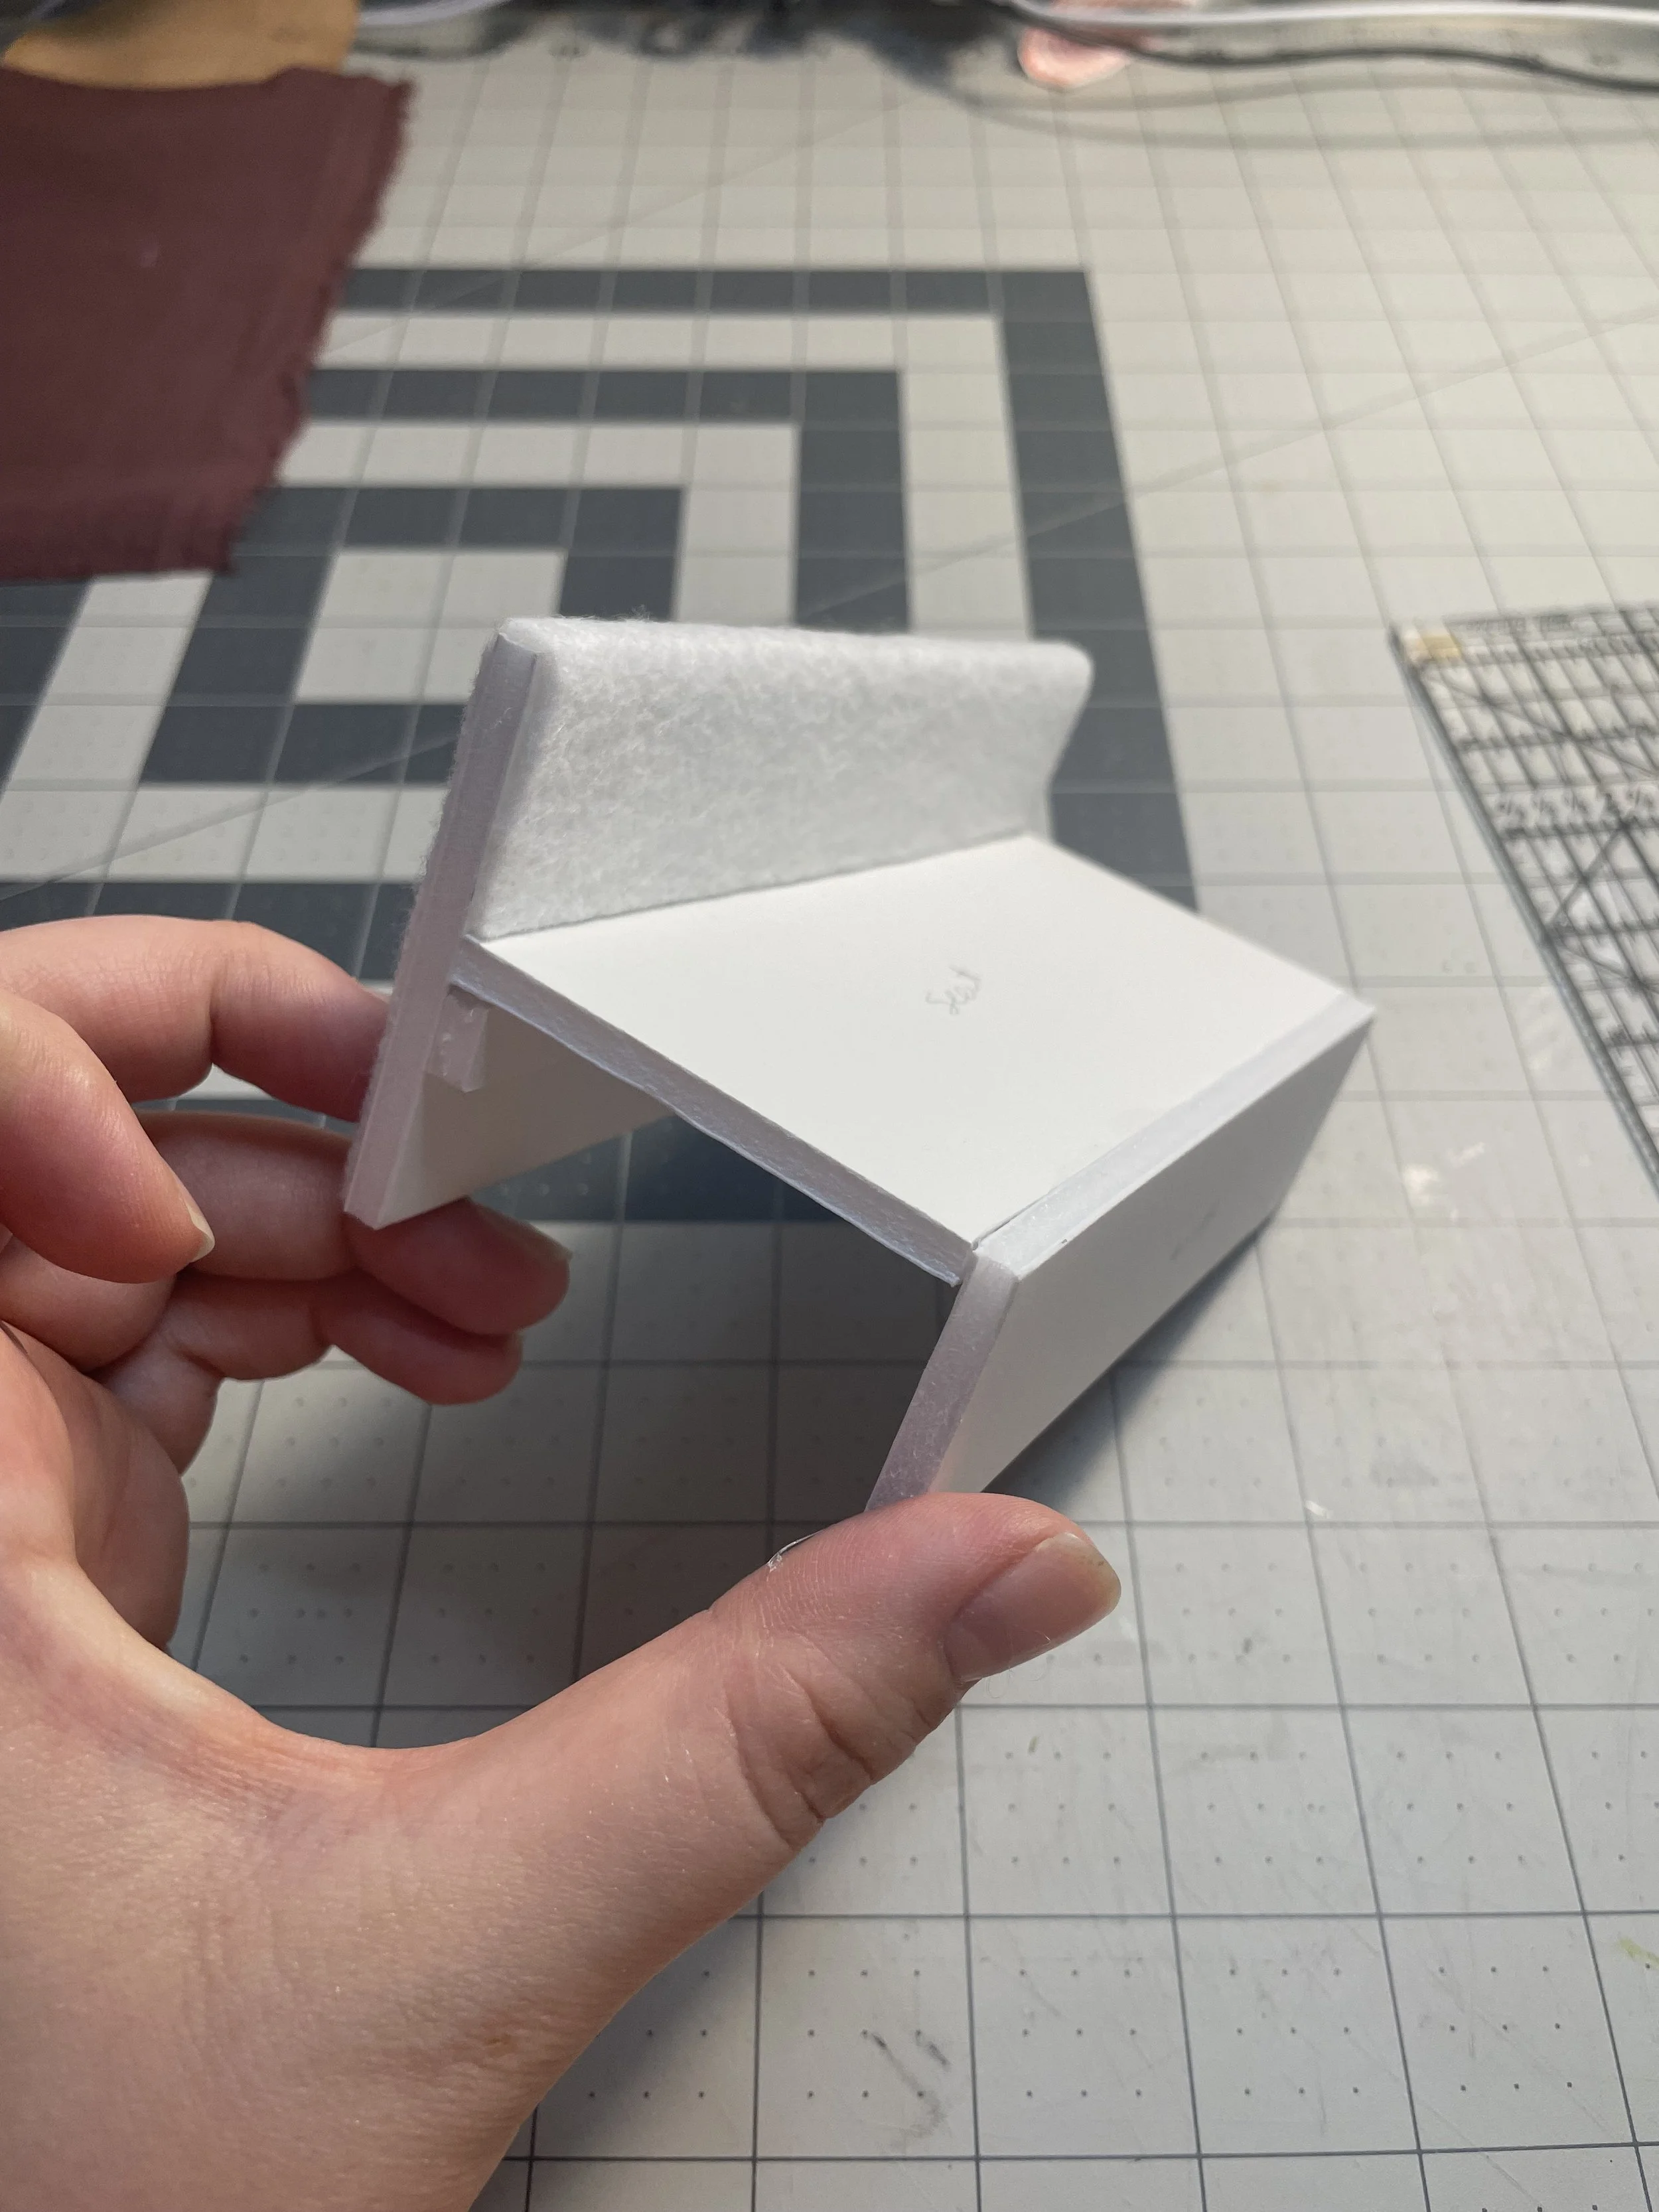
Start by gluing the sofa skirt to the seat base. Use the photos below to see how the pieces fit together. Glue the brace piece on the sofa back where the seat meets it. This just gives more stability and more surface area for the glue to hold.
Add felt alongside the back of the sofa. Start where the back meets the seat, and go all the way over the top, back, and trim flush with the bottom edge. Trim any excess on the edges as well. You don’t want any felt overlapping the sides.
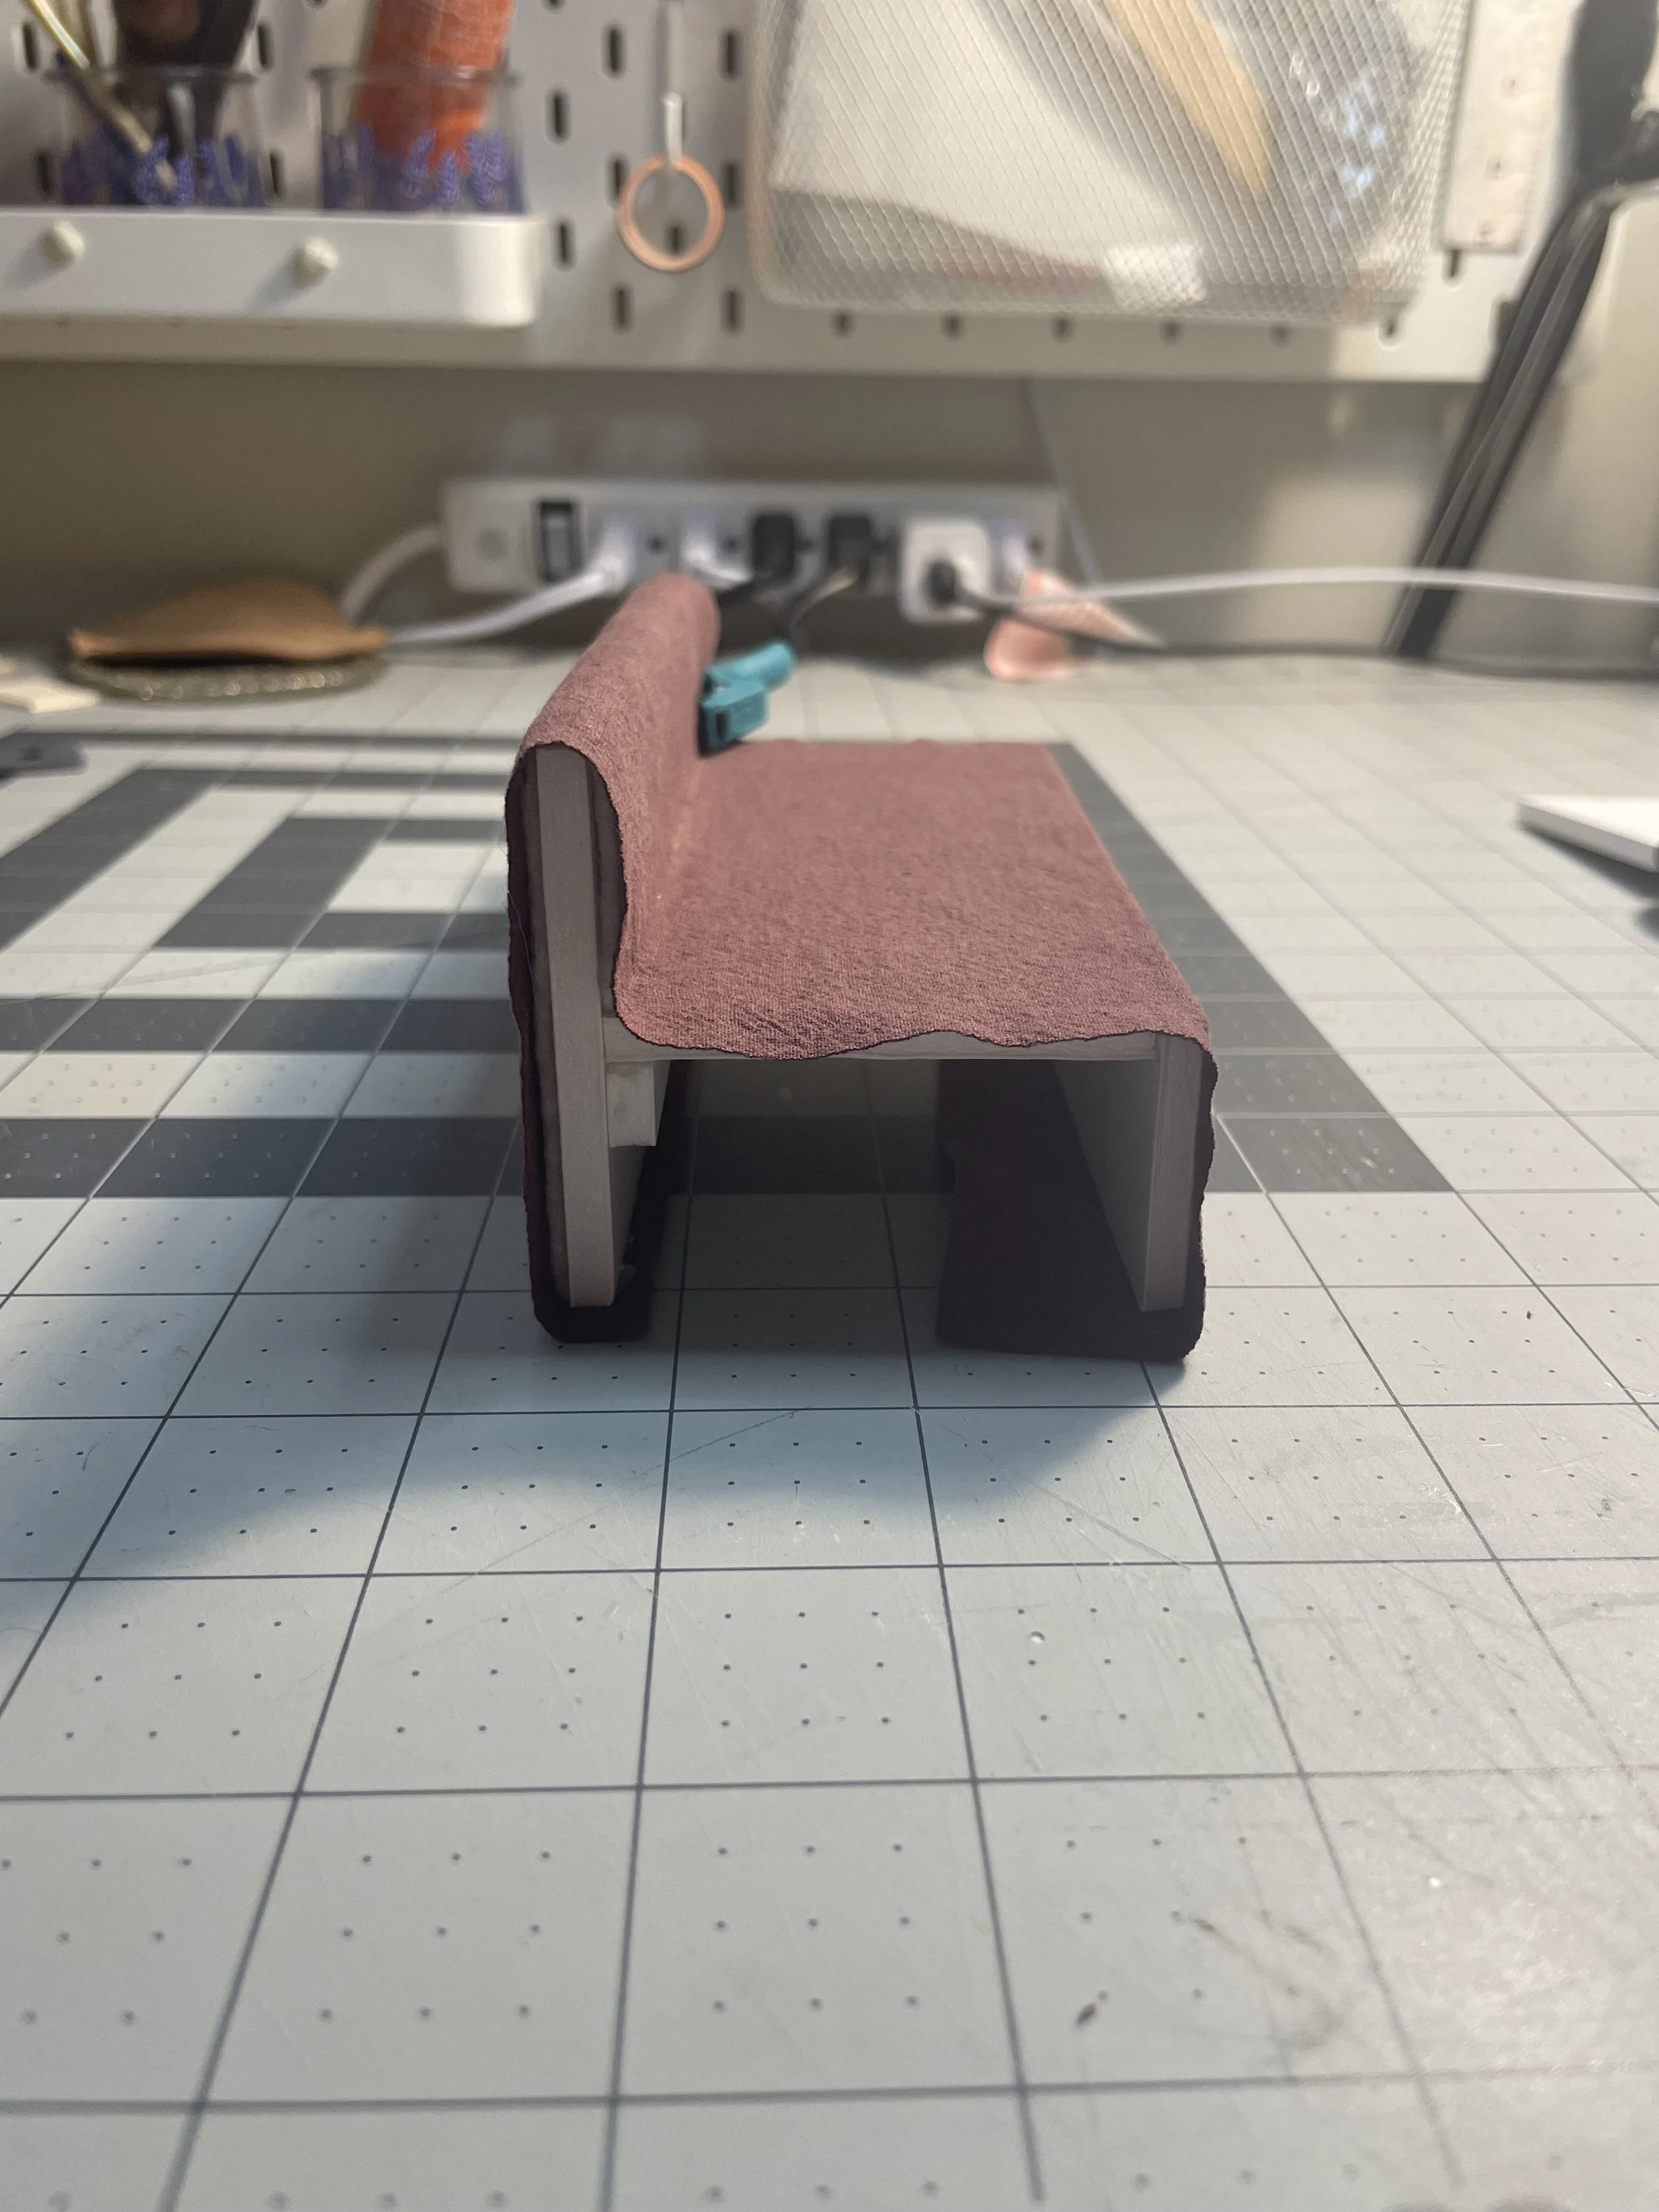
Cover this structure with fabric next, using tacky glue to secure the inside seam well. You can use fabric glue where the fabric lays on top of the felt. It doesn’t need a lot of glue— just do a solid line on the top edge of the sofa back, and around the edges and curves. Leave about half an inch of excess fabric on the bottom of the couch.
Trim the fabric on the sides to about 1/4 inch. Fold over the fabric on the sides, trimming as necessary to reduce any bulkiness where it overlaps. Don’t worry about any raw edges here since the sofa sides will cover all this. It’s more important to keep the edges flat. You can even cut 45 degree angles into your fabric where the corners fold around.

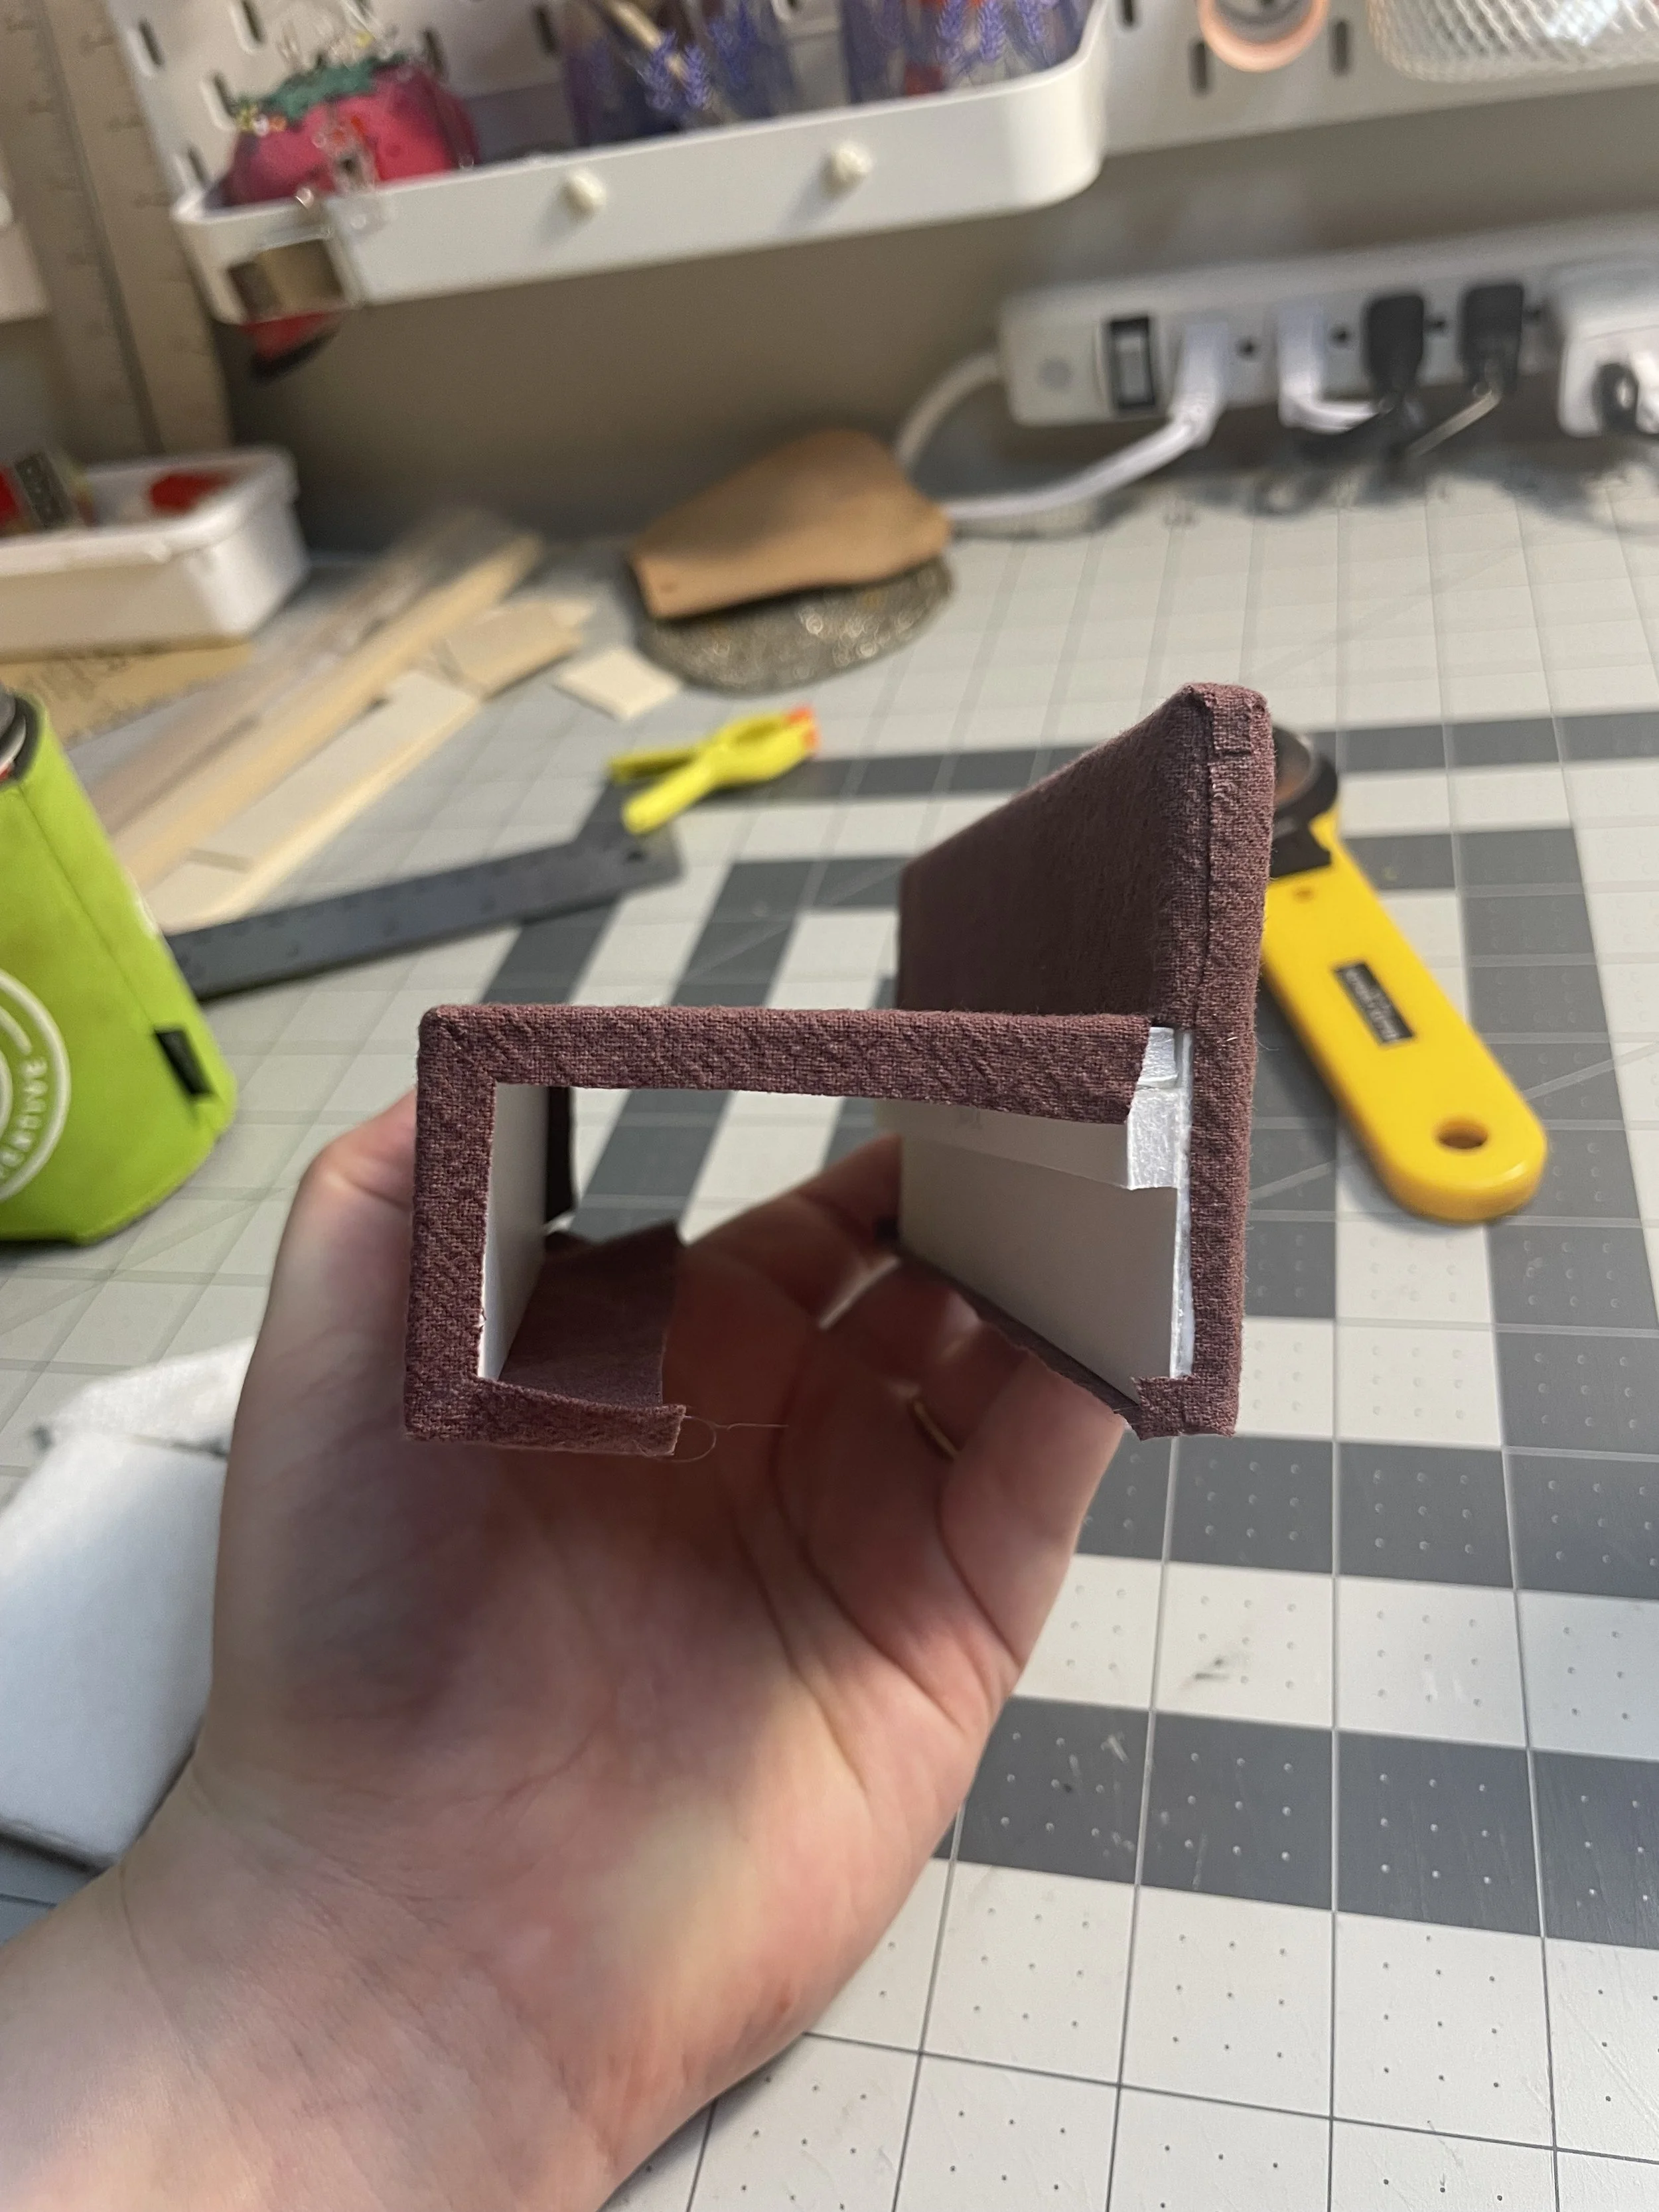
Cover the sofa sides with felt first, covering both sides, trimming the felt flush as shown below. Next begin covering the side pieces with fabric. Fold over about 3/8" inch on each side, and iron the fabric crease as it extends up. This will fold over the overlapping edges and hide your raw edges. Secure the bottom edge of the fabric as well. Repeat for the other sofa side piece, and then secure both ends to the sofa structure.
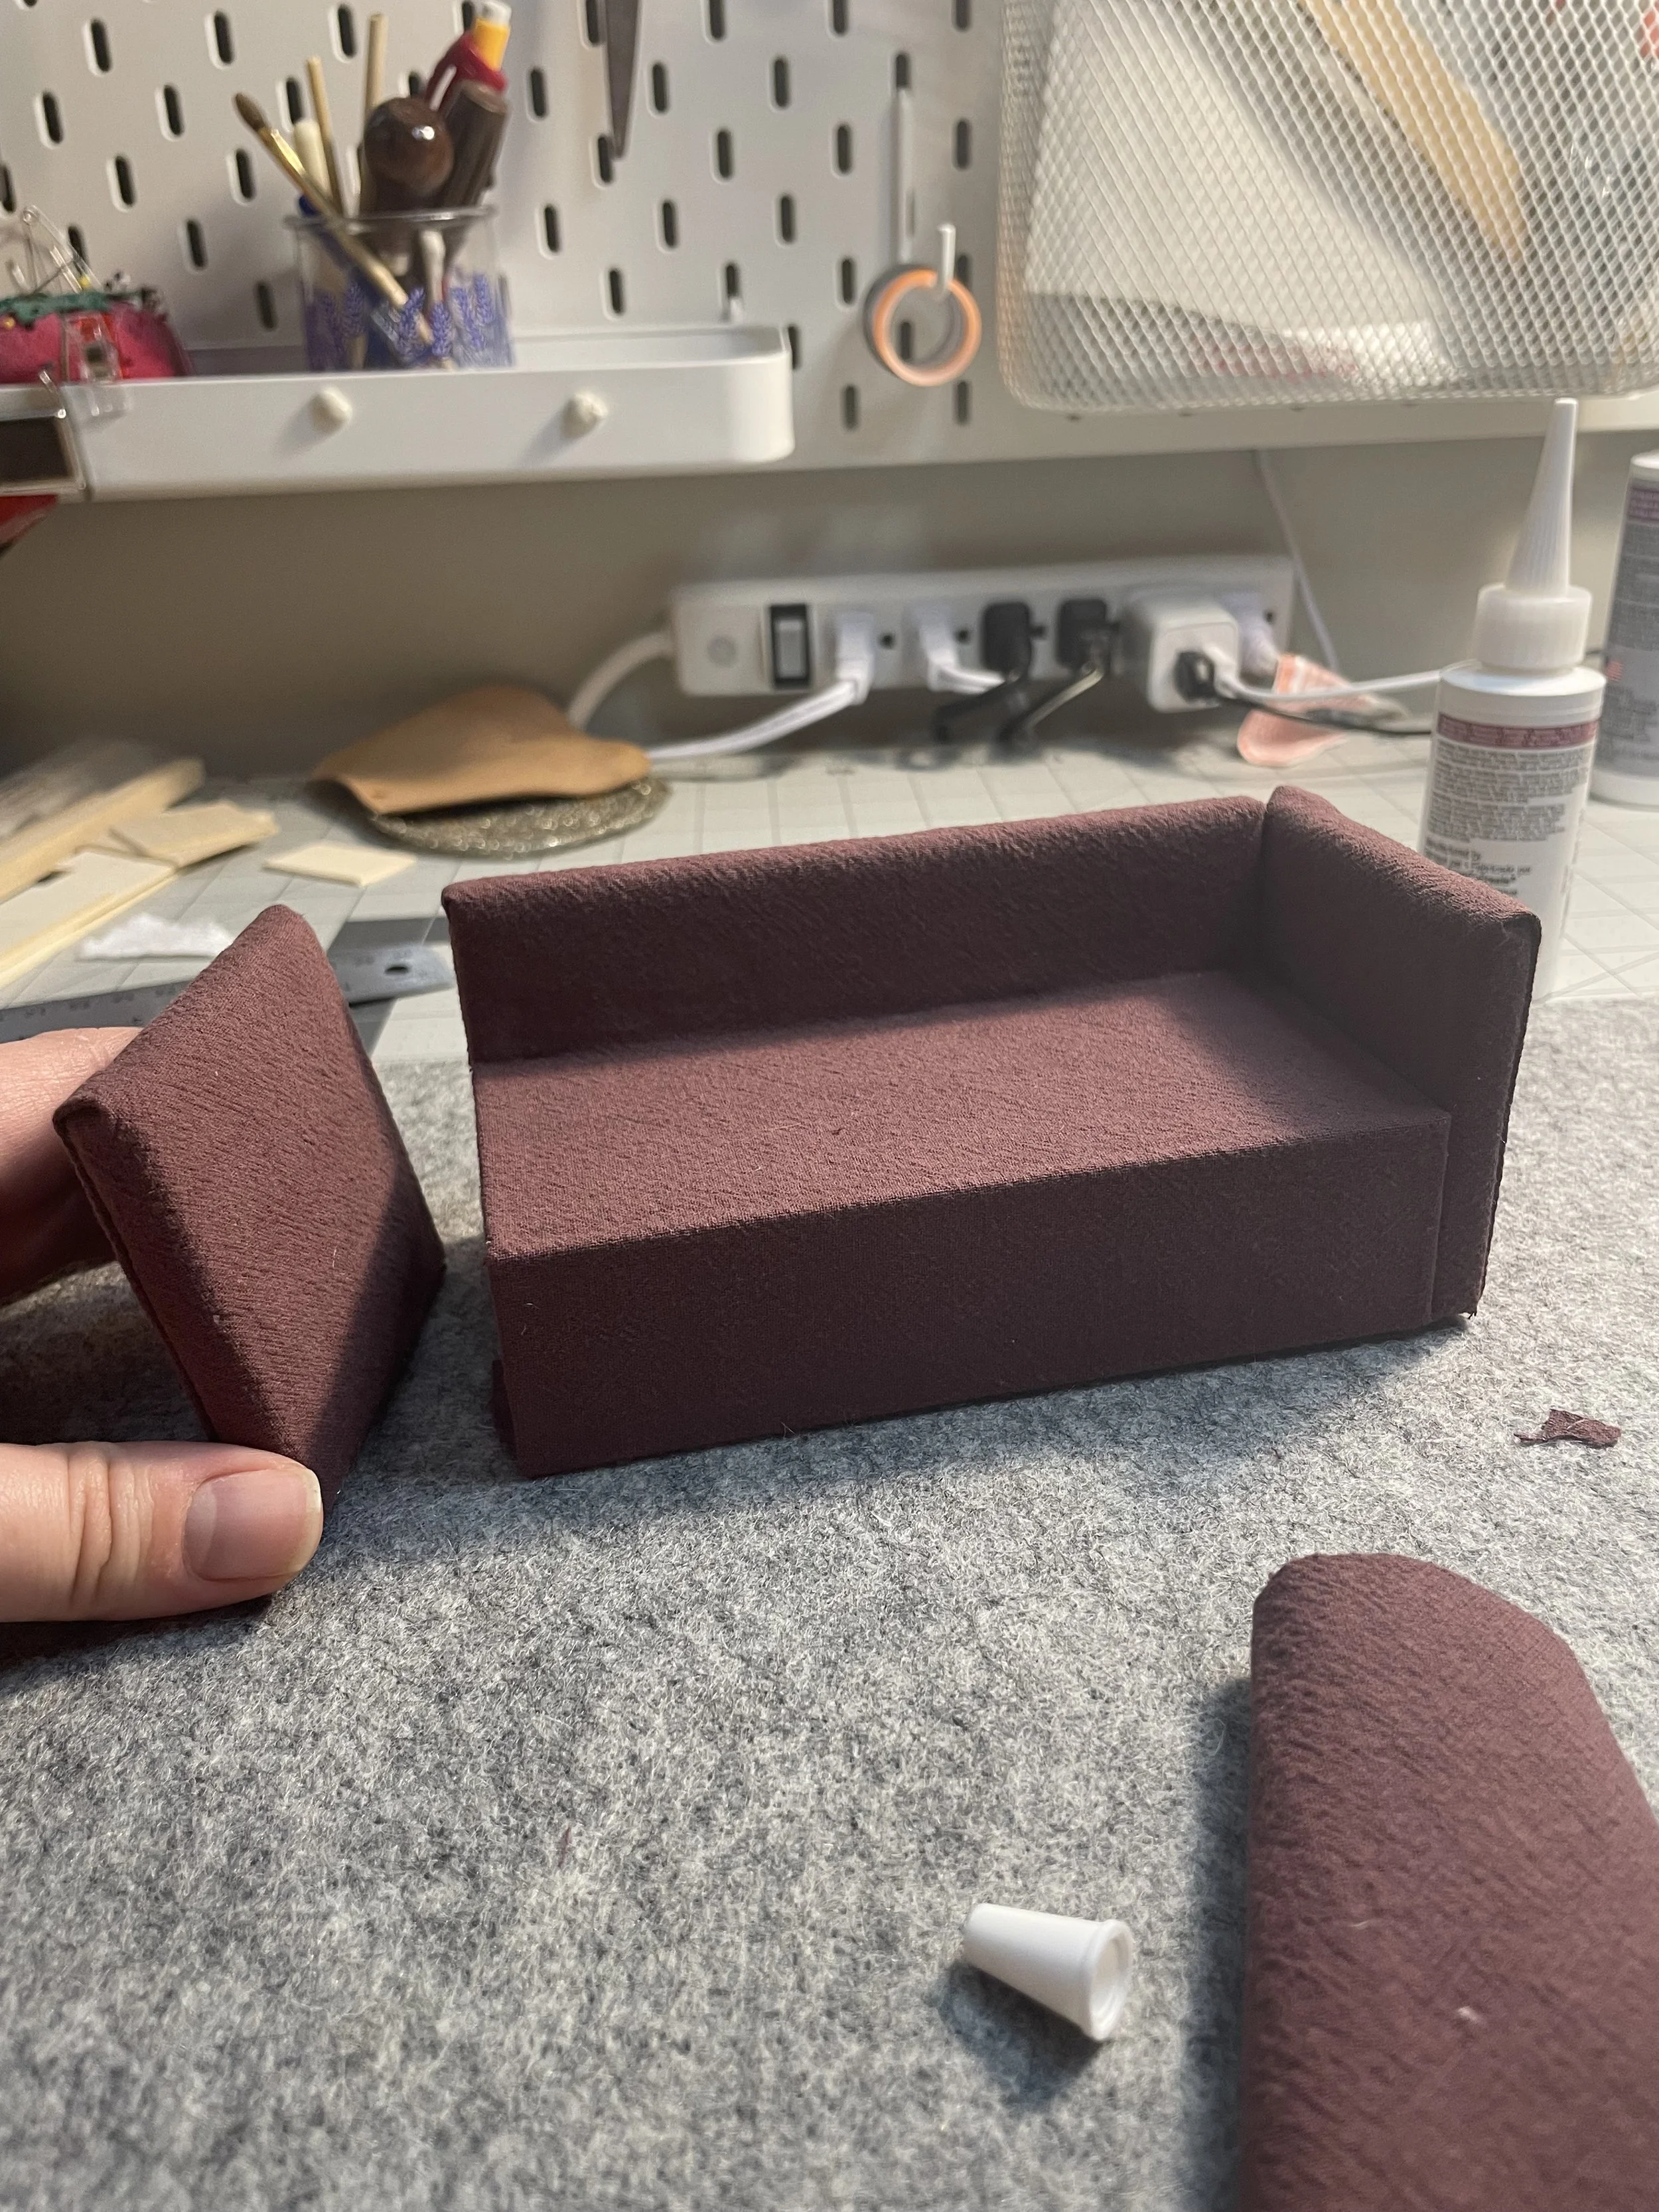
Cut out a piece of paper mat board to cover the bottom. This should fit just inside the open space. The template in the PDF download should be close but you may need to trim it down a bit. Mine didn’t end up being perfectly square mathematically! It looks fine to the eye, and it’s the bottom, after all.


Make the Sofa Cushions
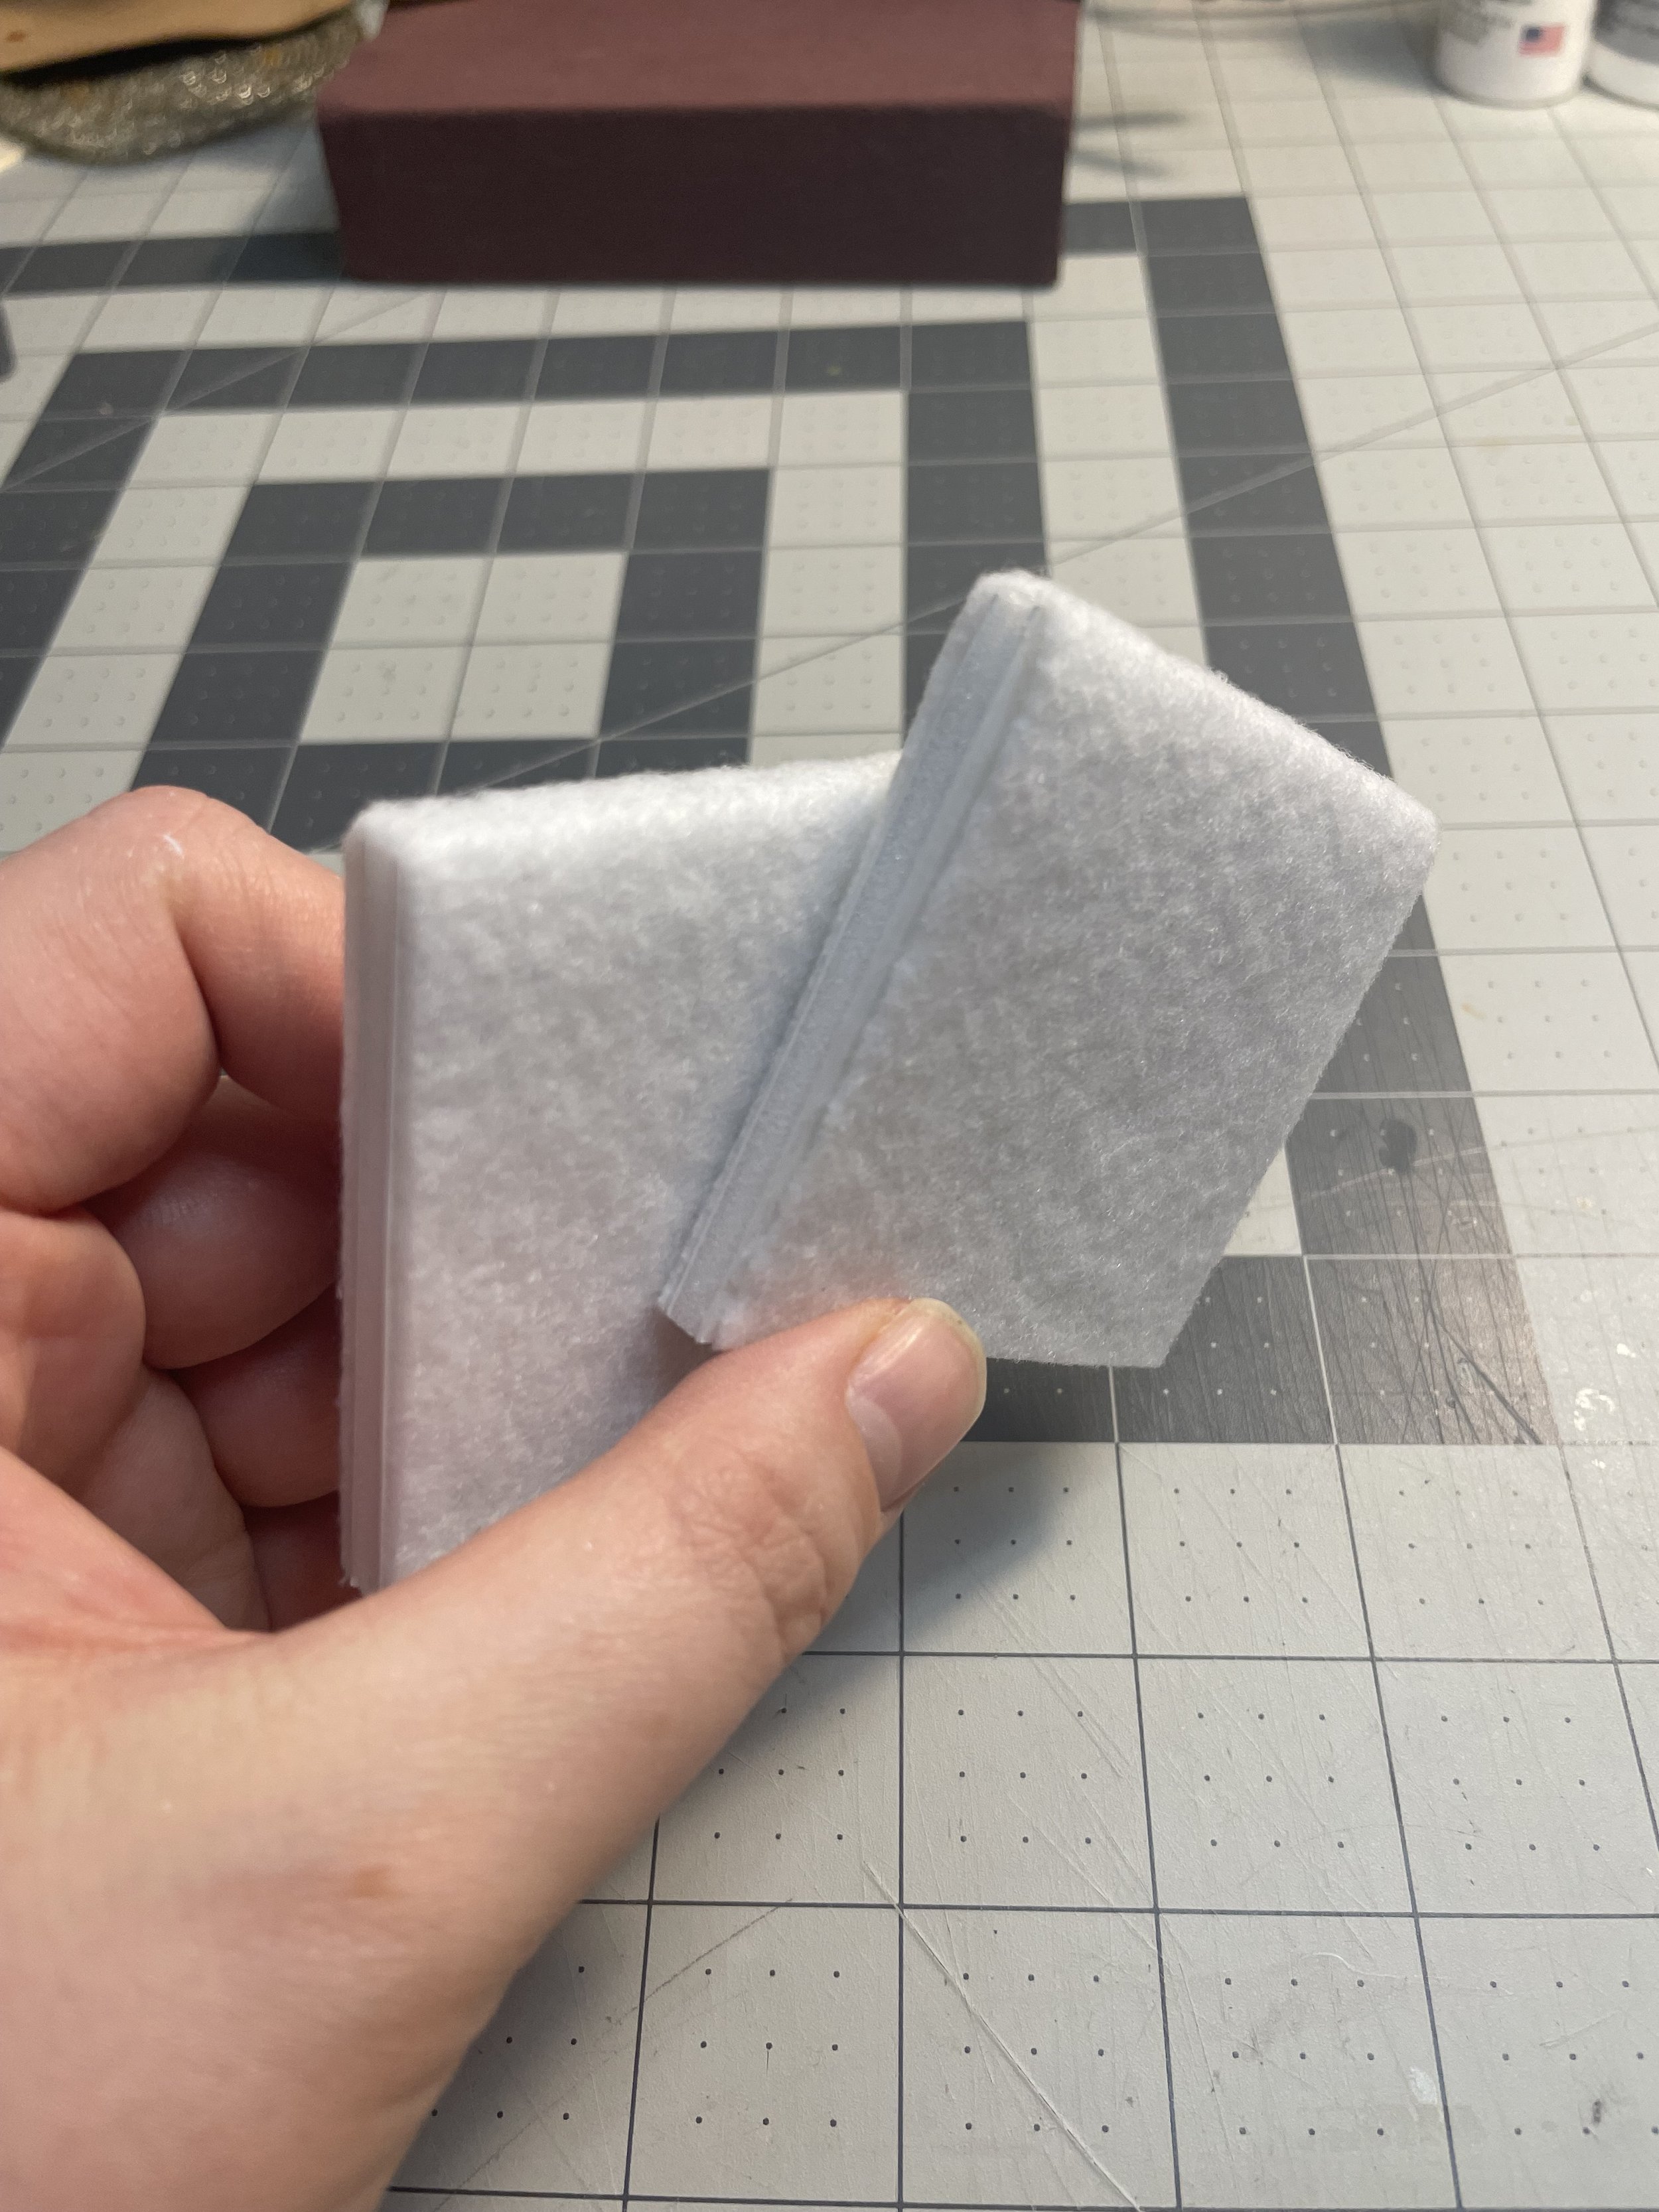
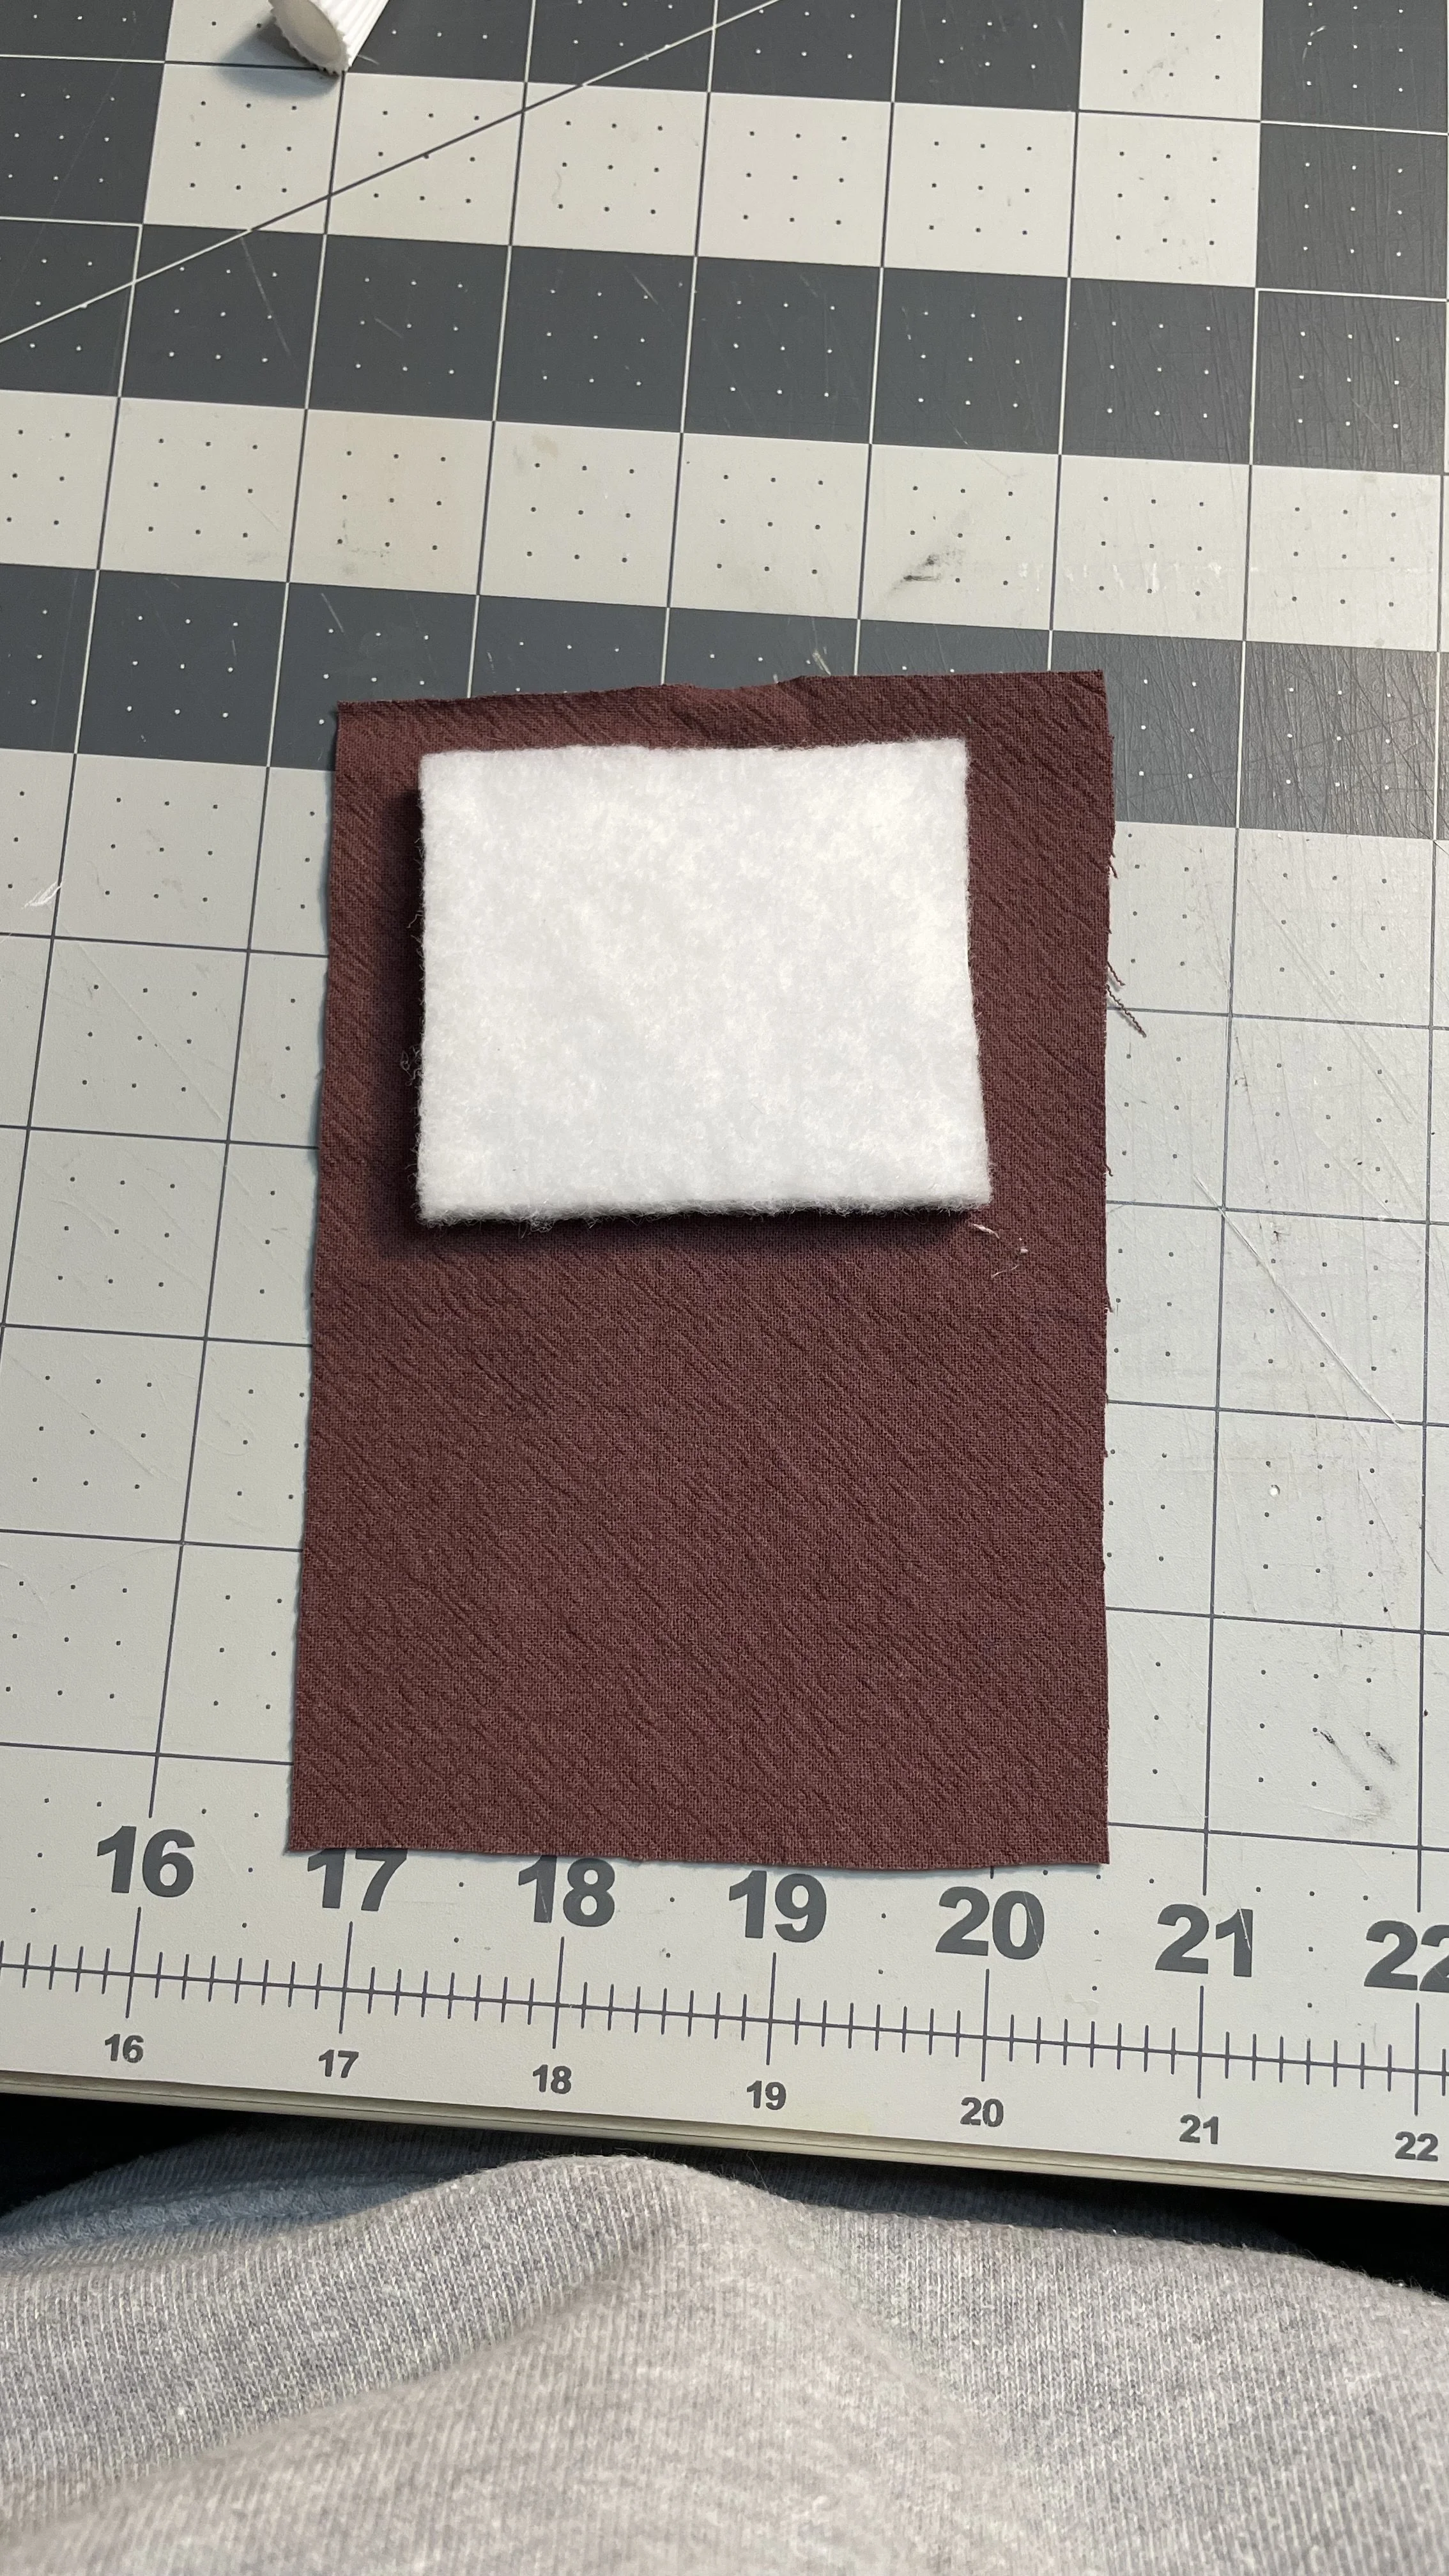
The seat cushions are made from foam core, felt, and fabric to give it some thickness and padding. Use the same PDF linked in the above section for cut list and measurements.
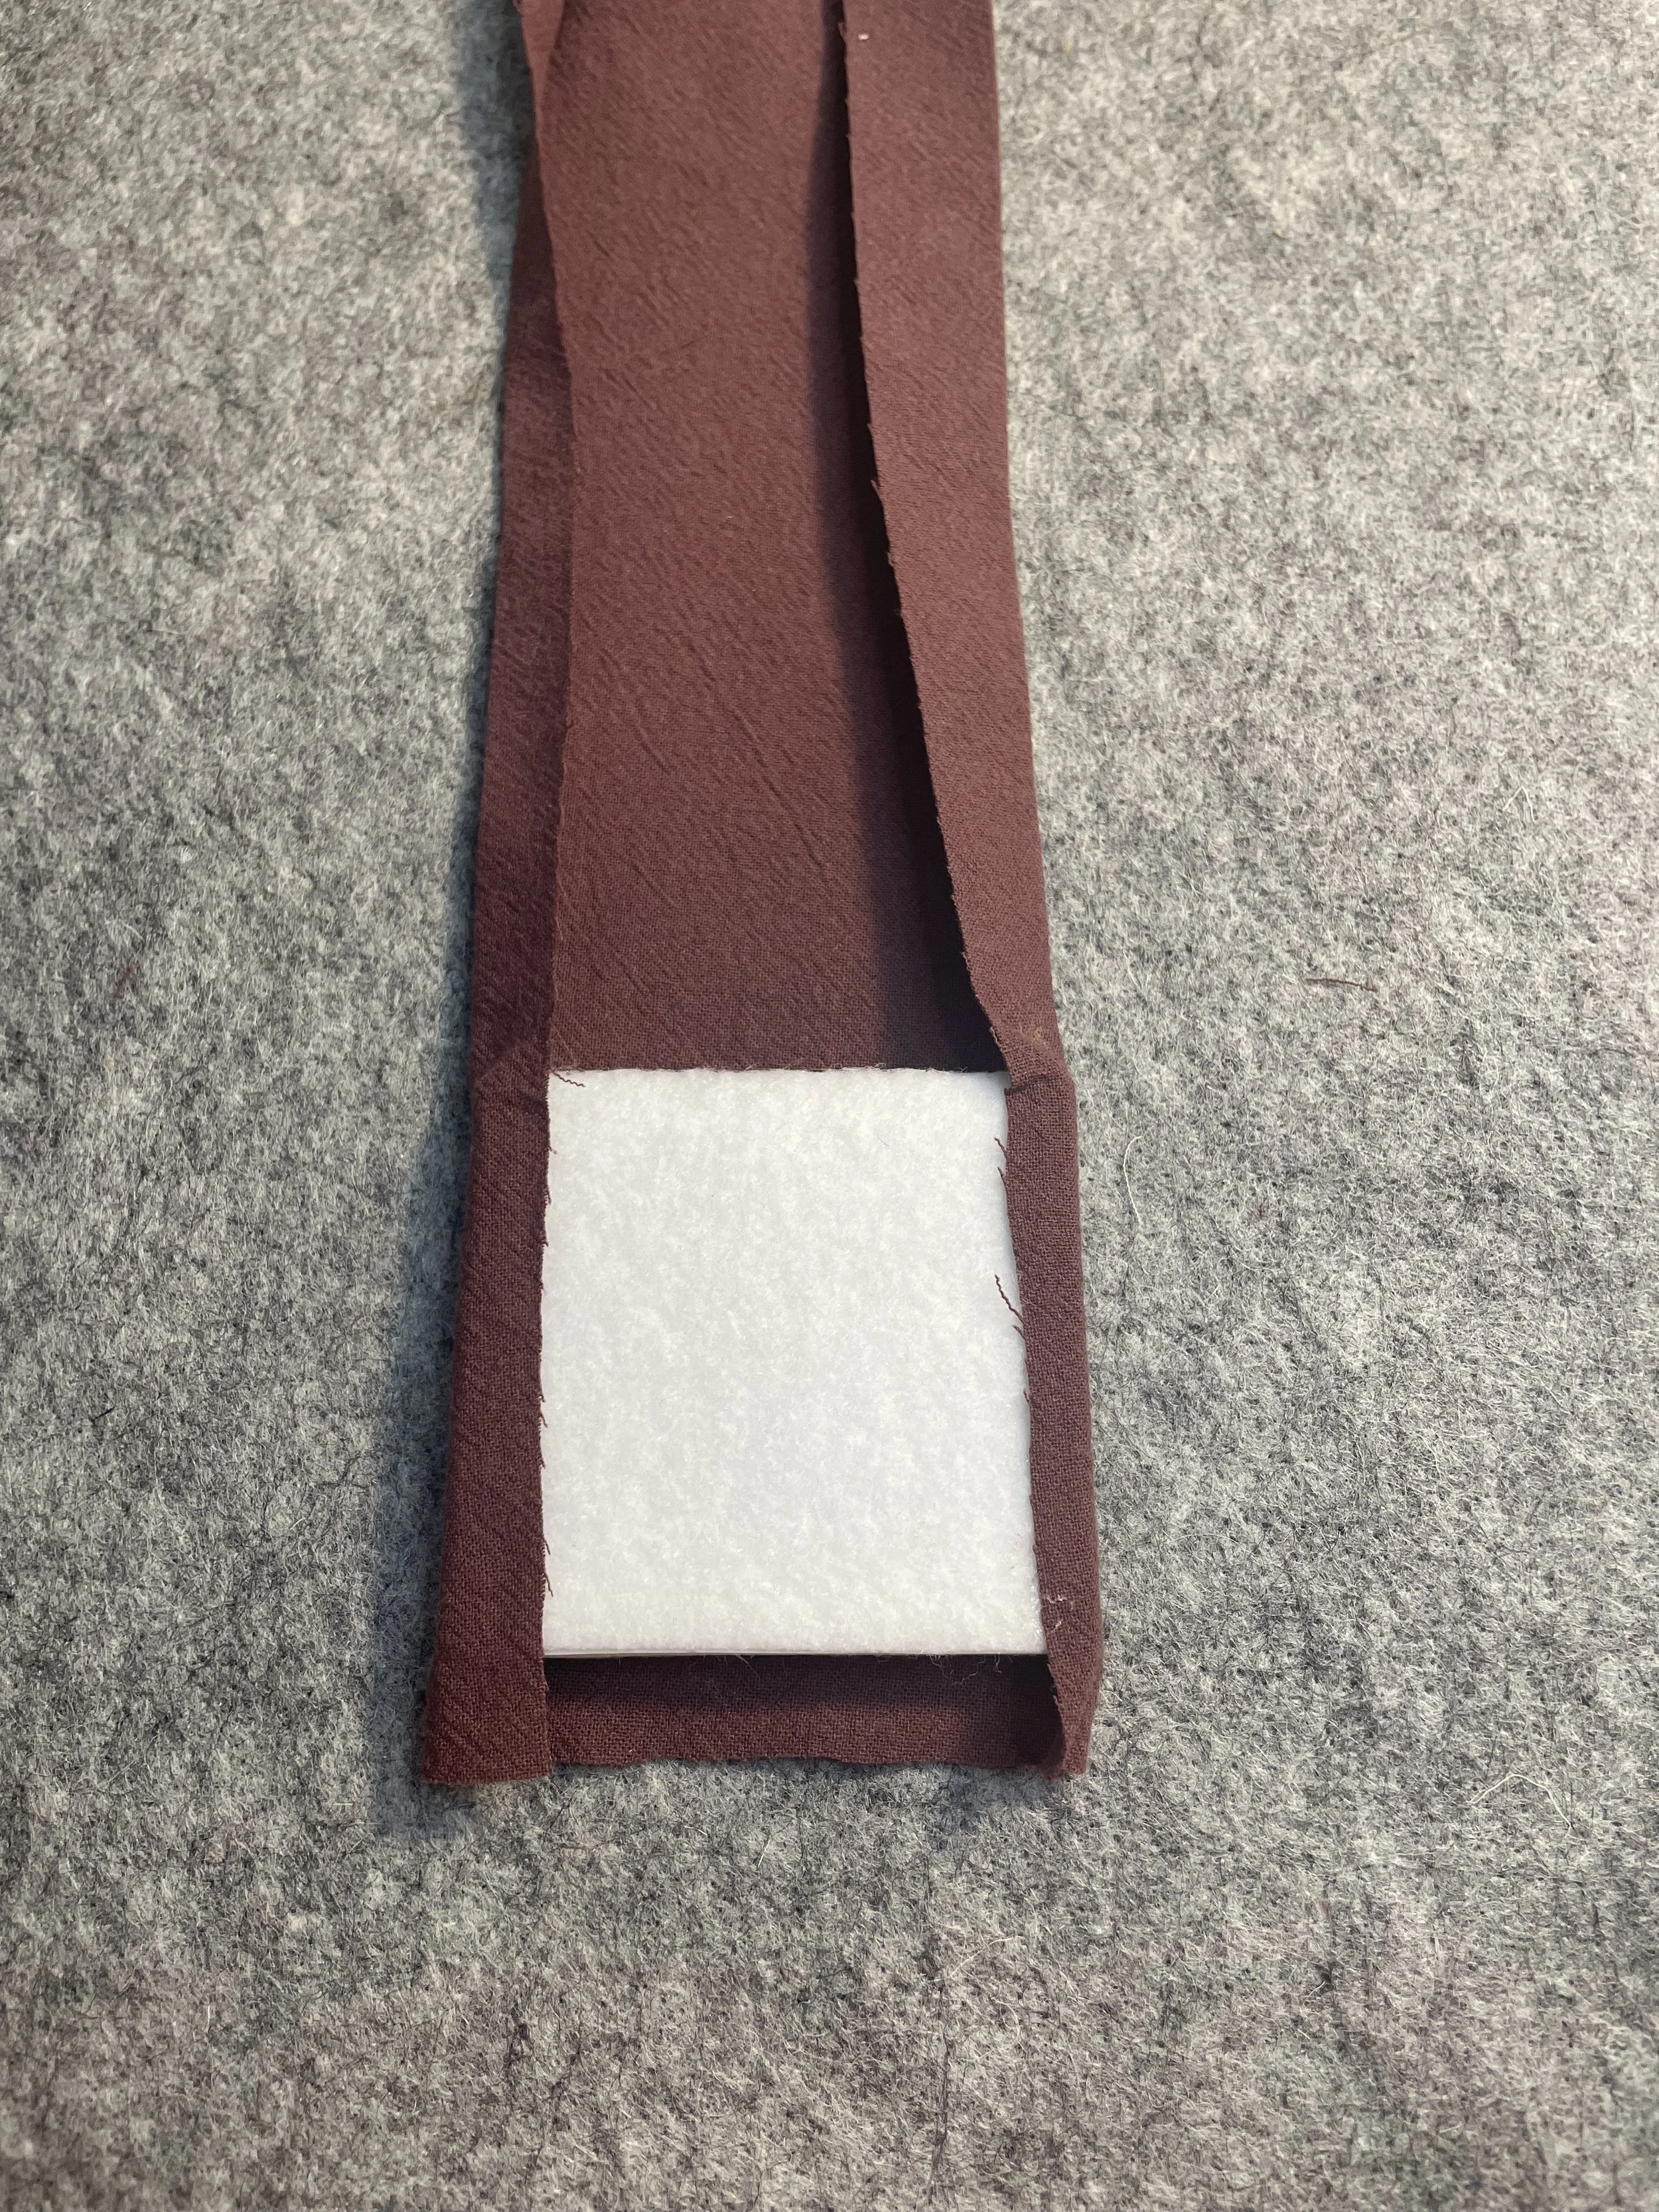
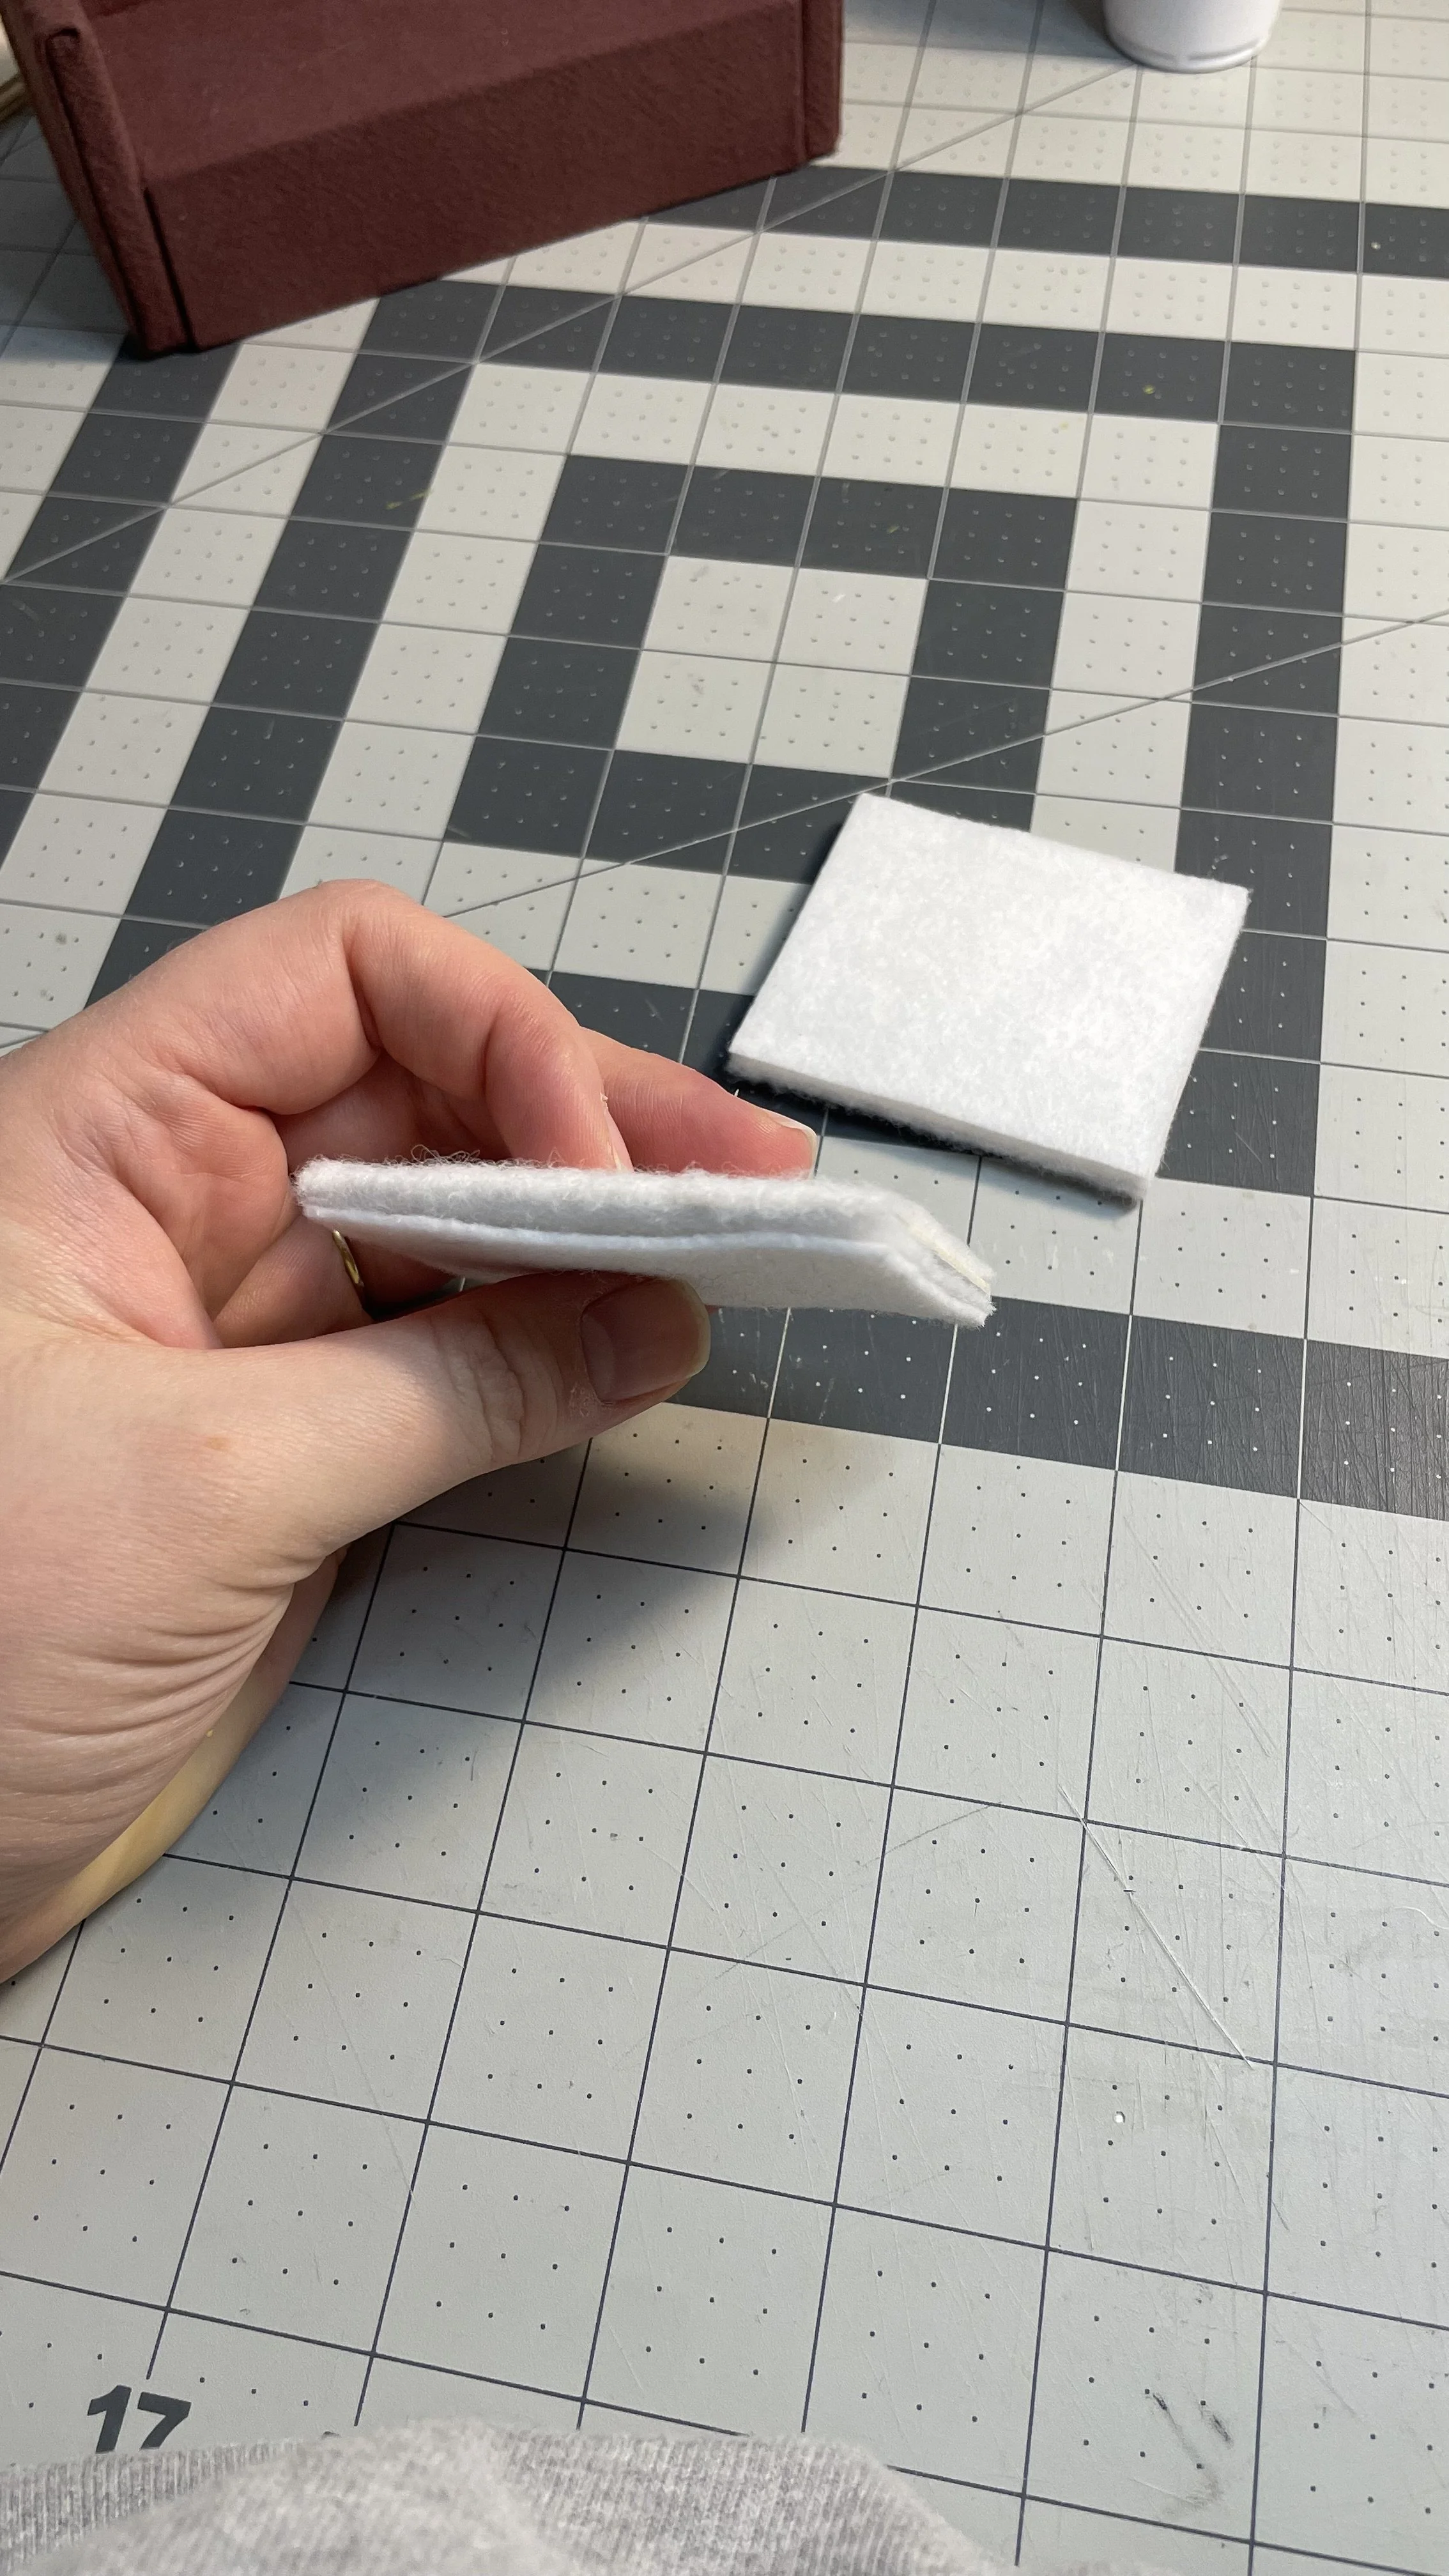
Cover the entire cushion piece in felt, then add an extra felt square (or batting square) on the top of one side. The back of the cushion should be trimmed flush, while the wrong edge can be folded over.


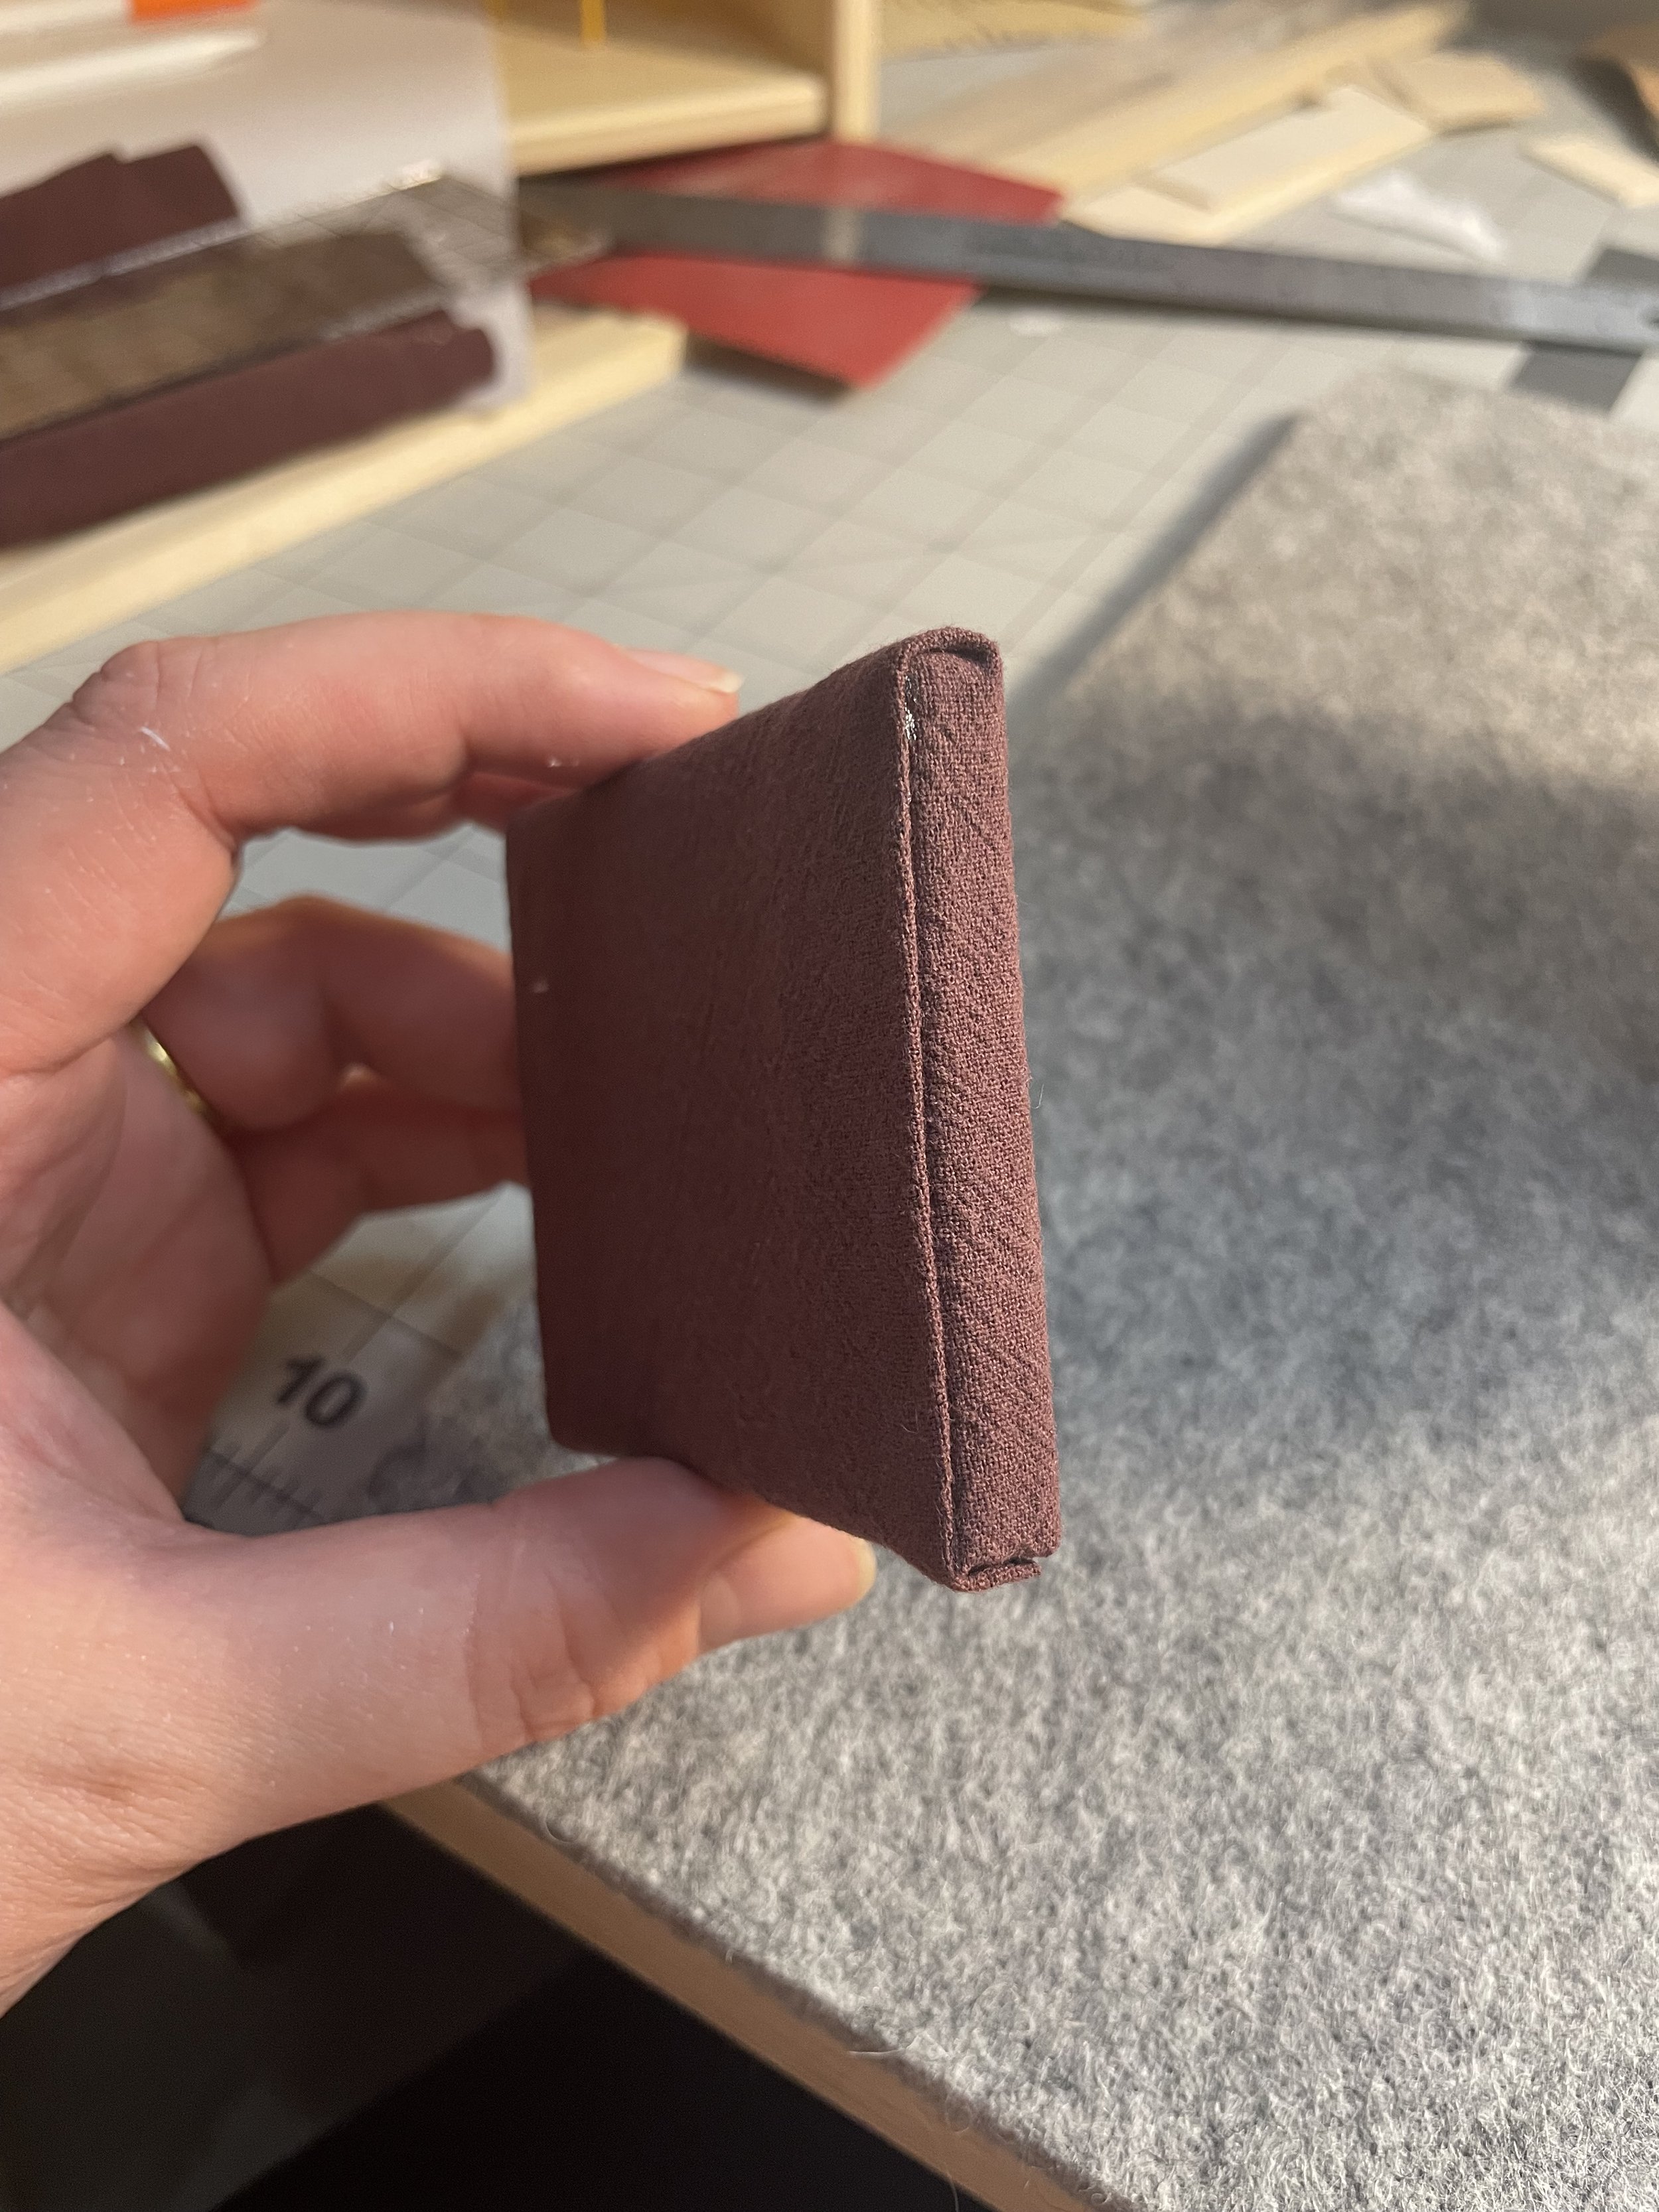
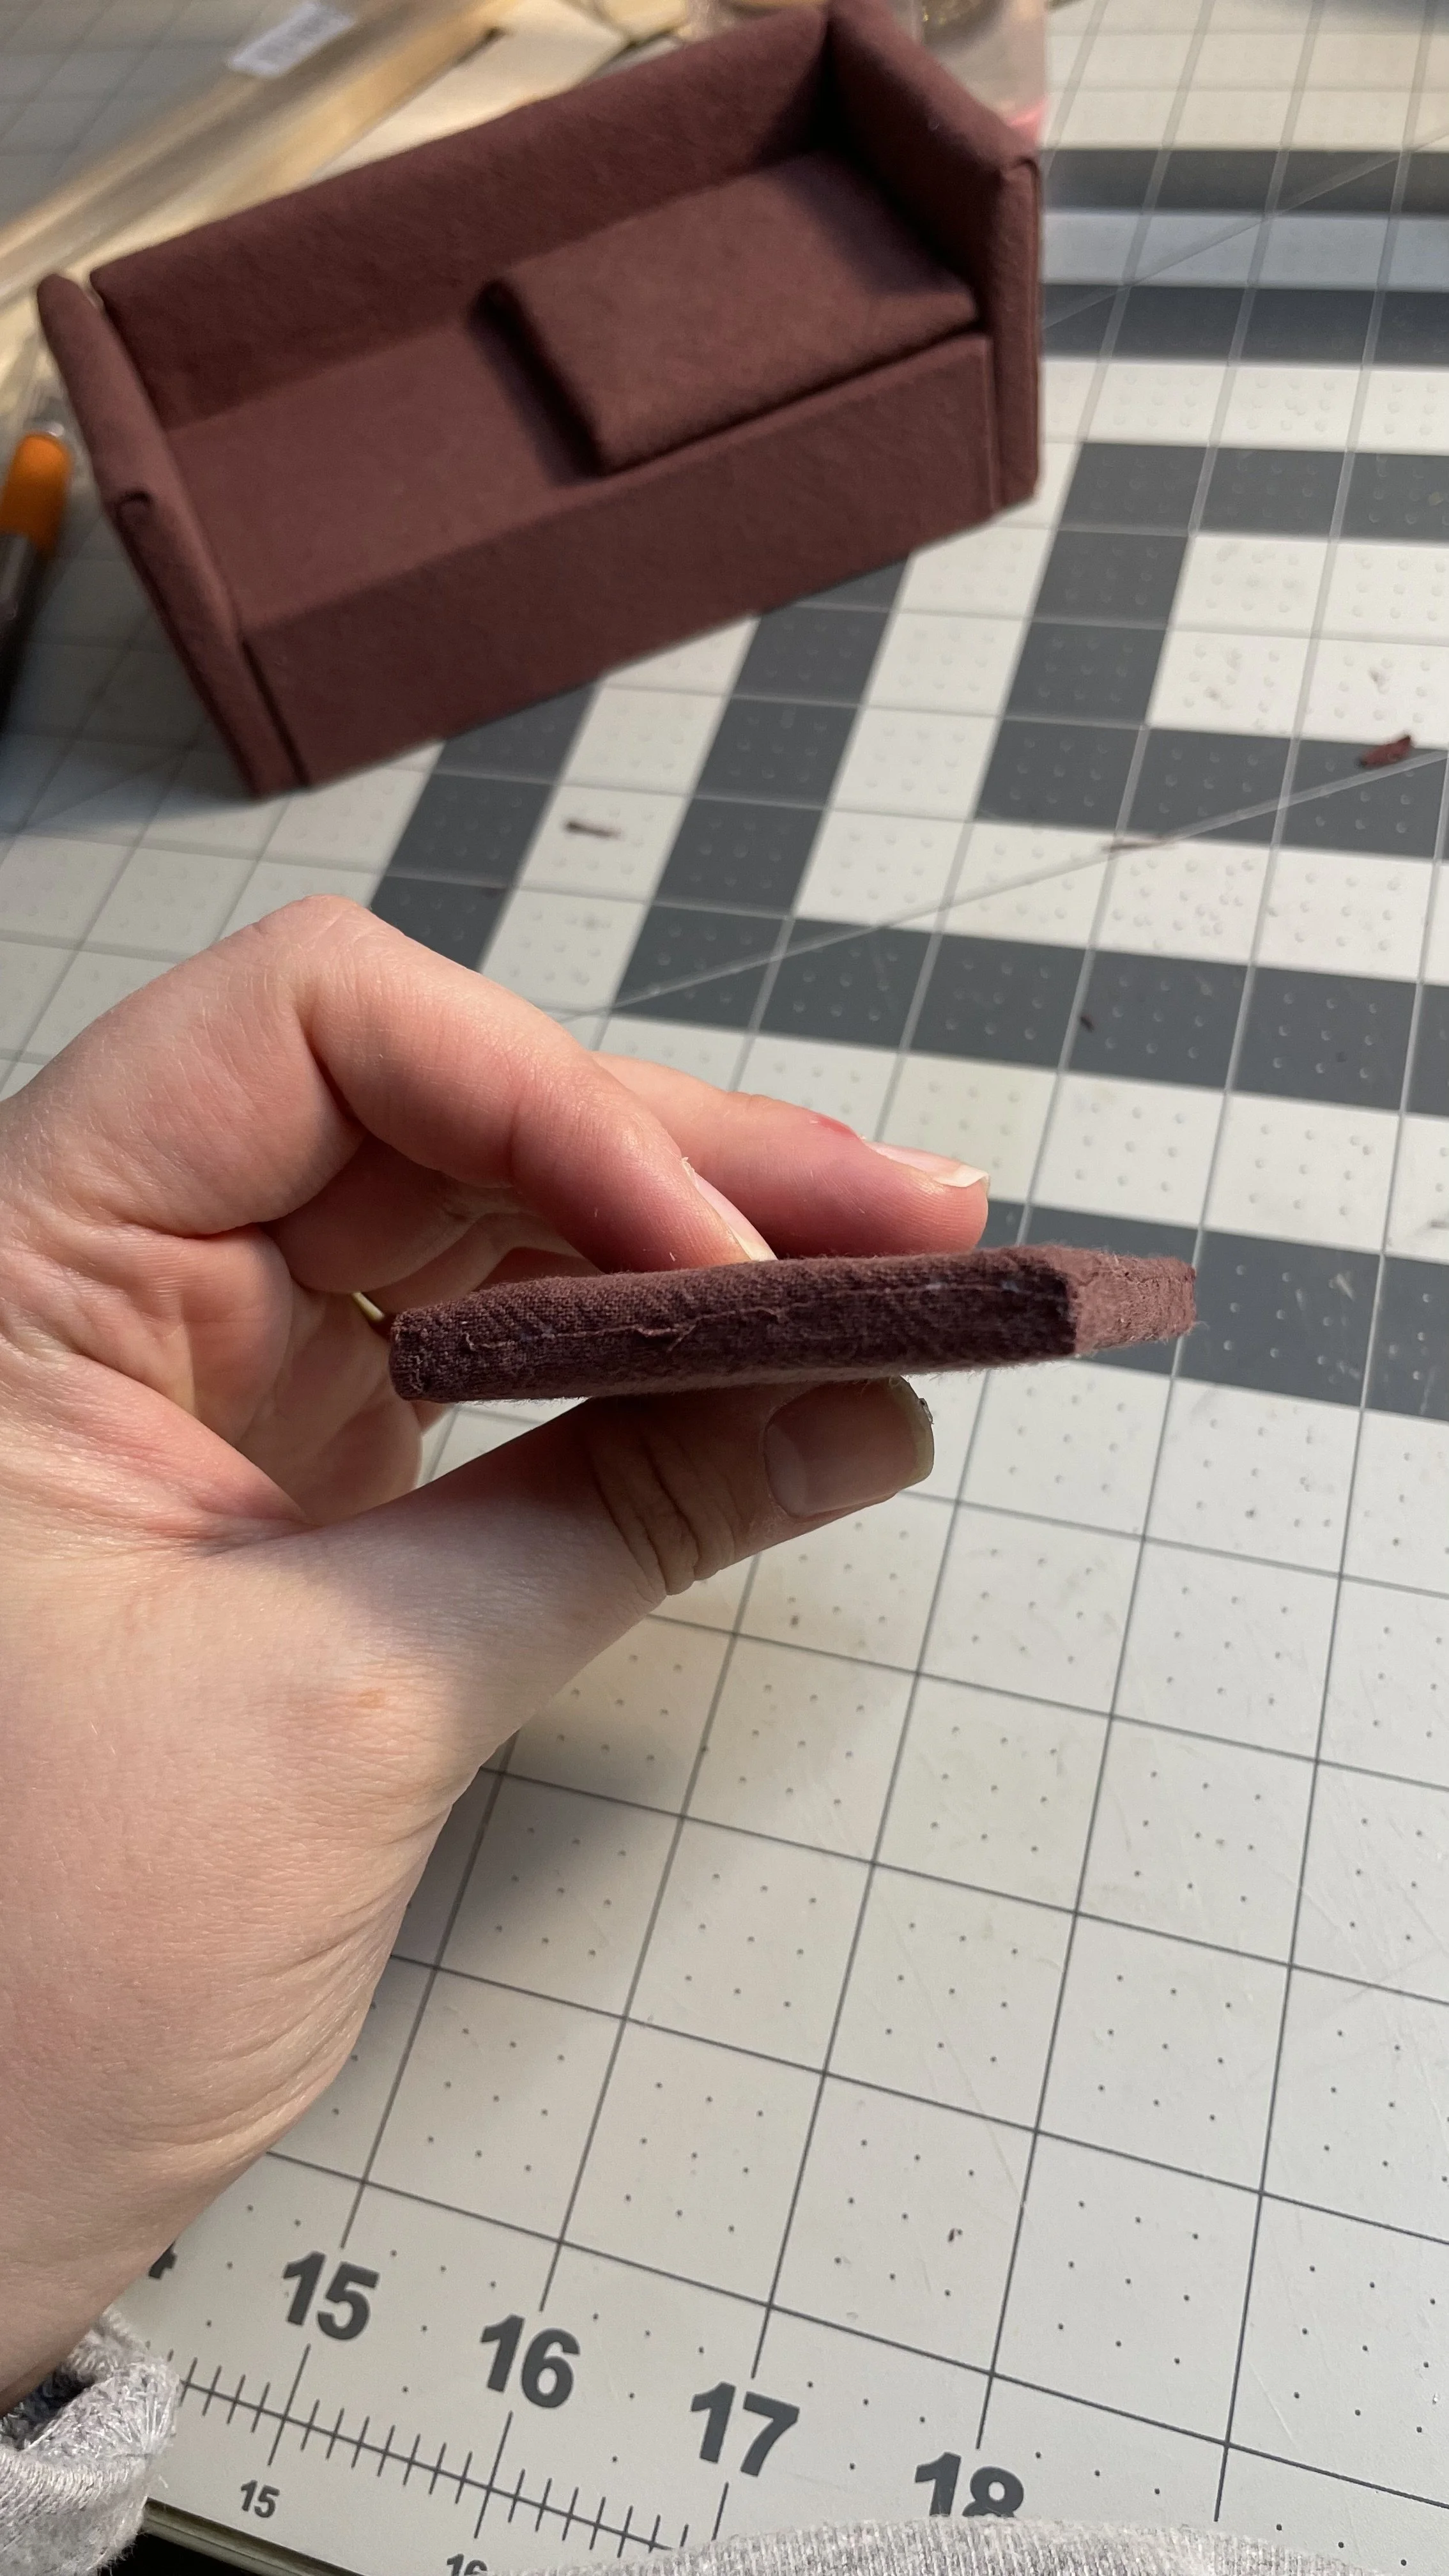
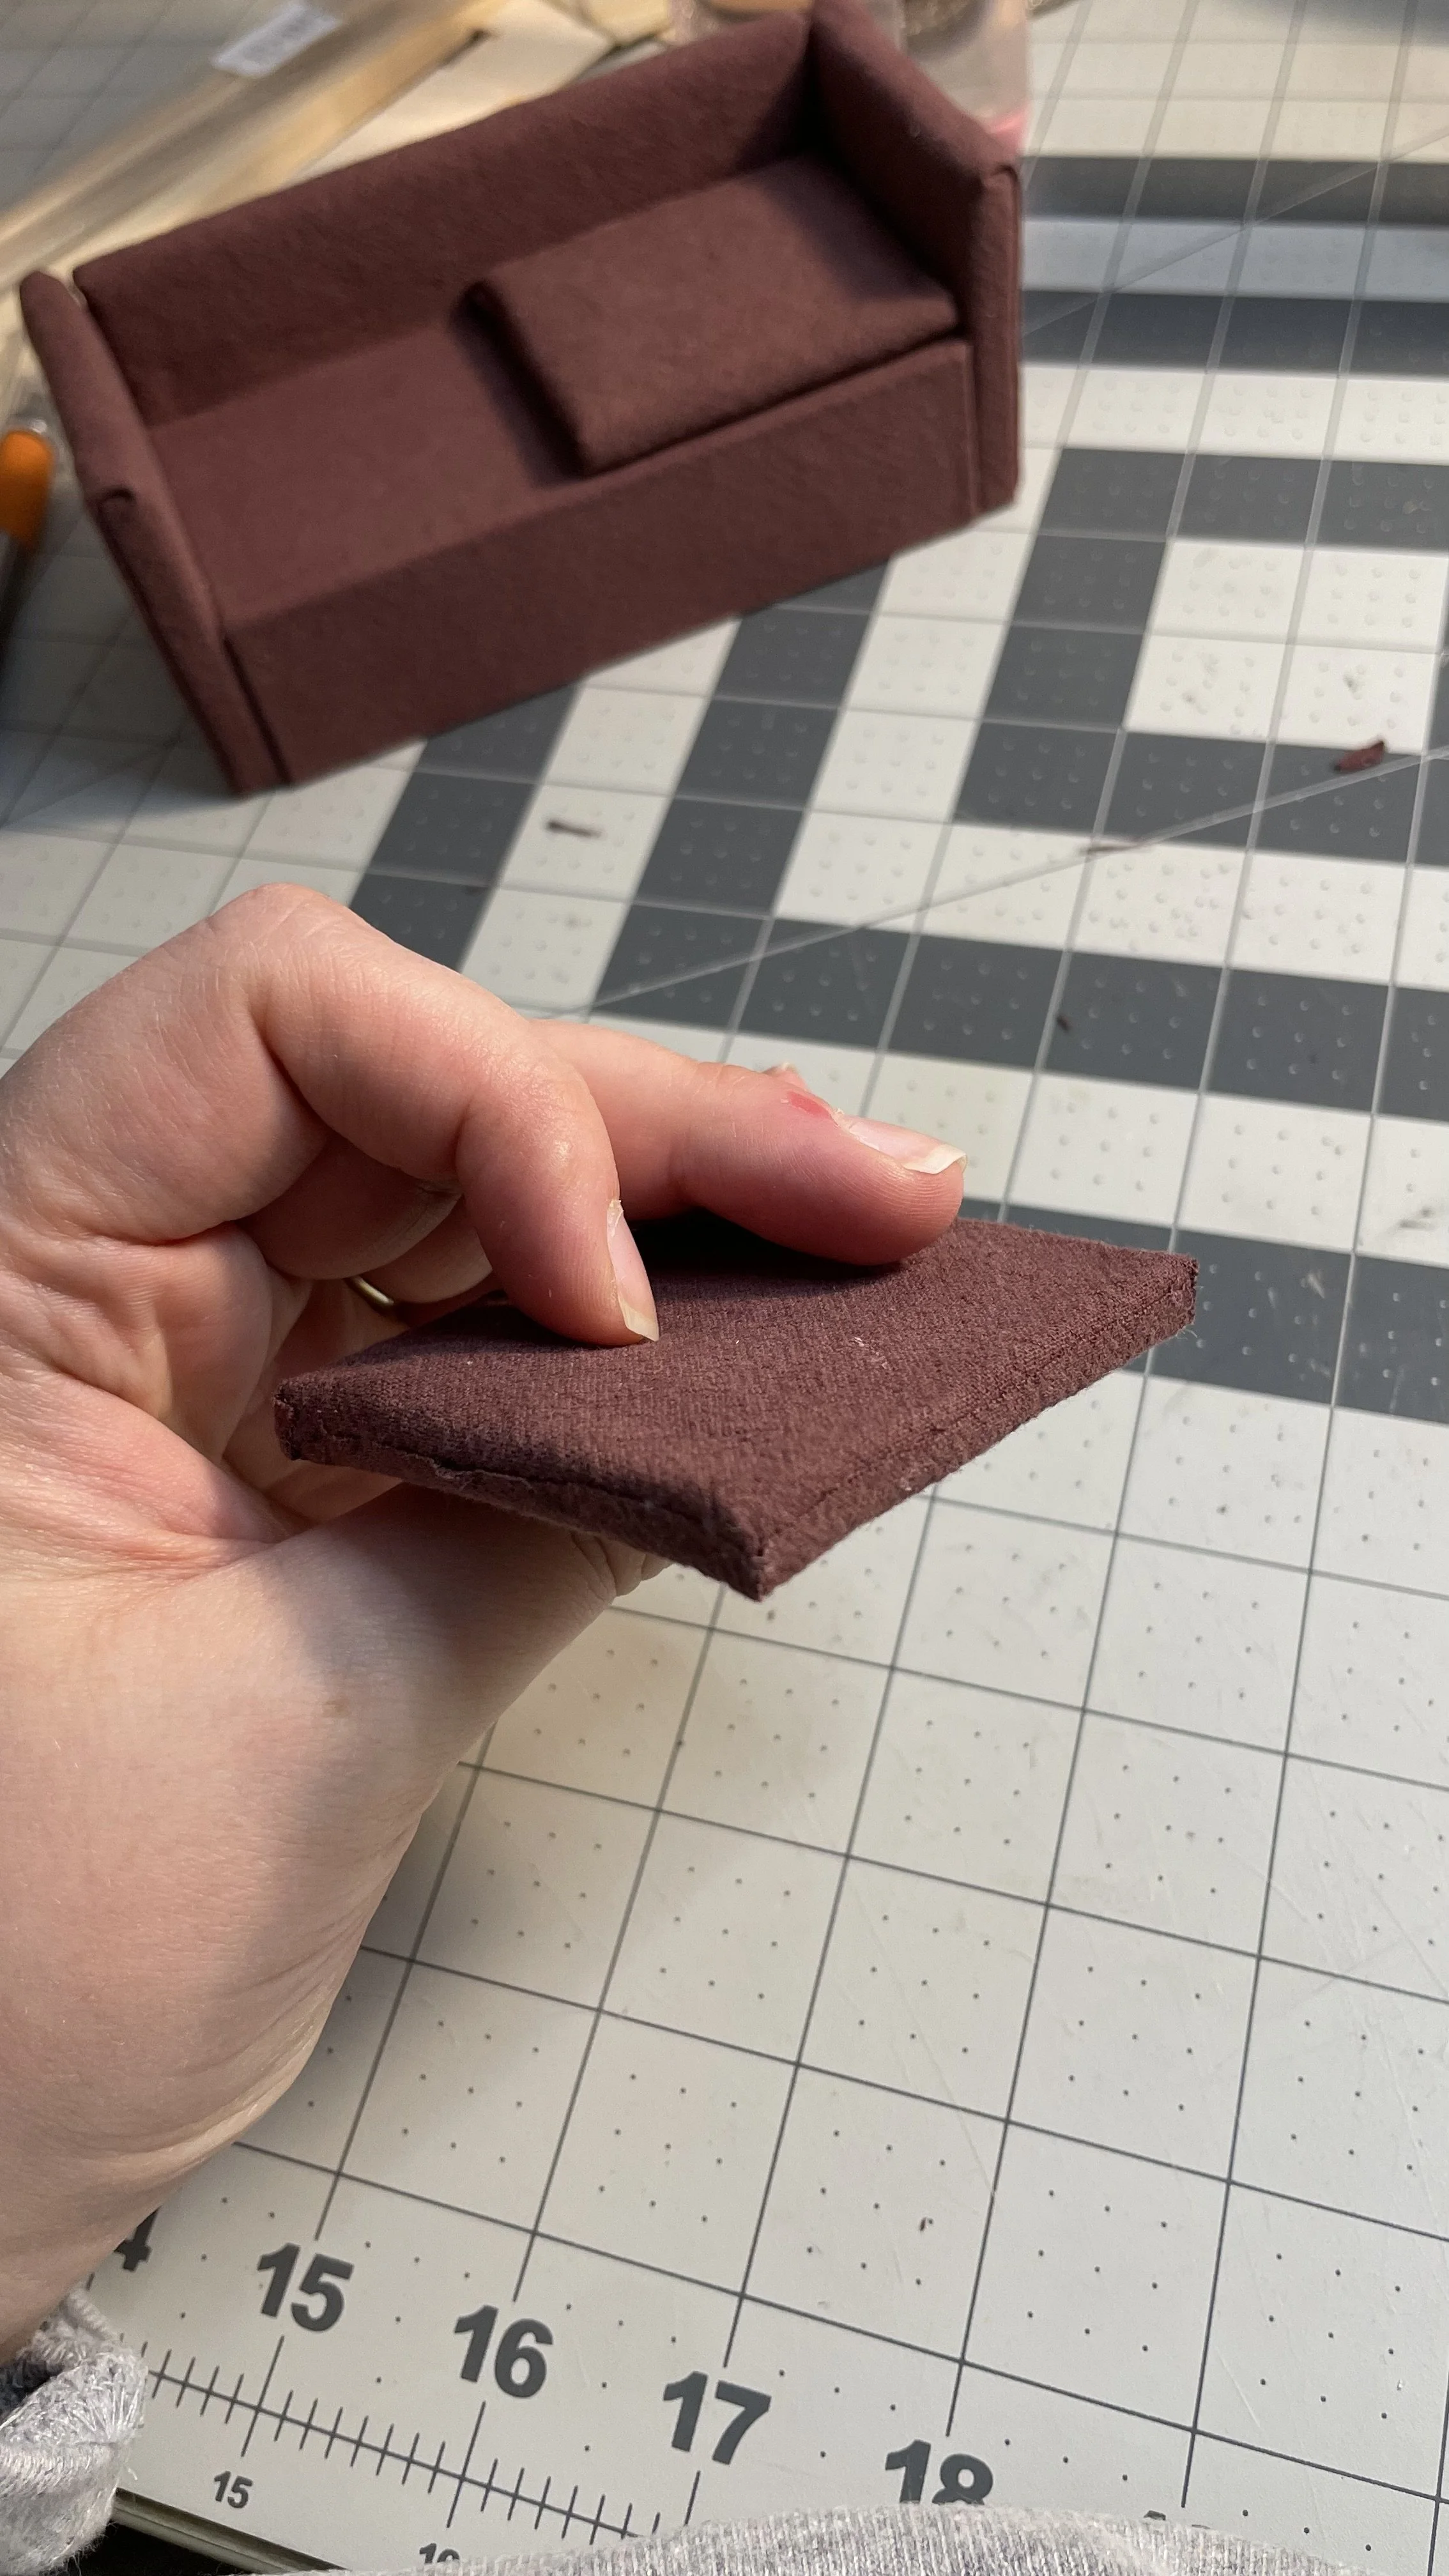
Wrap the fabric around the cushion, trimming about 1/4 of fabric around the sides and back. Fold the seams down and secure with glue.
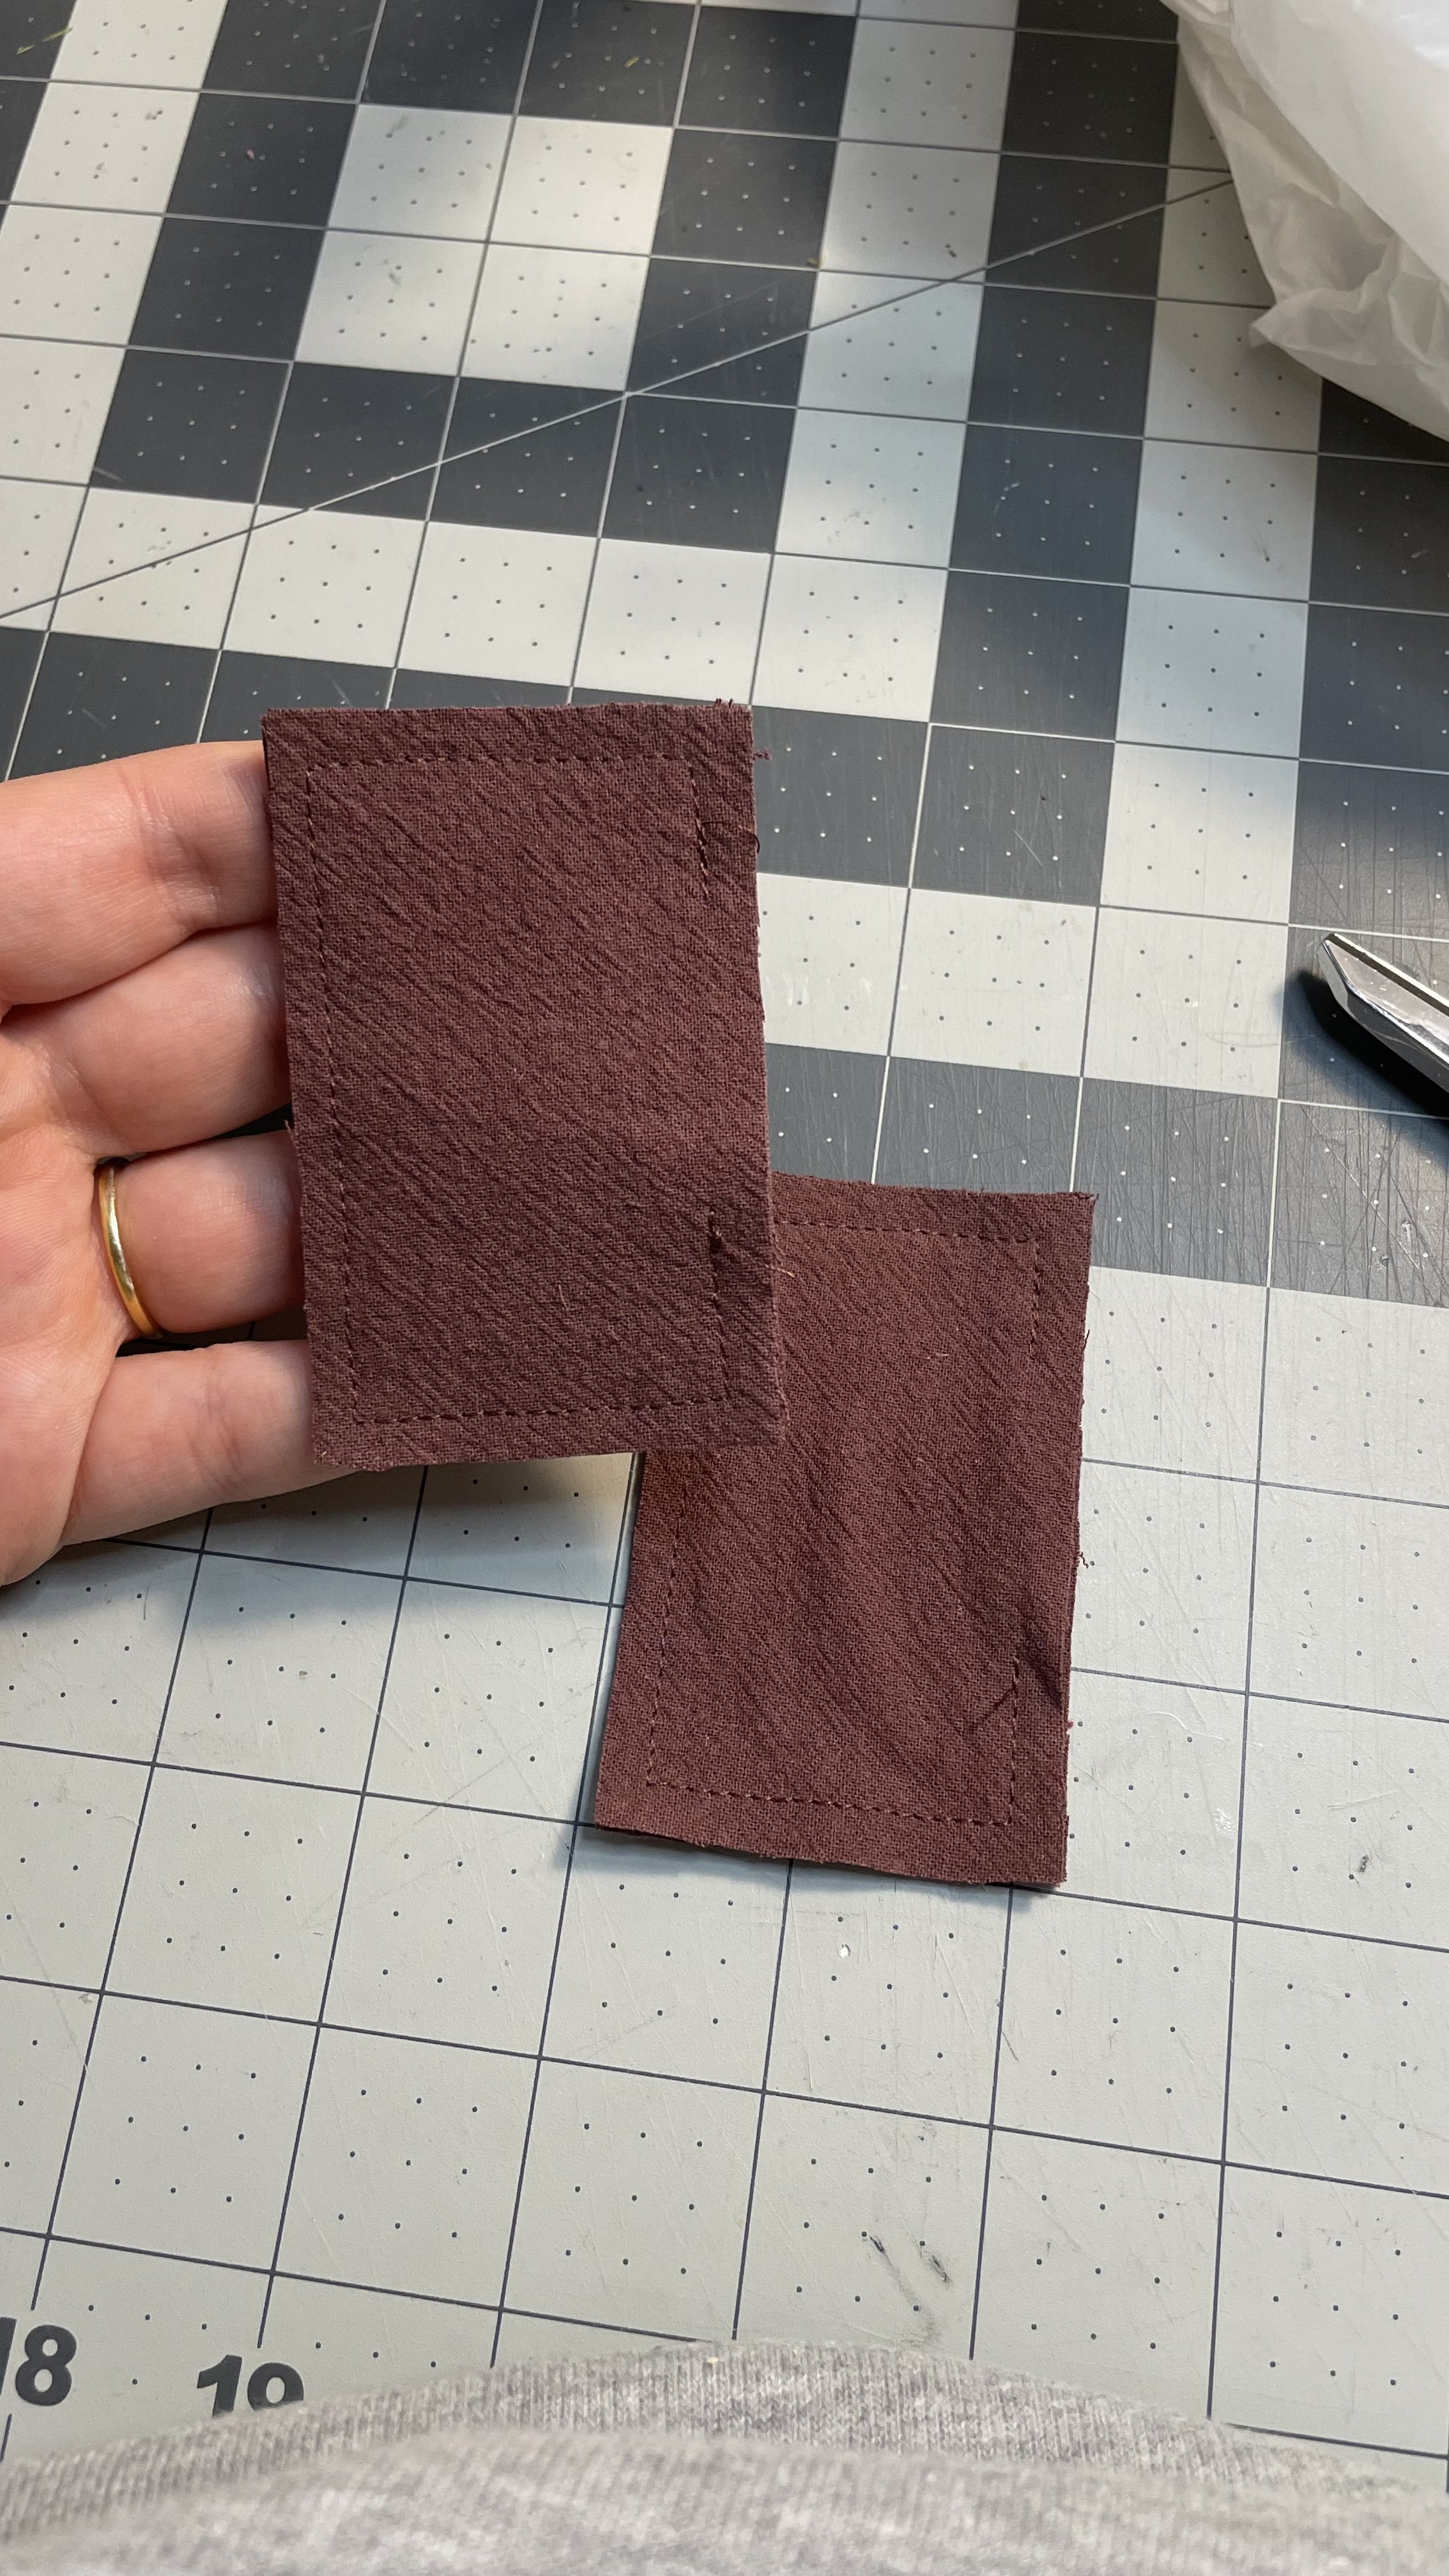
The back sofa cushions are just tiny pillows. See this previous tutorial here on pillows for more details. Simply sew around all sides (right sides facing) with a 1/4 inch seam allowance, leaving about a 1 1/2 inch opening to turn it right sides out. Turn the pillow out so the seams are now on the inside. Fill with polyfill, being sure to get into the corners well, and then hand sew the opening together.

If wanted, glue your cushions down to the sofa base. I decided to glue them down so that tiny hands could do less damage. And, now you’re done.

