Ikea Flisat Dollhouse: DIY Kitchen Cabinets
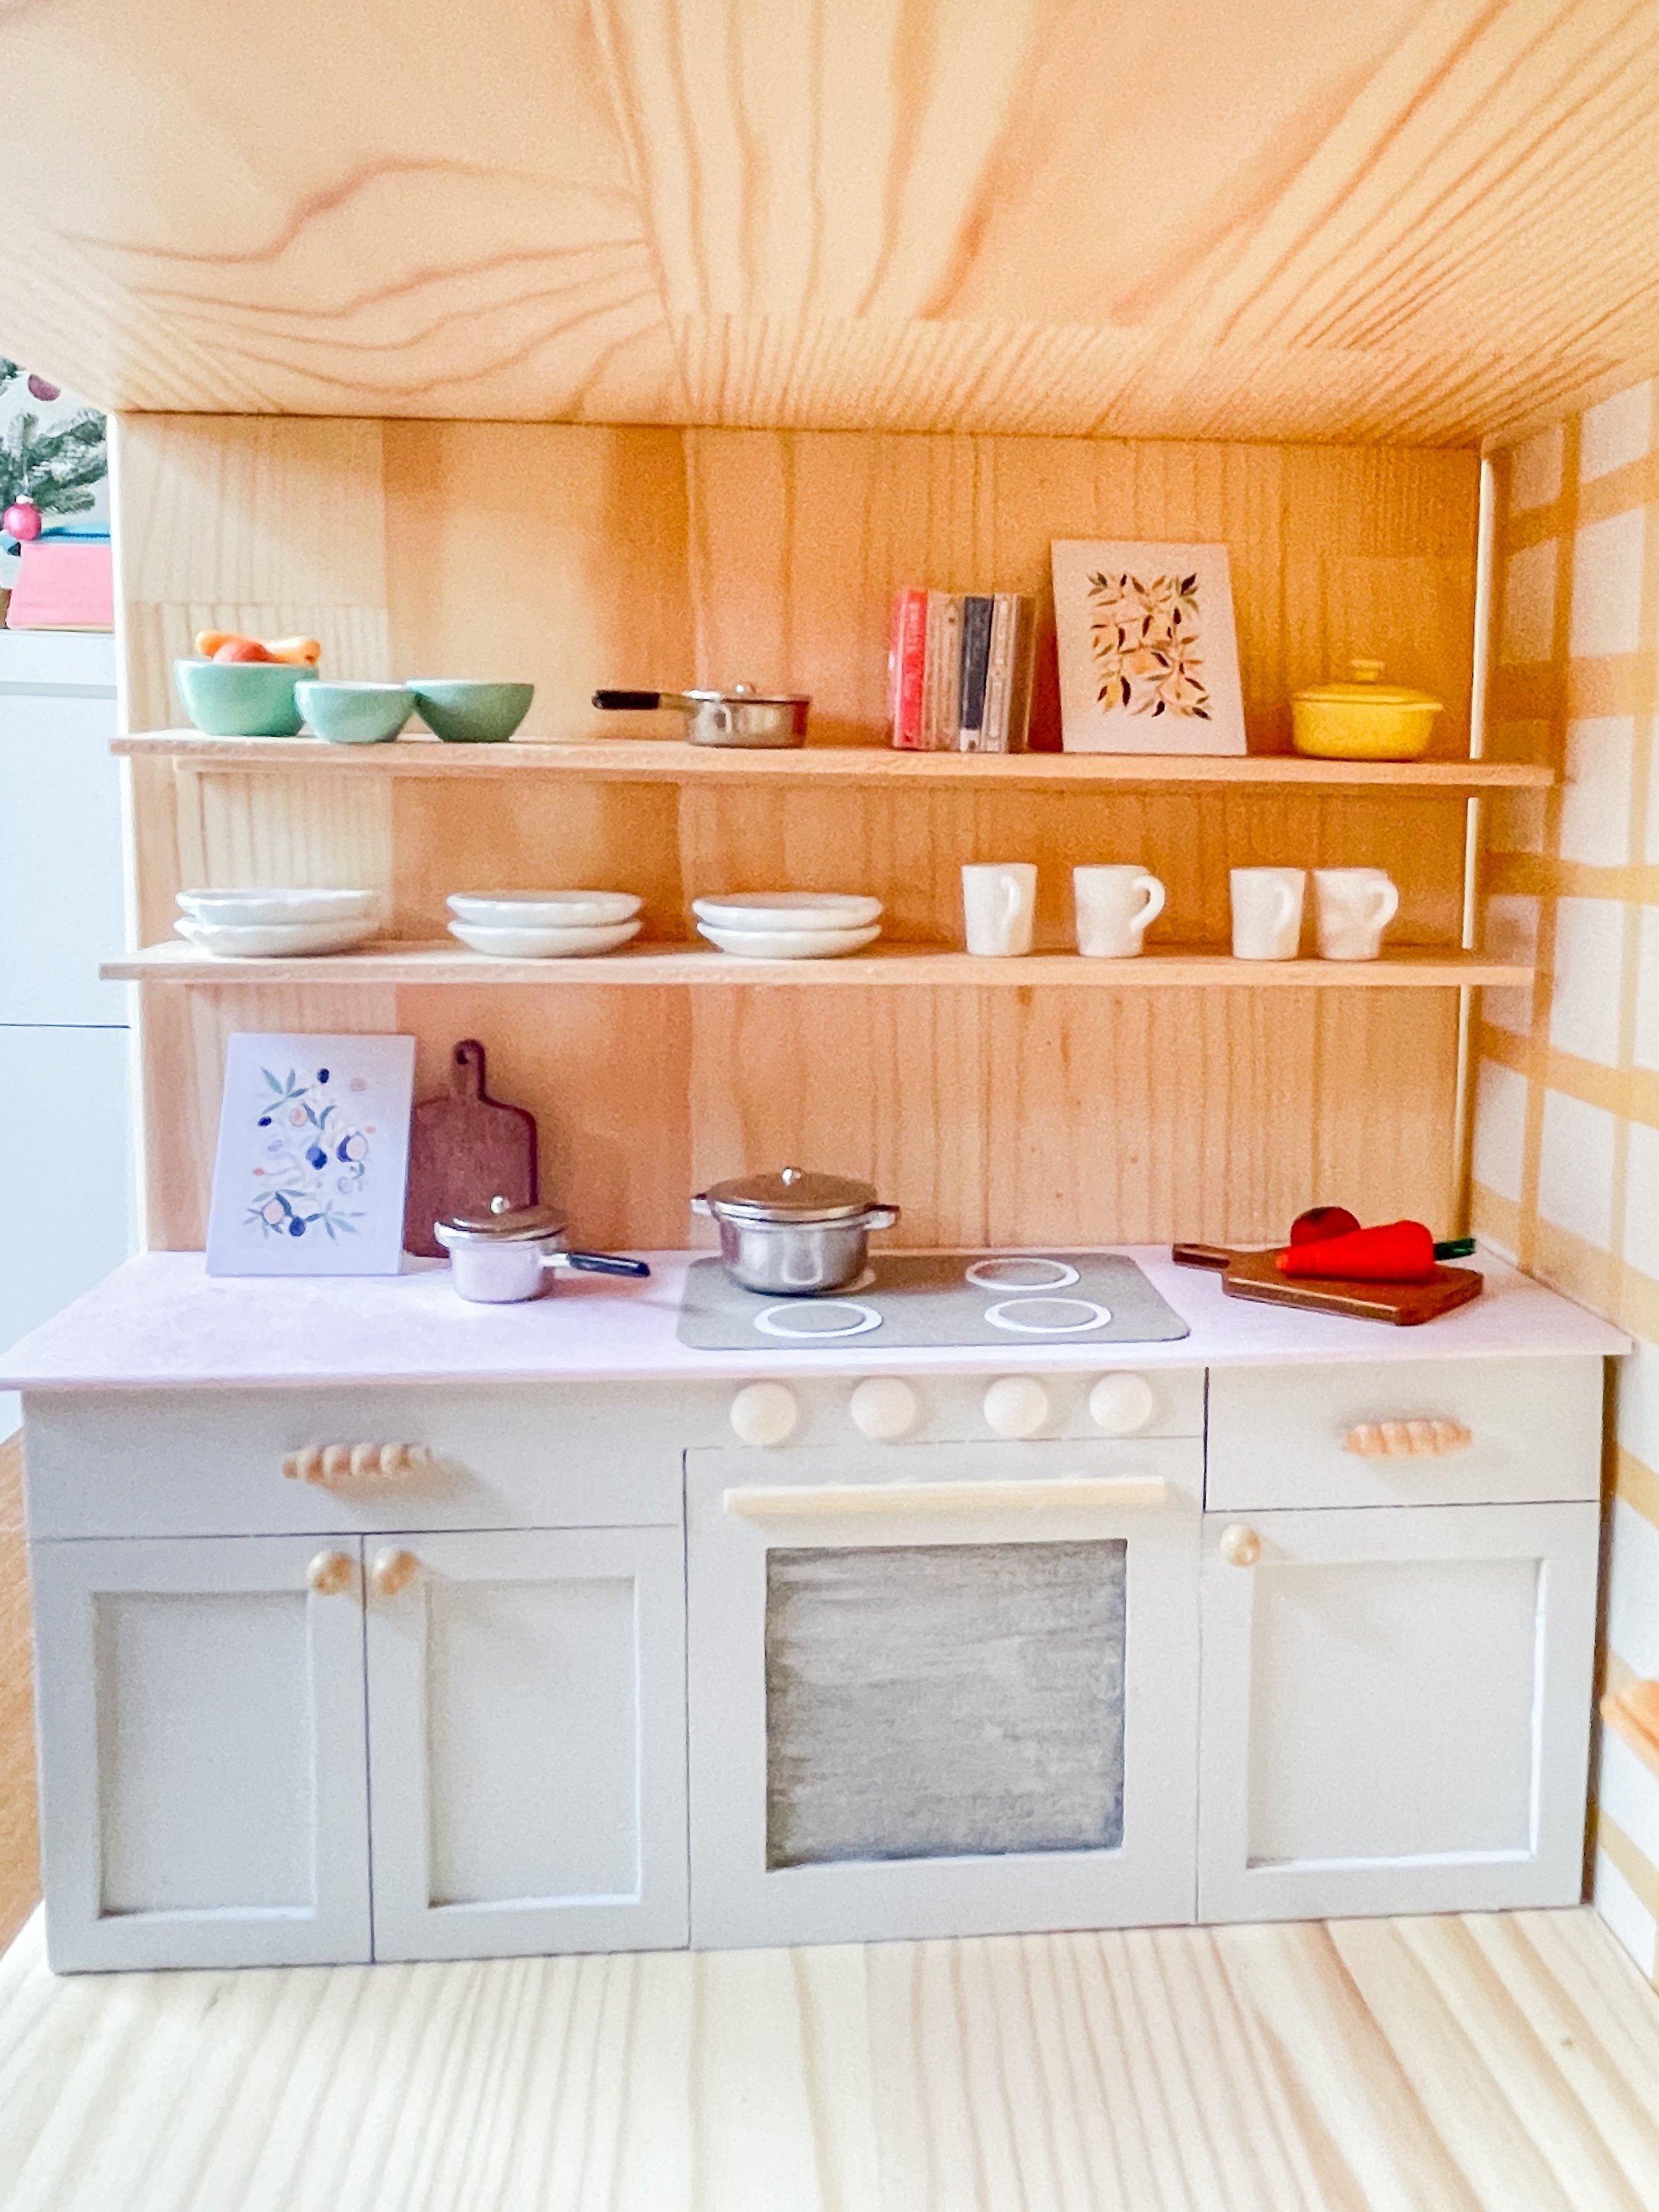
Every dollhouse needs a kitchen! There are plenty of pre-made kitchen cabinets out there to purchase, but I enjoy the challenge of making my own block of cabinets. This gives you the ability to create a custom layout of appliances, doors, etc and fit it exactly to your house size.
These cabinets below are made to fit the larger first story room in the Ikea Flisat dollhouse. They are constructed out of basswood sheets, which you can cut with an X-acto knife or other blade. No power tools needed! I’ve also included a downloadable PDF with cut lists and a cutting template.
Materials
1/16 inch thick basswood sheet (I purchase locally at my Hobby Lobby)
3/32 thick basswood sheet
1/8 x 1/8 basswood square dowel/strip
White & Gray Cardstock
Regular paper and home printer
Gray Paint
Spray paint or craft paint
Household items for knobs and handles (like wood beads, white buttons)
Lego Blocks for bracing while glue dries
Wood Glue
Craft or Tacky Glue
E6000 Glue
Note: Basswood is not the same a balsa wood. Balsa wood is much softer and porous. I prefer to work with basswood.
Kitchen Cabinets Tutorial & PDF Template
Before getting started, download the PDF printable below that includes the cut list and cutting templates for each piece of the cabinets.
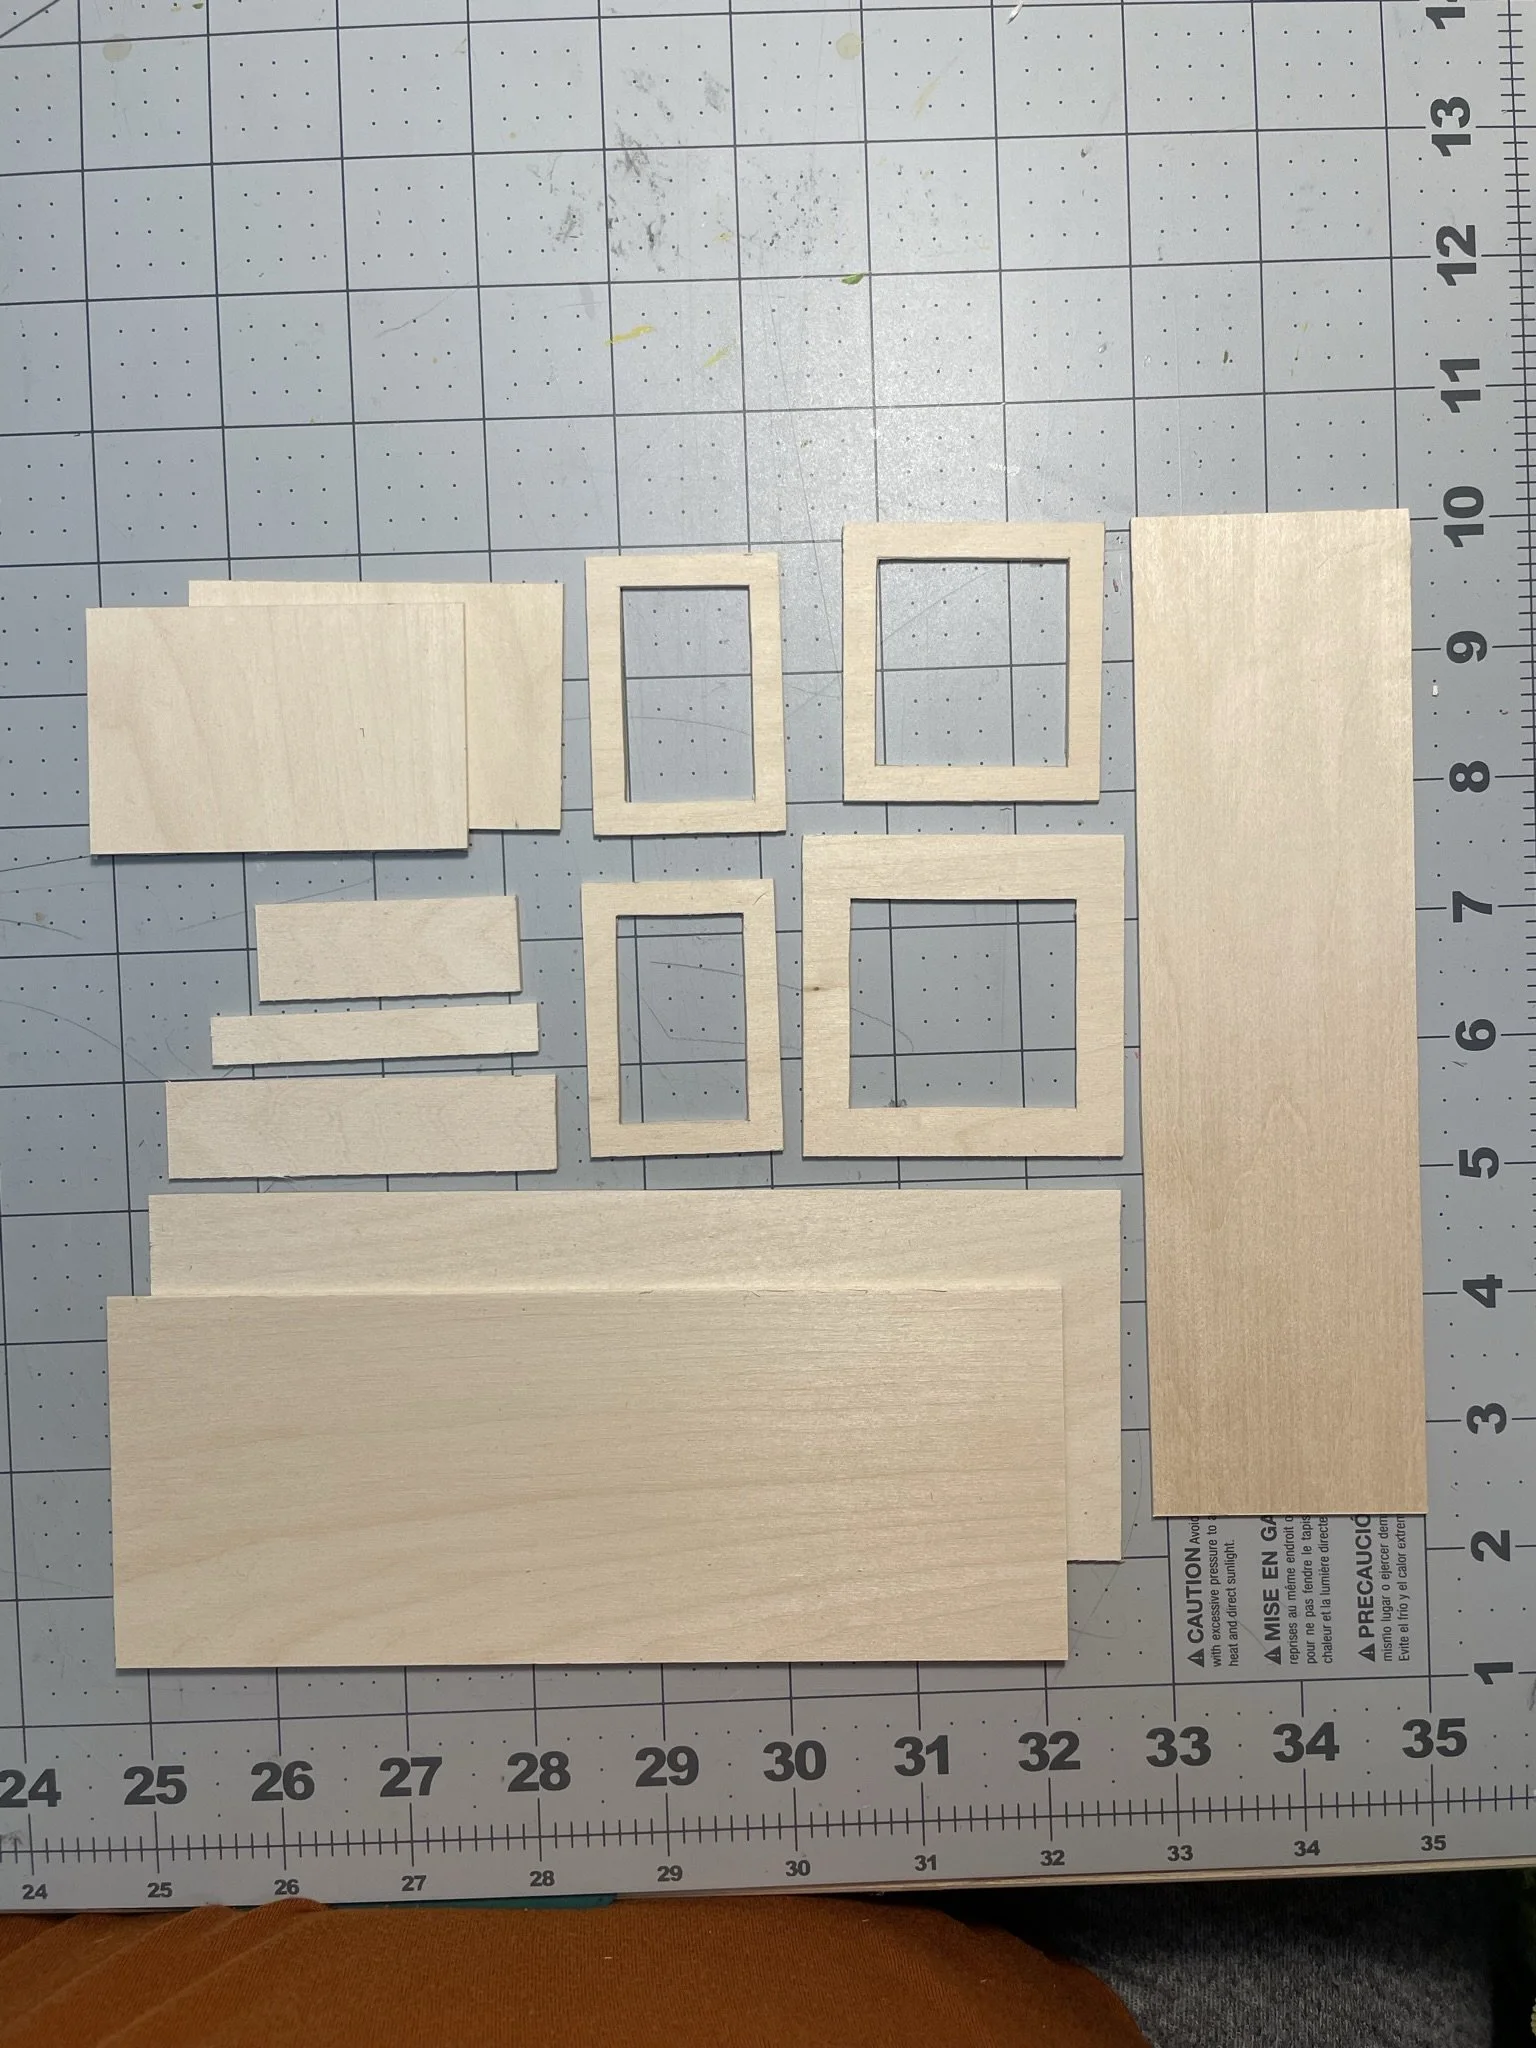
Measure and cut out your basswood pieces from the 1/16 inch thick sheet. These pieces will make up the bulk of your cabinet base and front.
First, attach all of your drawer and door fronts to the cabinet base front sheet. Use the gluing template to confirm you have the correct layout. Depending on how accurate your cuts were, you may need to sand down some edges to make the final edges all flush.
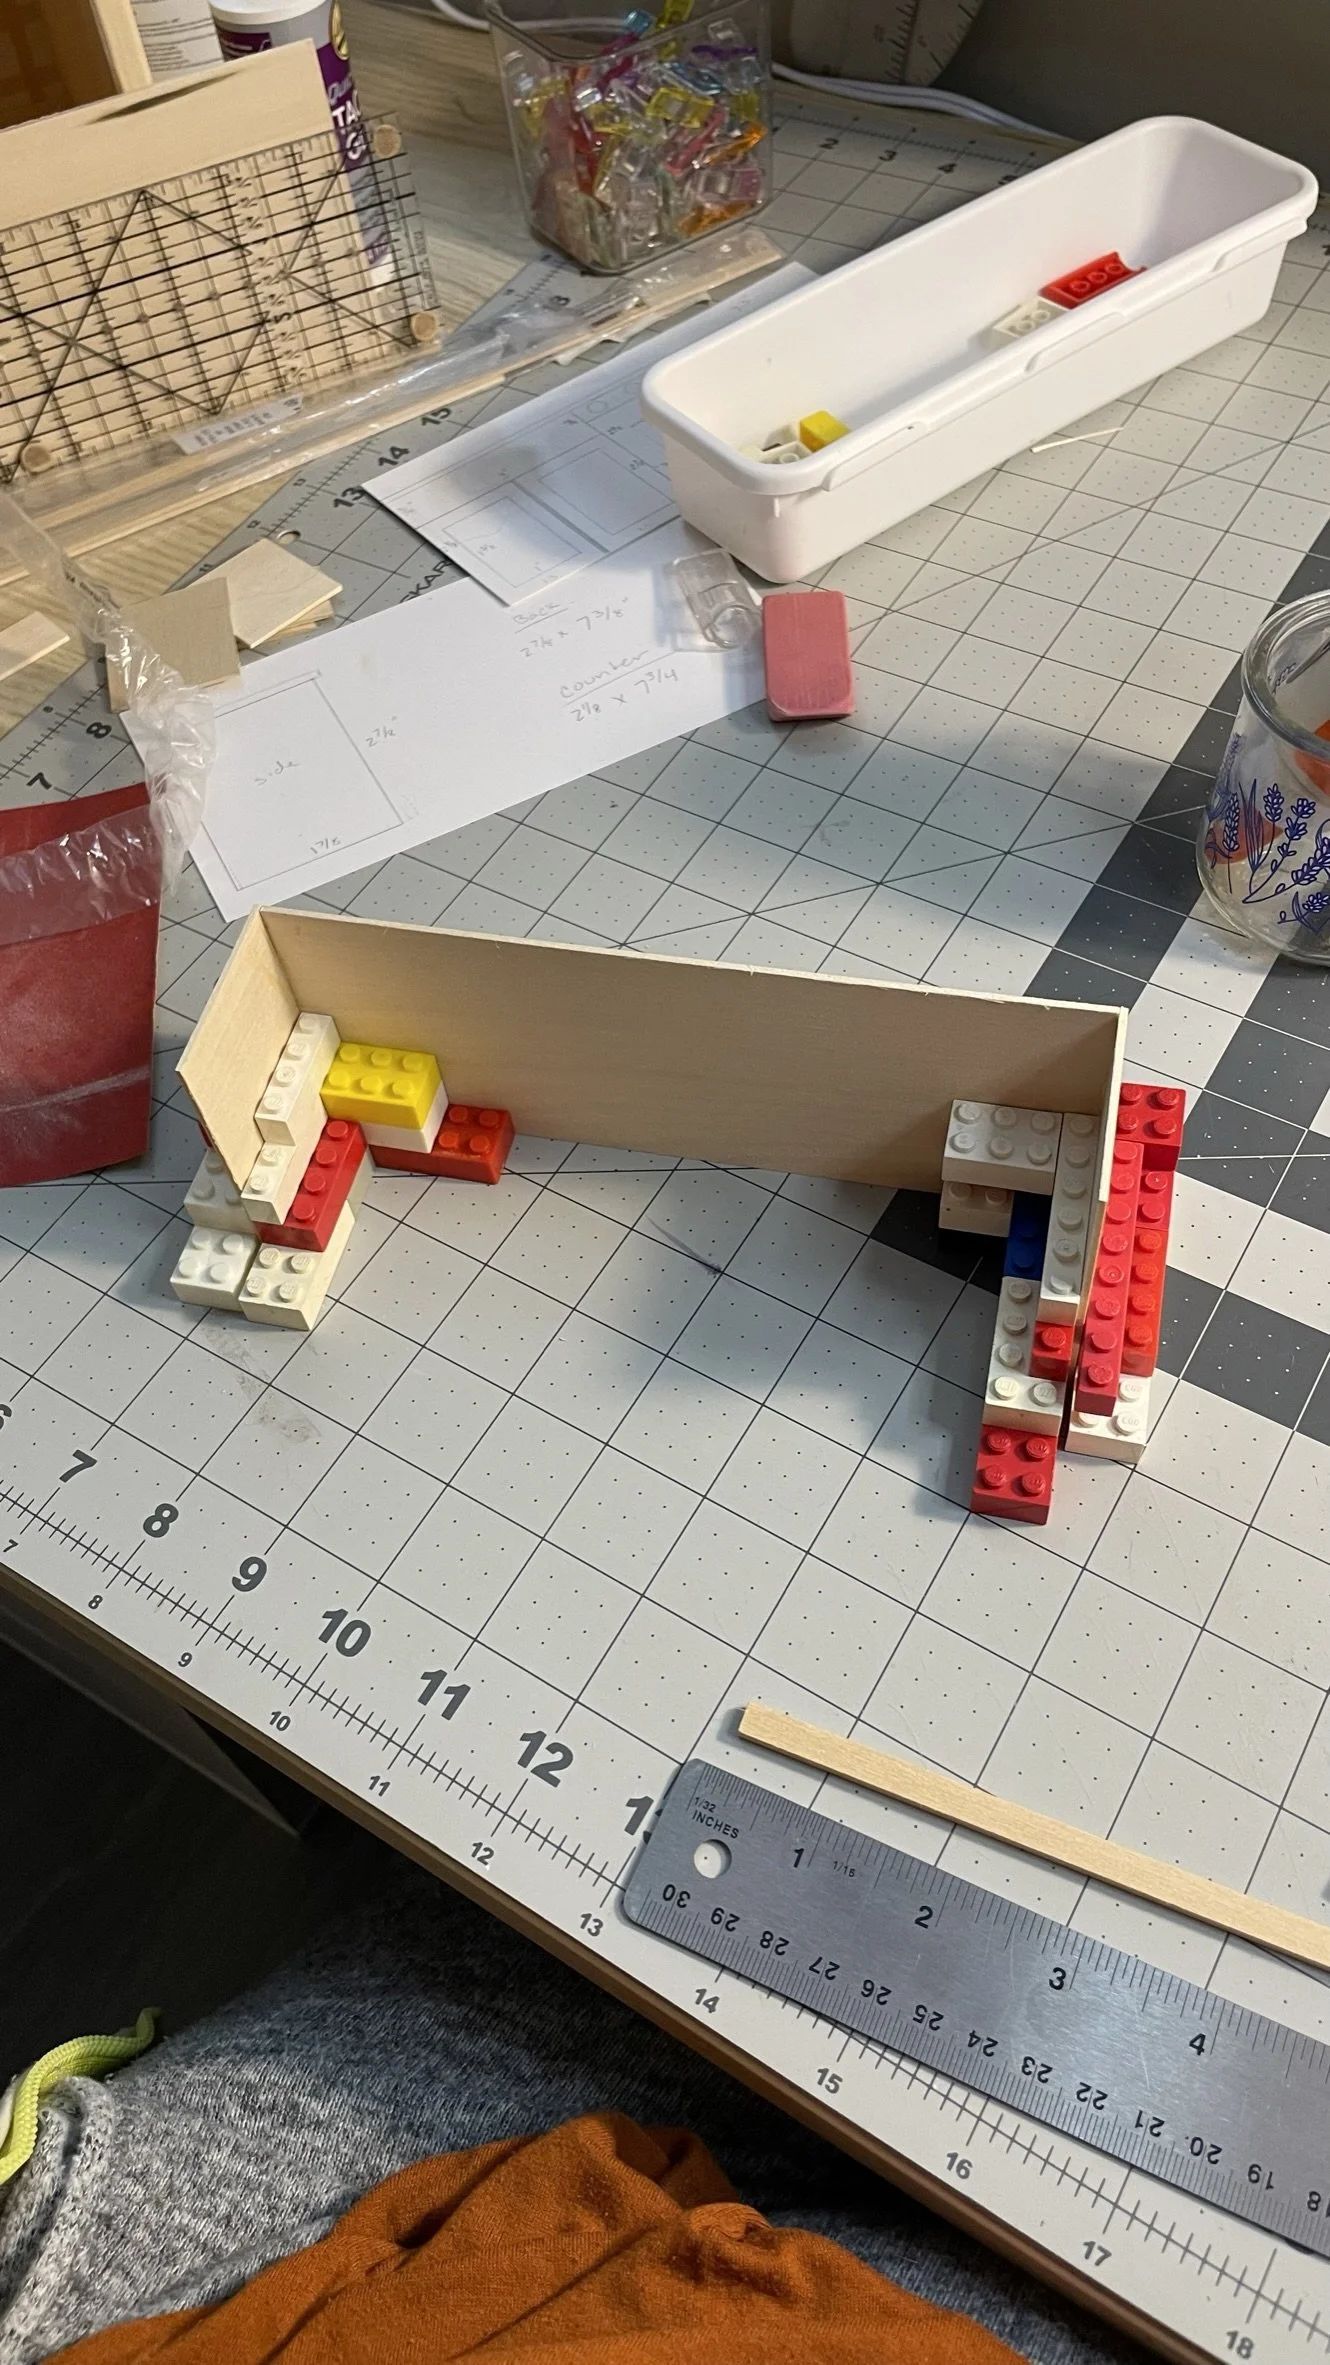
Once the front has dried, you can begin assembling the cabinet box. The PDF template includes a guide for how the cabinet box fits together. While the glue dries, use Lego blocks to create a right angle brace and to keep your pieces steady. I noticed that my basswood sheets had the tendency to bow inwards a bit. To combat this, I put two narrow strips on the inside bottom of the cabinet box to brace again any bowing.


After the base cabinet is assembled and the wood glue has dried, I opted to spray paint my cabinets for a smoother finish. This took multiple coats and even multiple days to fully cure.
Make the Countertop
For my countertop texture, I wanted a pink marble for a feminine touch. After googling around for a bit, I found this pink marble photo. Download your image and print it out on regular computer paper.
Using a little bit of thinned out craft glue, glue your countertop paper on top of the counter basswood sheet. Fold the edges over and secure the glue on the underside. Be sure to leave about 1/2” of paper around each side to folder under. You can trim down as needed.
This will be glued on top of the cabinet base. Give it a about a 1/4” overhang on the front, centering it side to side, and making the counter top flush with the cabinet back edge. As the counter dries onto the cabinet, weight it down with something heavy.
Make the Stove Top & Oven Front
The stove top is made from cardstock to resemble the burner rings of a real stove. Cut out your rounded rectangle base, 4 white circles, and 4 gray circles. Glue the smaller circles on top of the larger white circles. The glue each circle onto your stove top in a square position. Finally, glue the stove onto the top of your counter, lining it up with the largest square in the cabinet base. All of this can be assembled with craft glue.
Paint the inside window of the oven with gray or black craft paint. I also used a bit of a wooden skewer as the door handle!


Kitchen Door Knobs and Drawer Handles
Look around your home for various bits and bobs that can be used for cabinet hardware. I decided to use tiny wooden beads for the knobs. I also had a few of these mini stair spindles lying around. I cut them down to use as the cabinet handles.
I found some small white button caps in my button stash and used those for the oven knobs.


Make the Upper Shelves
Cut out the upper shelves out of 3/32 in thick basswood, as well as the support 1/8 square dowel. First, glue the square dowel along the underside of the shelf board, making it flush with the back. This will give you more surface area to adhere to the wall.
Install your cabinet base on the inside wall. Using Lego blocks as temporary supports (two on each side), glue the upper shelves to the wall using a stronger glue like E6000.

And, we’re done! This project would be easy to customize with colors and cabinet hardware to make it your own. Tag me in whatever you create on Instagram!