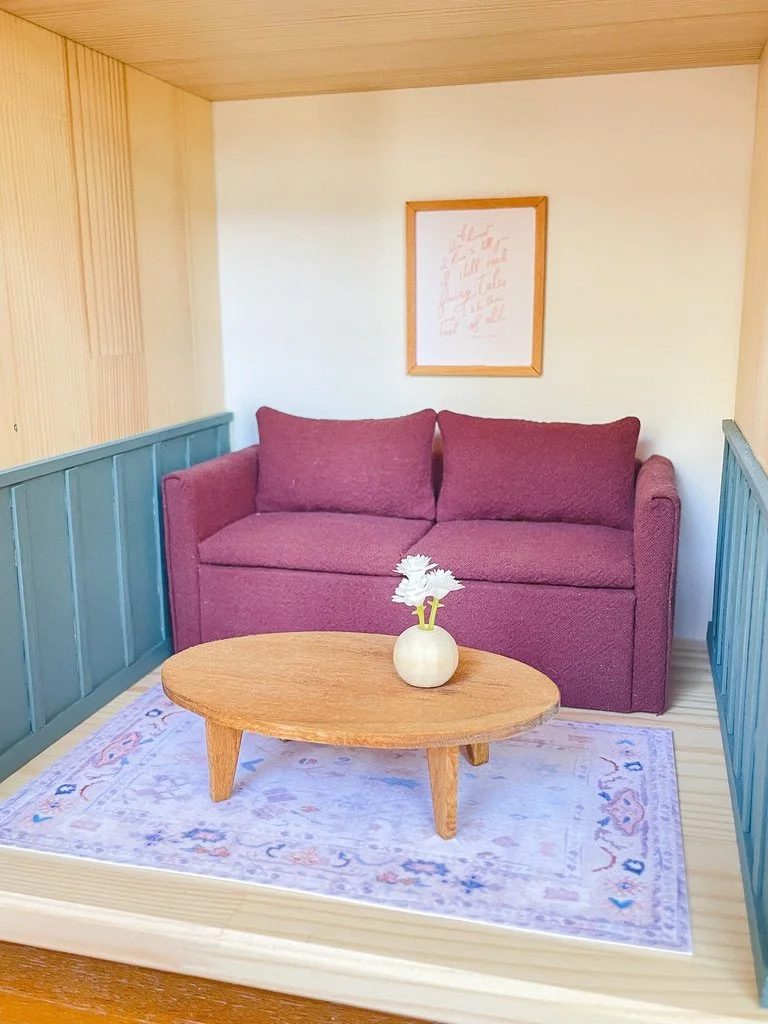
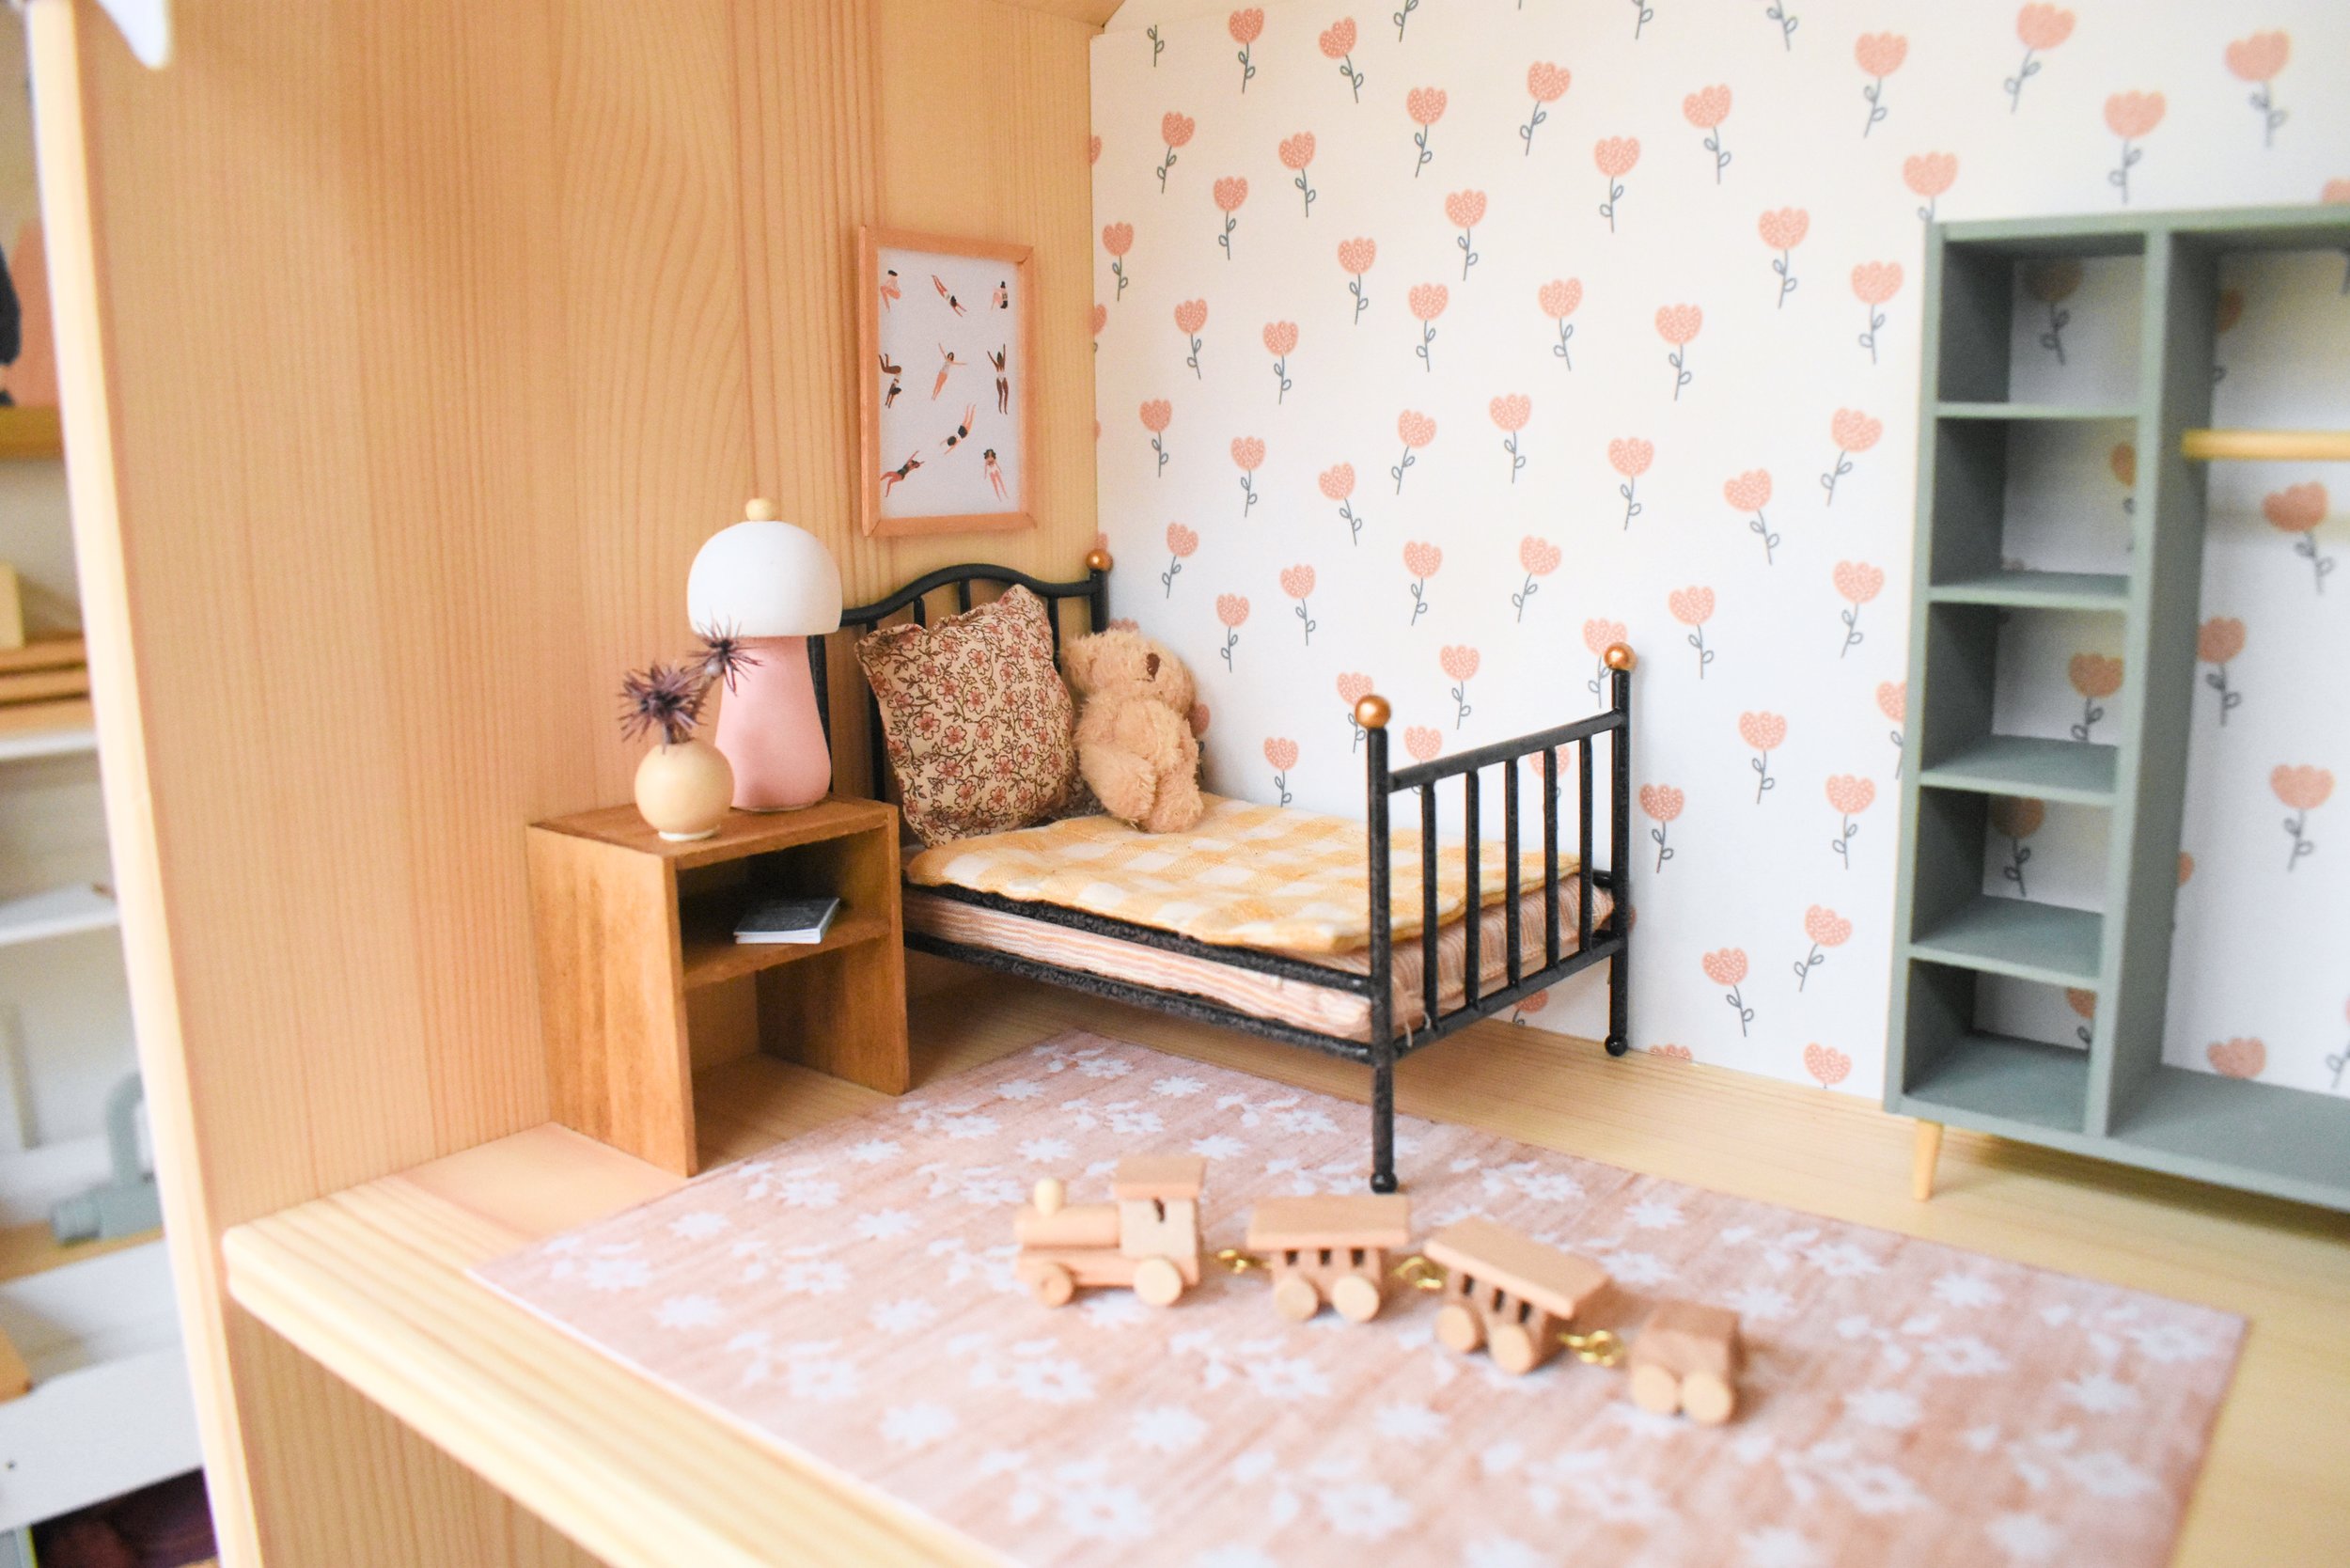
Ikea Flisat Dollhouse Makeover Reveal
The Ikea dollhouse is complete! My goal heading into this project was to start with a $40, very accessible dollhouse, but customize it in a kid-friendly way while still using good interior design that I could be proud of. And, I am proud of it!
My daughter has been playing with it for a few weeks now. Things that have broken and been fixed:
Kitchen open shelves and bookshelves - re-glue to wall. Just needed stronger glue!
One board and batten panel fell off (or was pulled off). Again, stronger glue was the answer.
Kitchen Table - re-glue legs (this was due to an encounter with a certain 18 month old)
So overall, it has held up very well in the hands of a four year old. I hope it continues to get lots of love and little hands have many hours of play ahead!


Furniture Tutorials and Links
There’s tutorials on my site for almost every piece of furniture I made, including a wallpaper round up. Each of the images below will take you to individual links to each tutorial.


I would love to see your own Ikea Flisat makeovers. Tag me in your creations on Instagram or TikTok!