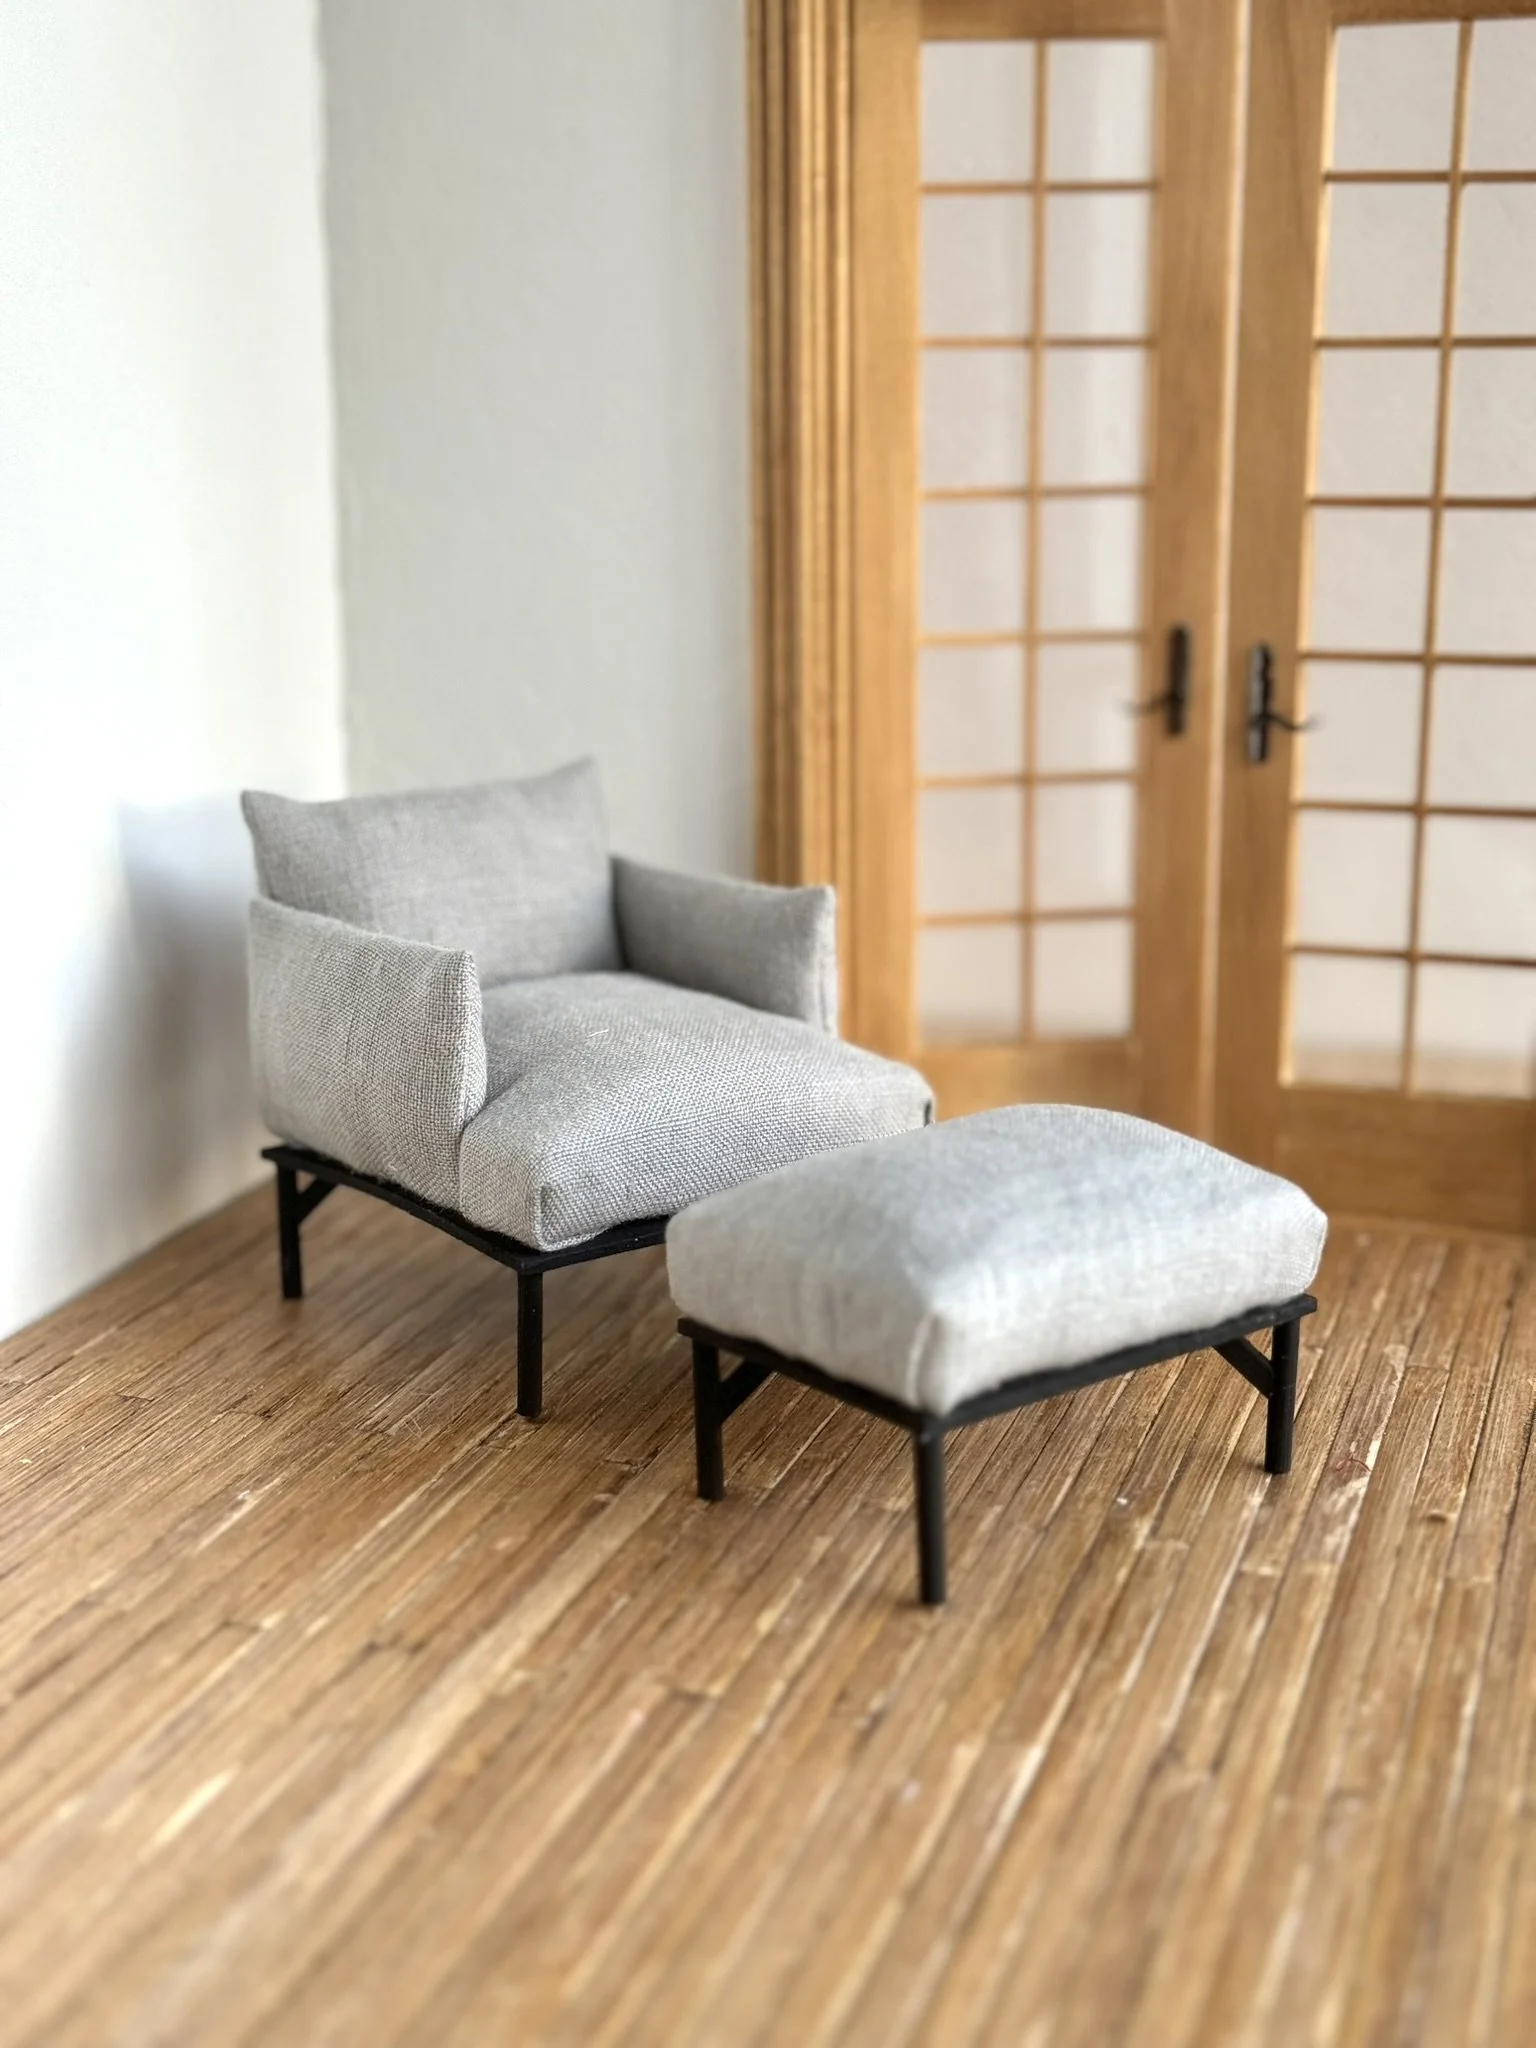
Upholstered Dollhouse Chair Tutorial + Matching Ottoman

I often browse online furniture brands for dollhouse inspiration, and after seeing this Penn Chair from West Elm, I knew it would make for a great mini make! The great thing about using a real piece of furniture as a guide is that all the measurements are provided. It takes a little bit of math to convert it into 1:12 scale, but then you have a straightforward direction to follow. This upholstered chair tutorial is lengthy but each individual step is not difficult. The matching ottoman is the easier piece, so start there first if you are familiar yet with DIY dollhouse furniture!
Materials
Small wooden skewers (about 1/16” round)
Foam core poster board (about 1/4” thick)
Quilt batting or felt sheets
Fabric of choice
Paint or stain
Fabric Glue and/or Tacky Glue
Hot Glue
Dollhouse DIY Chair Tutorial
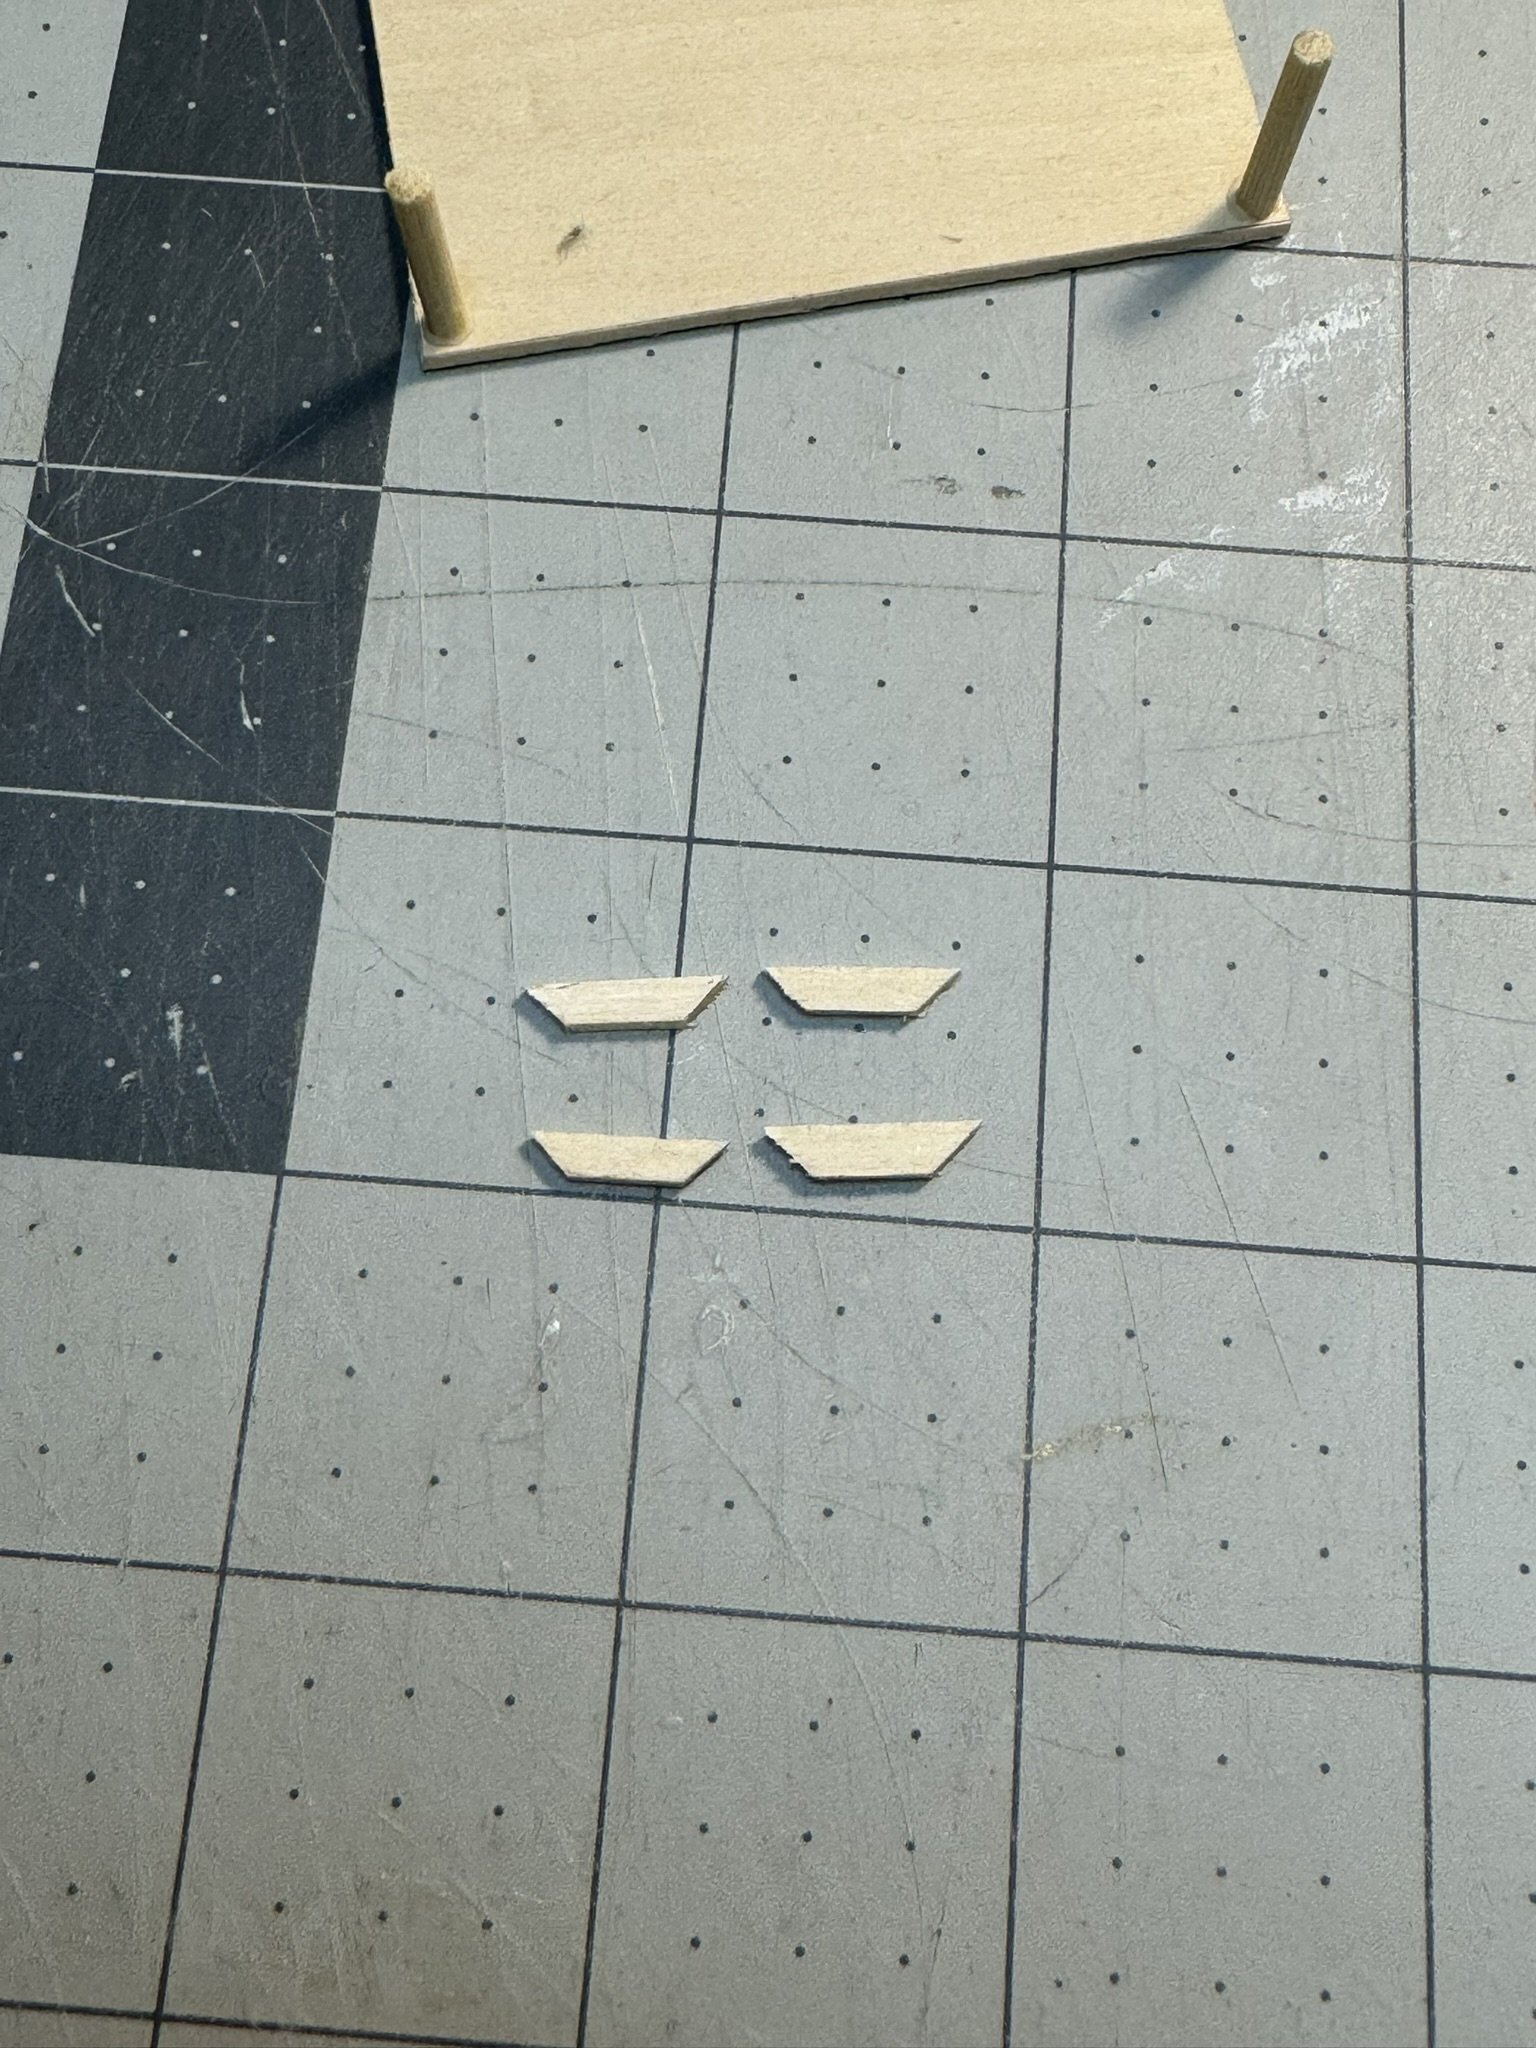
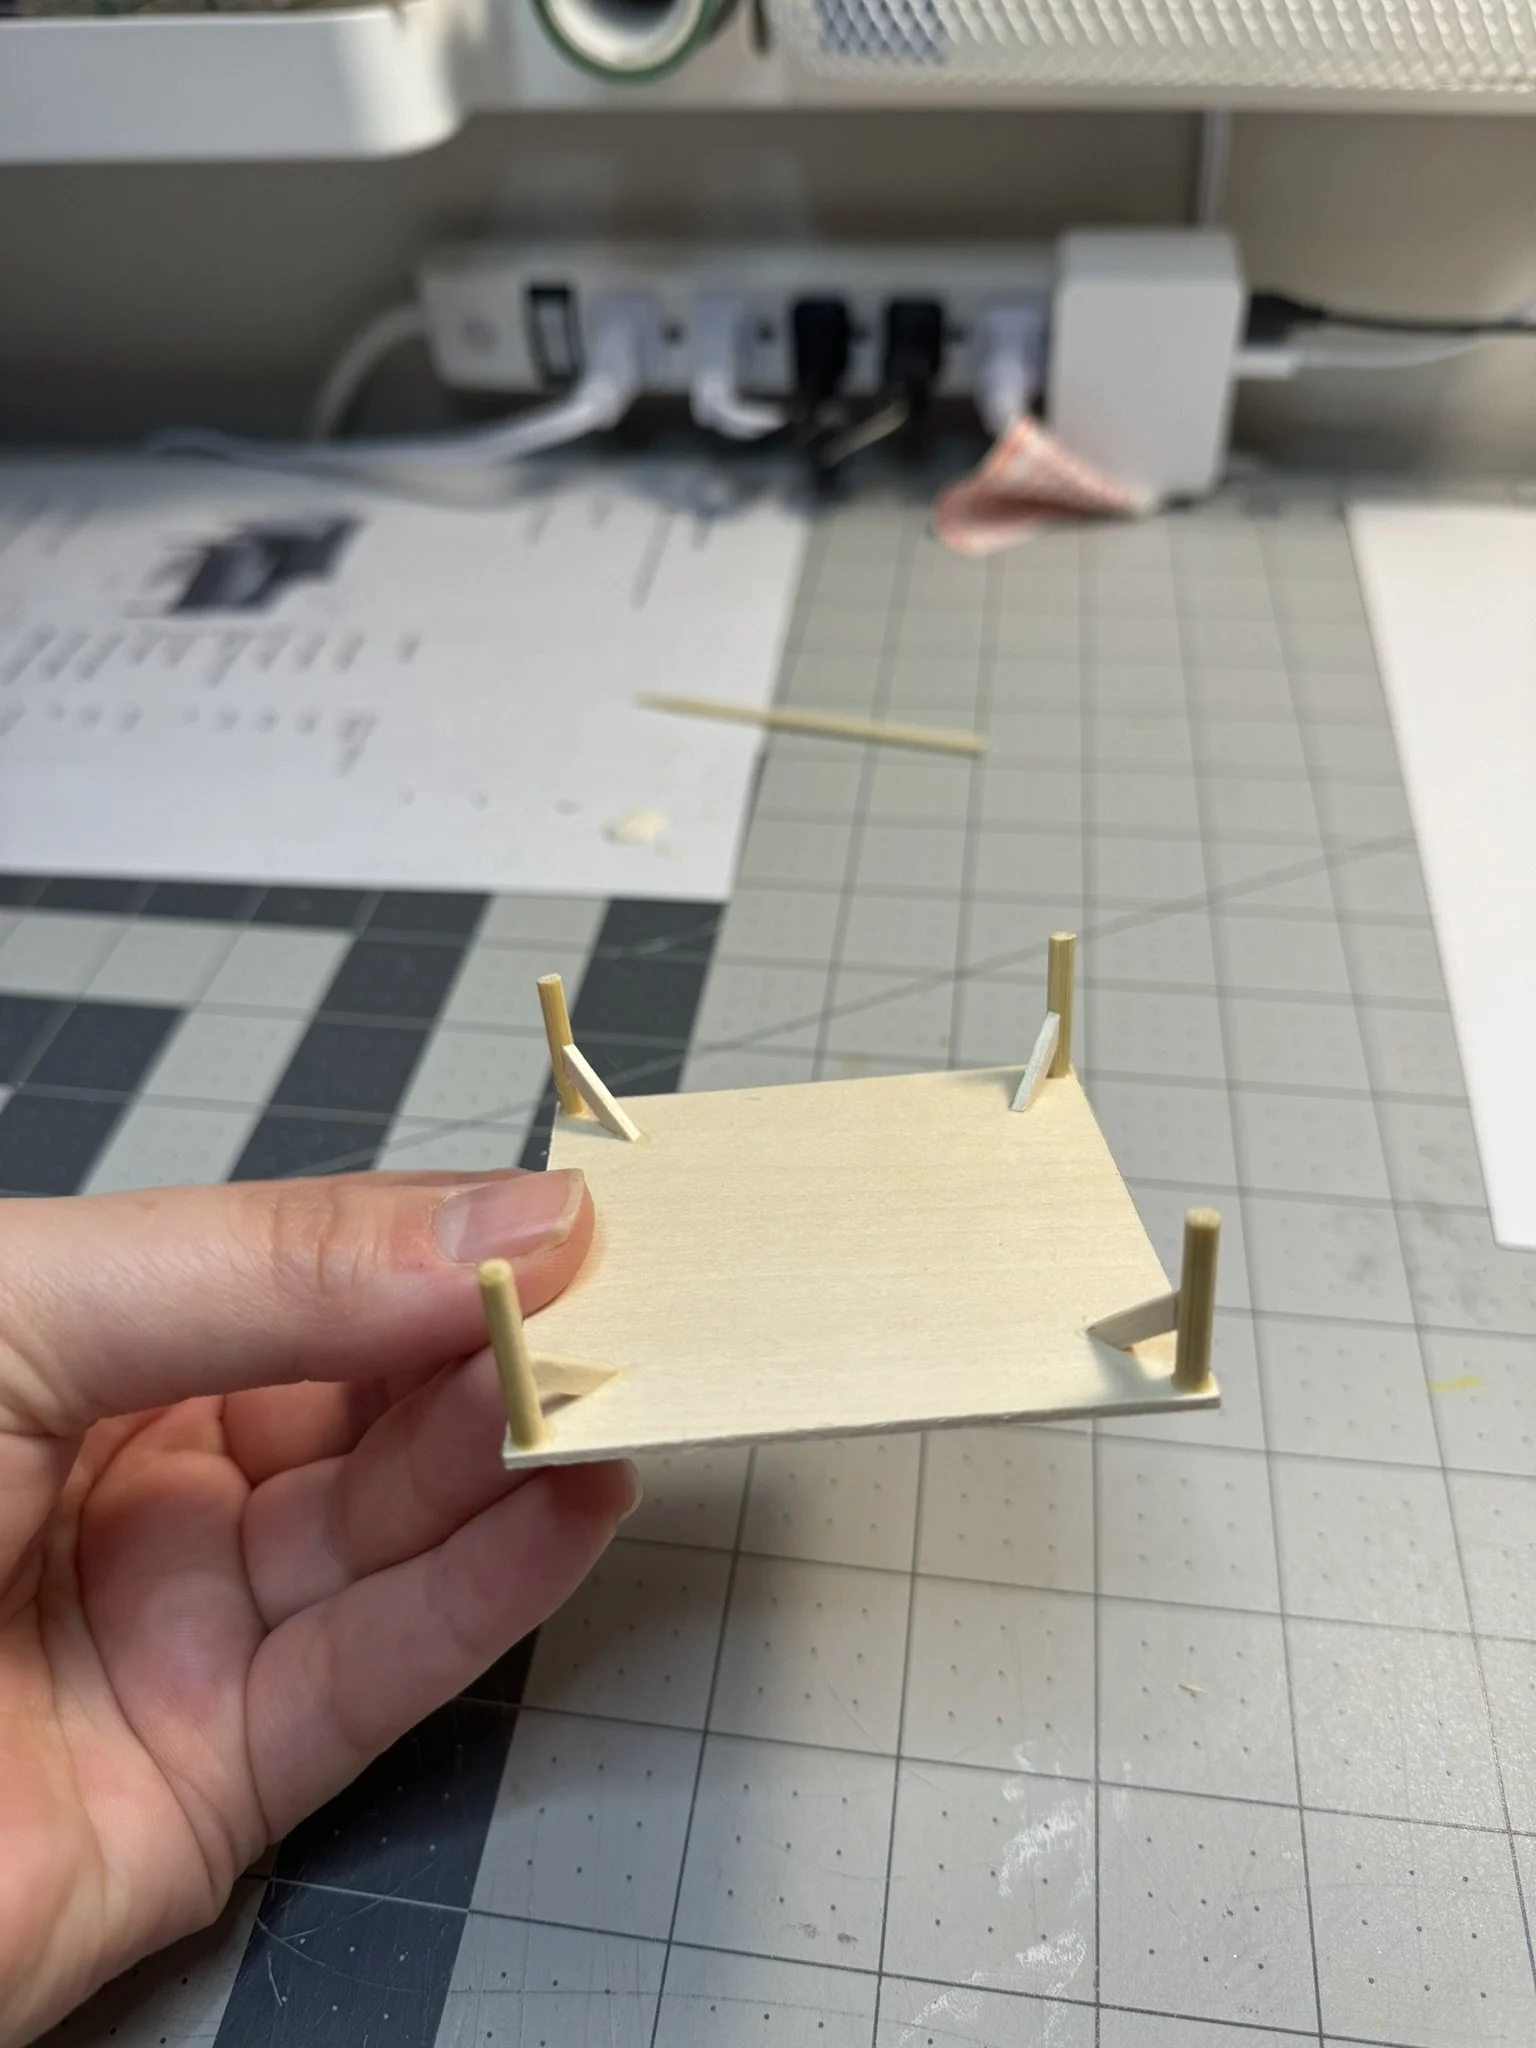
The chair base and legs are made from basswood. Start off by cutting out the necessary pieces from your basswood and skewers.
Mini Tip - Cut basswood easily with an X-Acto Knife or box cutter blade.
Basswood Cut List
1/16” Sheet: 2 5/8” x 2 1/2” for chair base
1/16” Sheet: 1 5/8” x 2 3/8” for ottoman base
Skewers, Cut 8 total at 3/4” long for legs
1/16” Sheet, Cut 8 total at 1/2” long x 1/8” wide with both edges cut at a 45 degree (like a trapezoid). The longer edge measures 1/2”
Sand down any rough edges, especially on the skewers to make sure all ends are perfectly flat. Glue one leg to each corner of the square base you cut. Doing the same for the chair and ottoman. Then glue the support angled pieces connecting the chair leg to the chair base. I chose to position my supports all pointing towards the center of the base.
Follow the same steps for the ottoman base. Shown below is the chair base.
Once the glue is dry, you can stain or paint both wood bases.

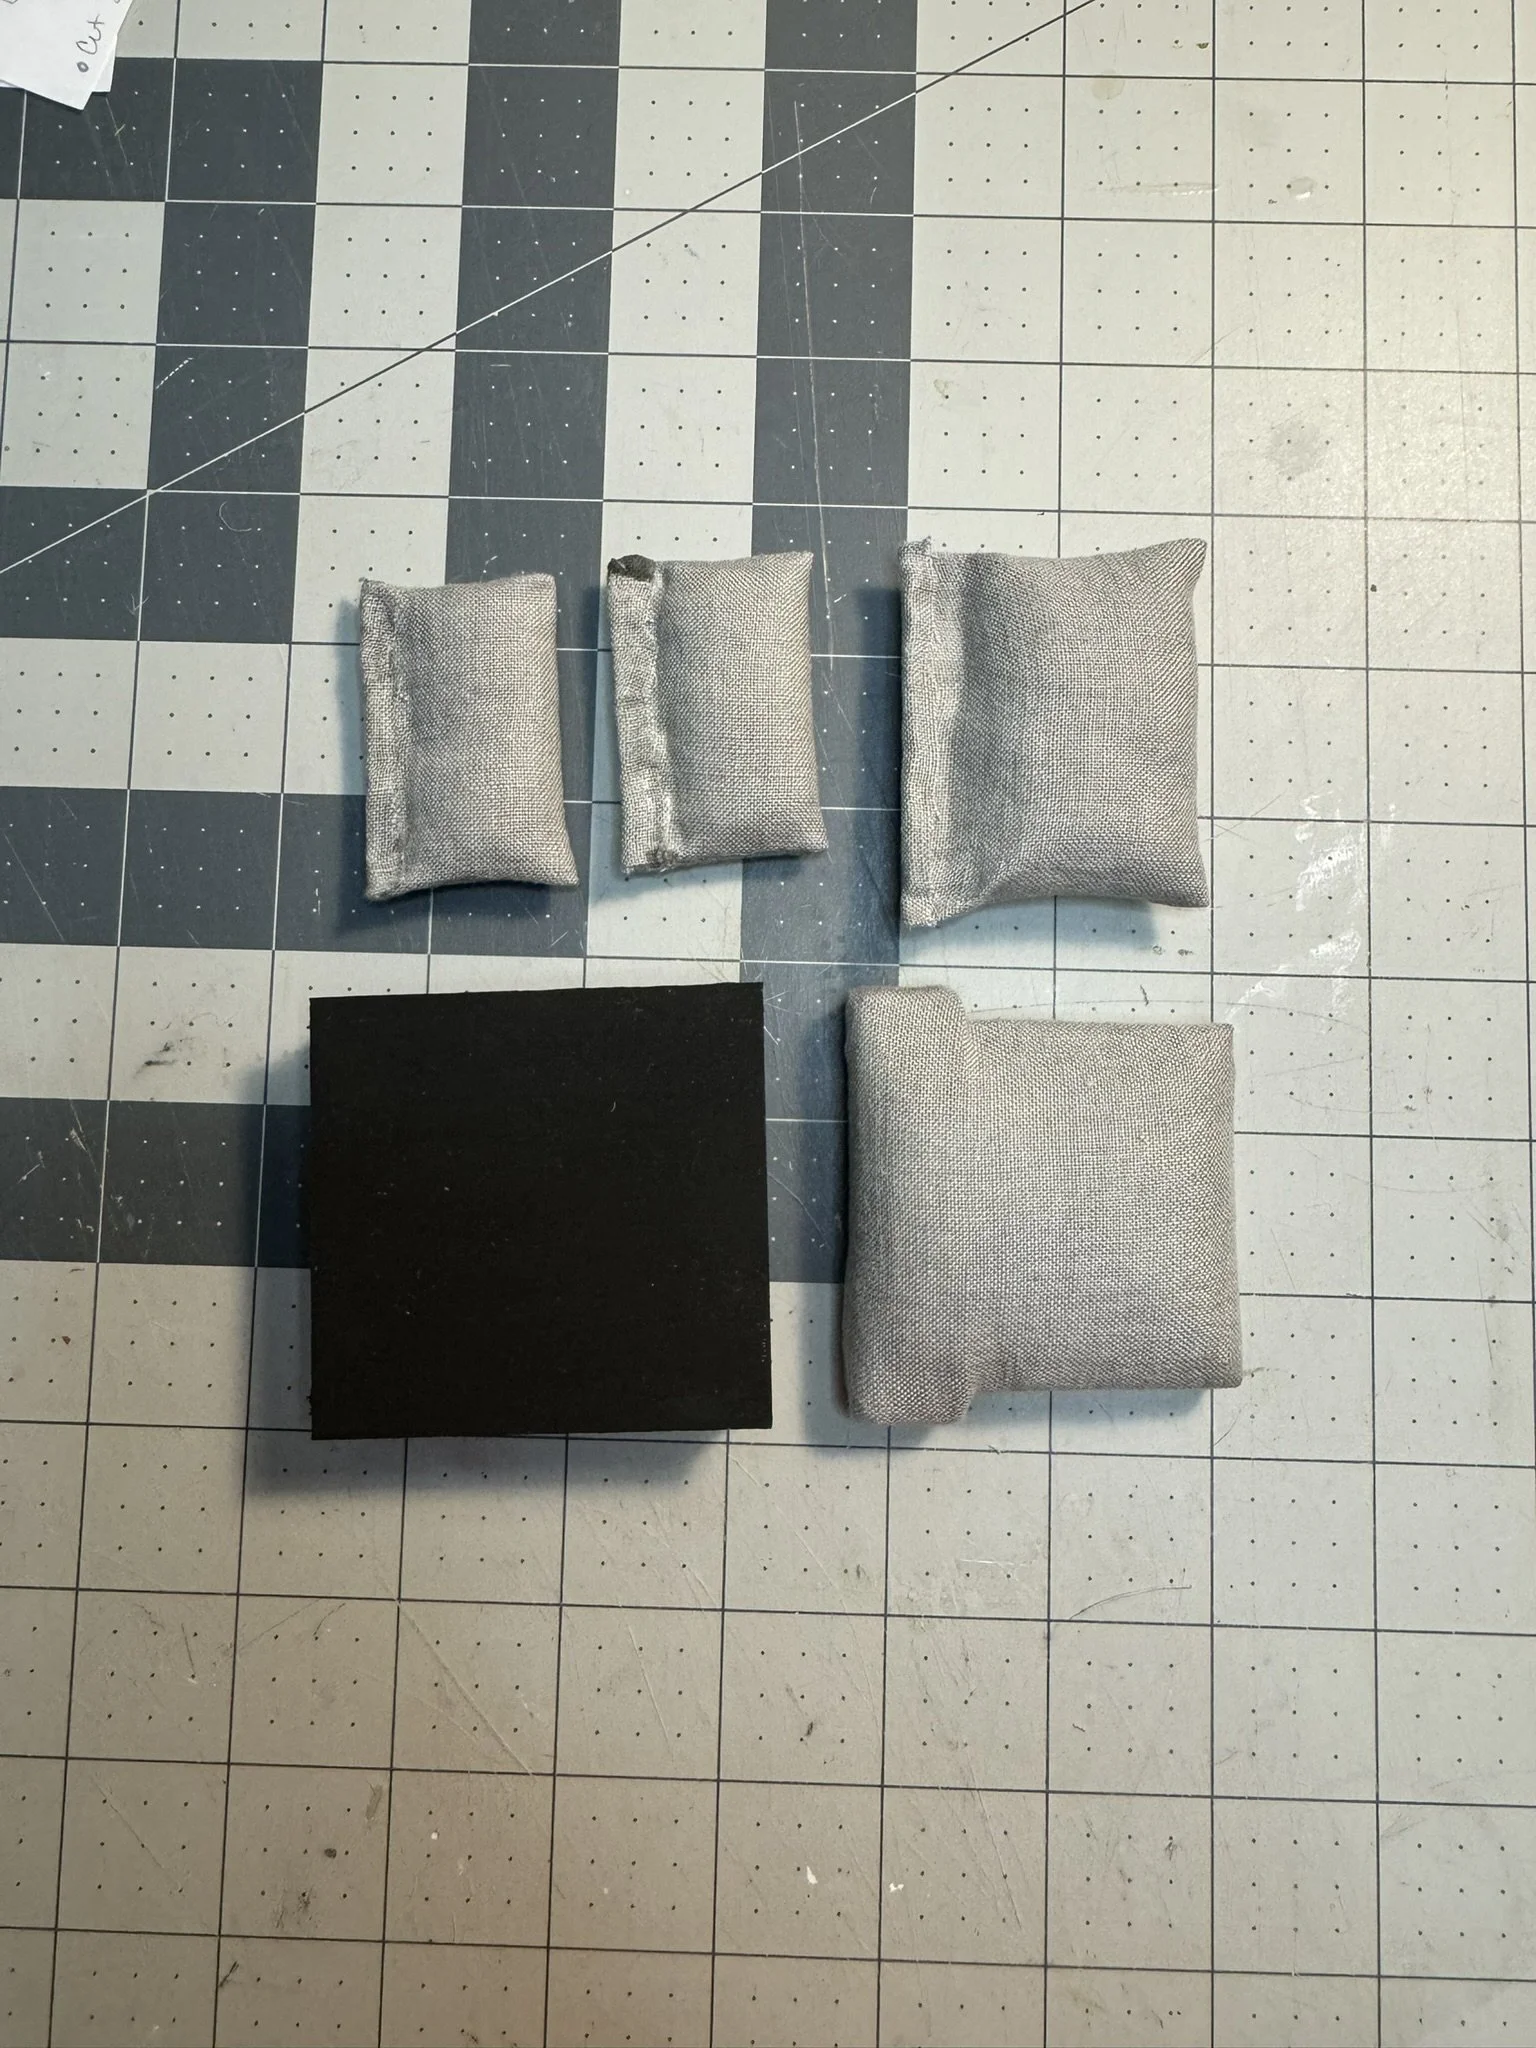
Next is the upper upholstered part of the chair and ottoman. The ottoman is easier, so I completed the ottoman first to get my technique right before doing the more complex chair. Follow this cut list below for the seat and ottoman parts.
Paper Cut List
Foam Core
Cut (2)— 2 1/2” x 2 1/16” for seat base (this will have notches cut out, I will explain below)
Cut (2)— 1 1/2” x 2 5/16” for ottoman cushion
Mat Board
Cut (2)— 1 13/16” x 1 1/4” for chair arms
Cut (1)— 2 1/16” x 1 3/4” for chair back
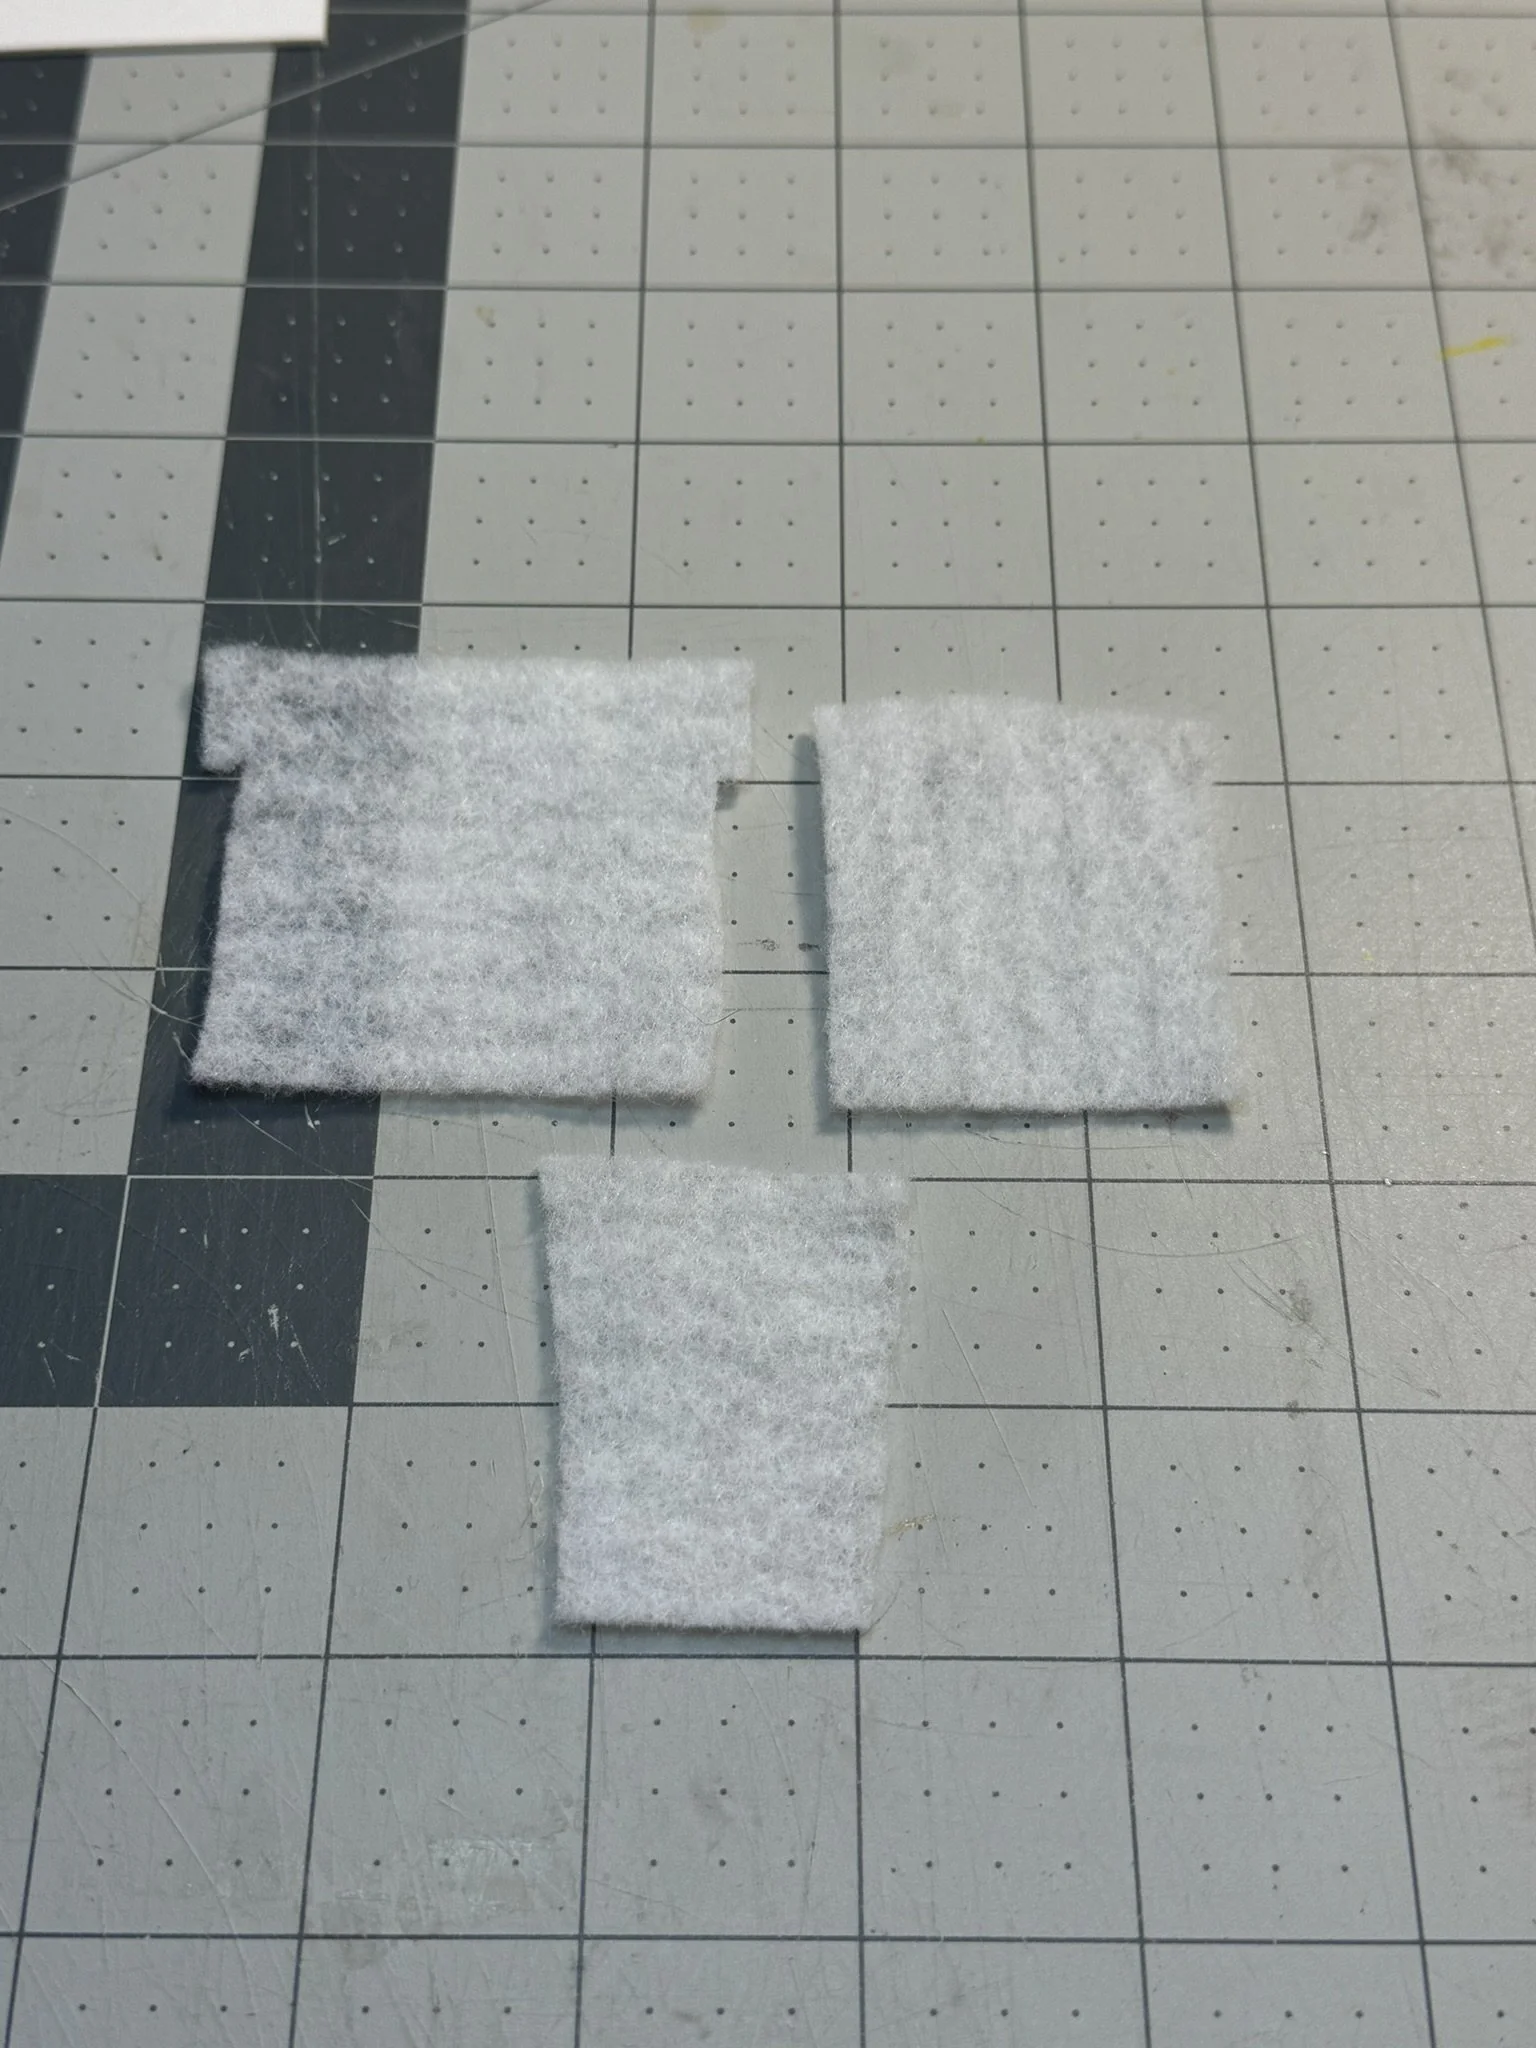
You’ll need to cut notches out of your seat base pieces. See this diagram below. But essentially you’ll remove a 1/8” x 1 5/8” sliver from each side.


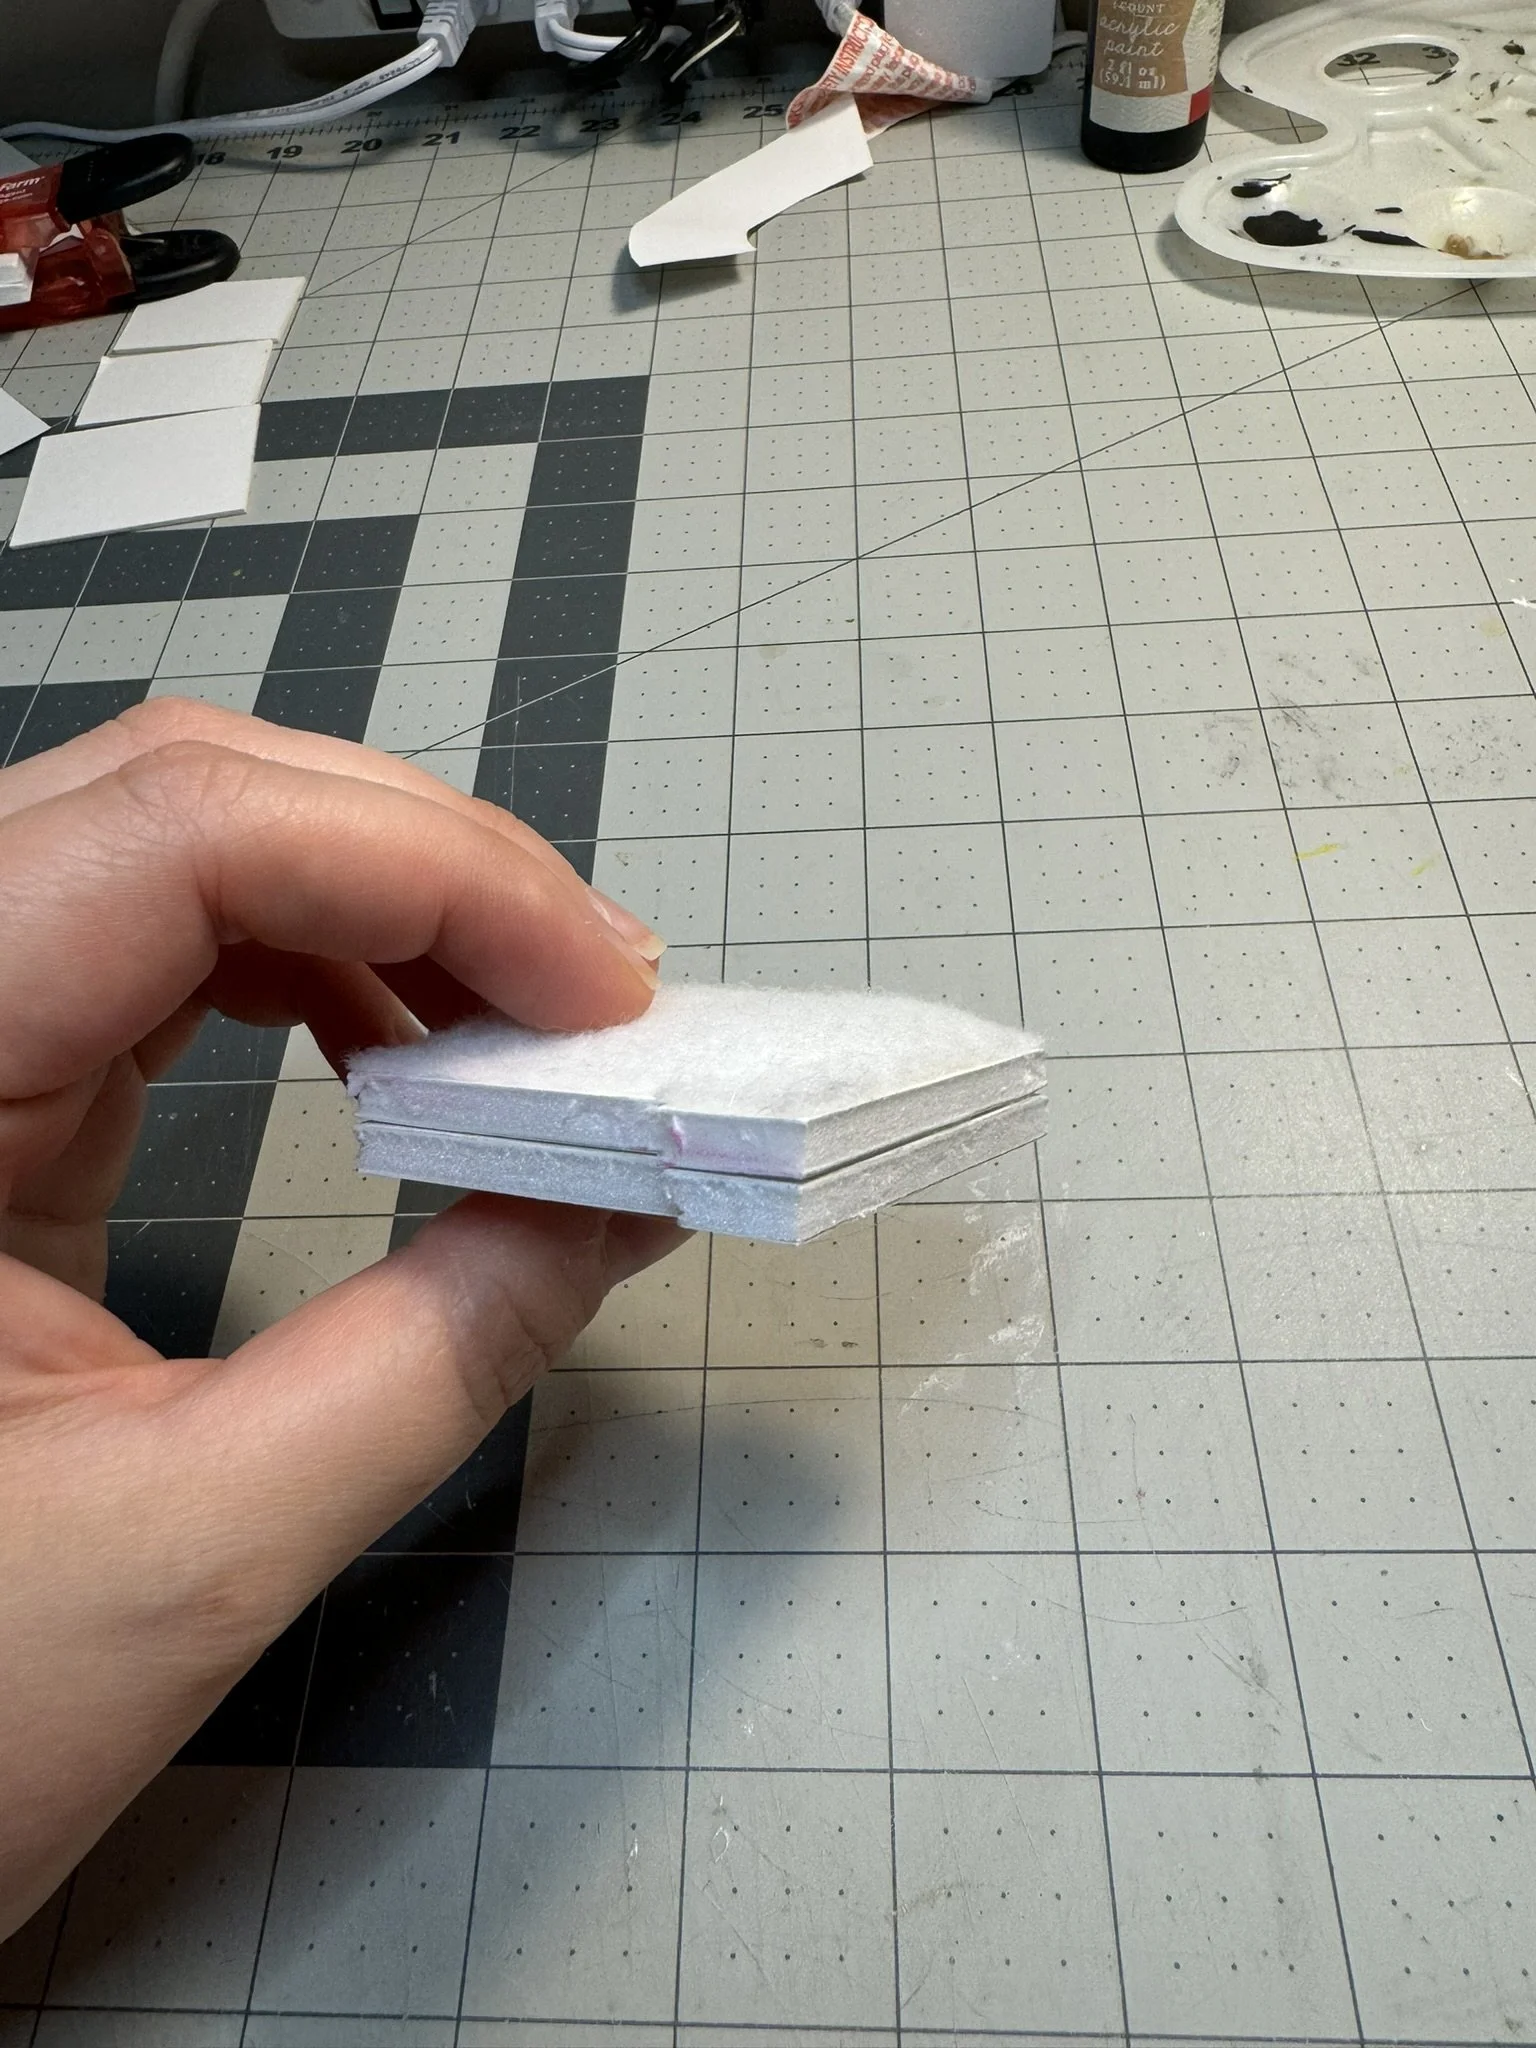
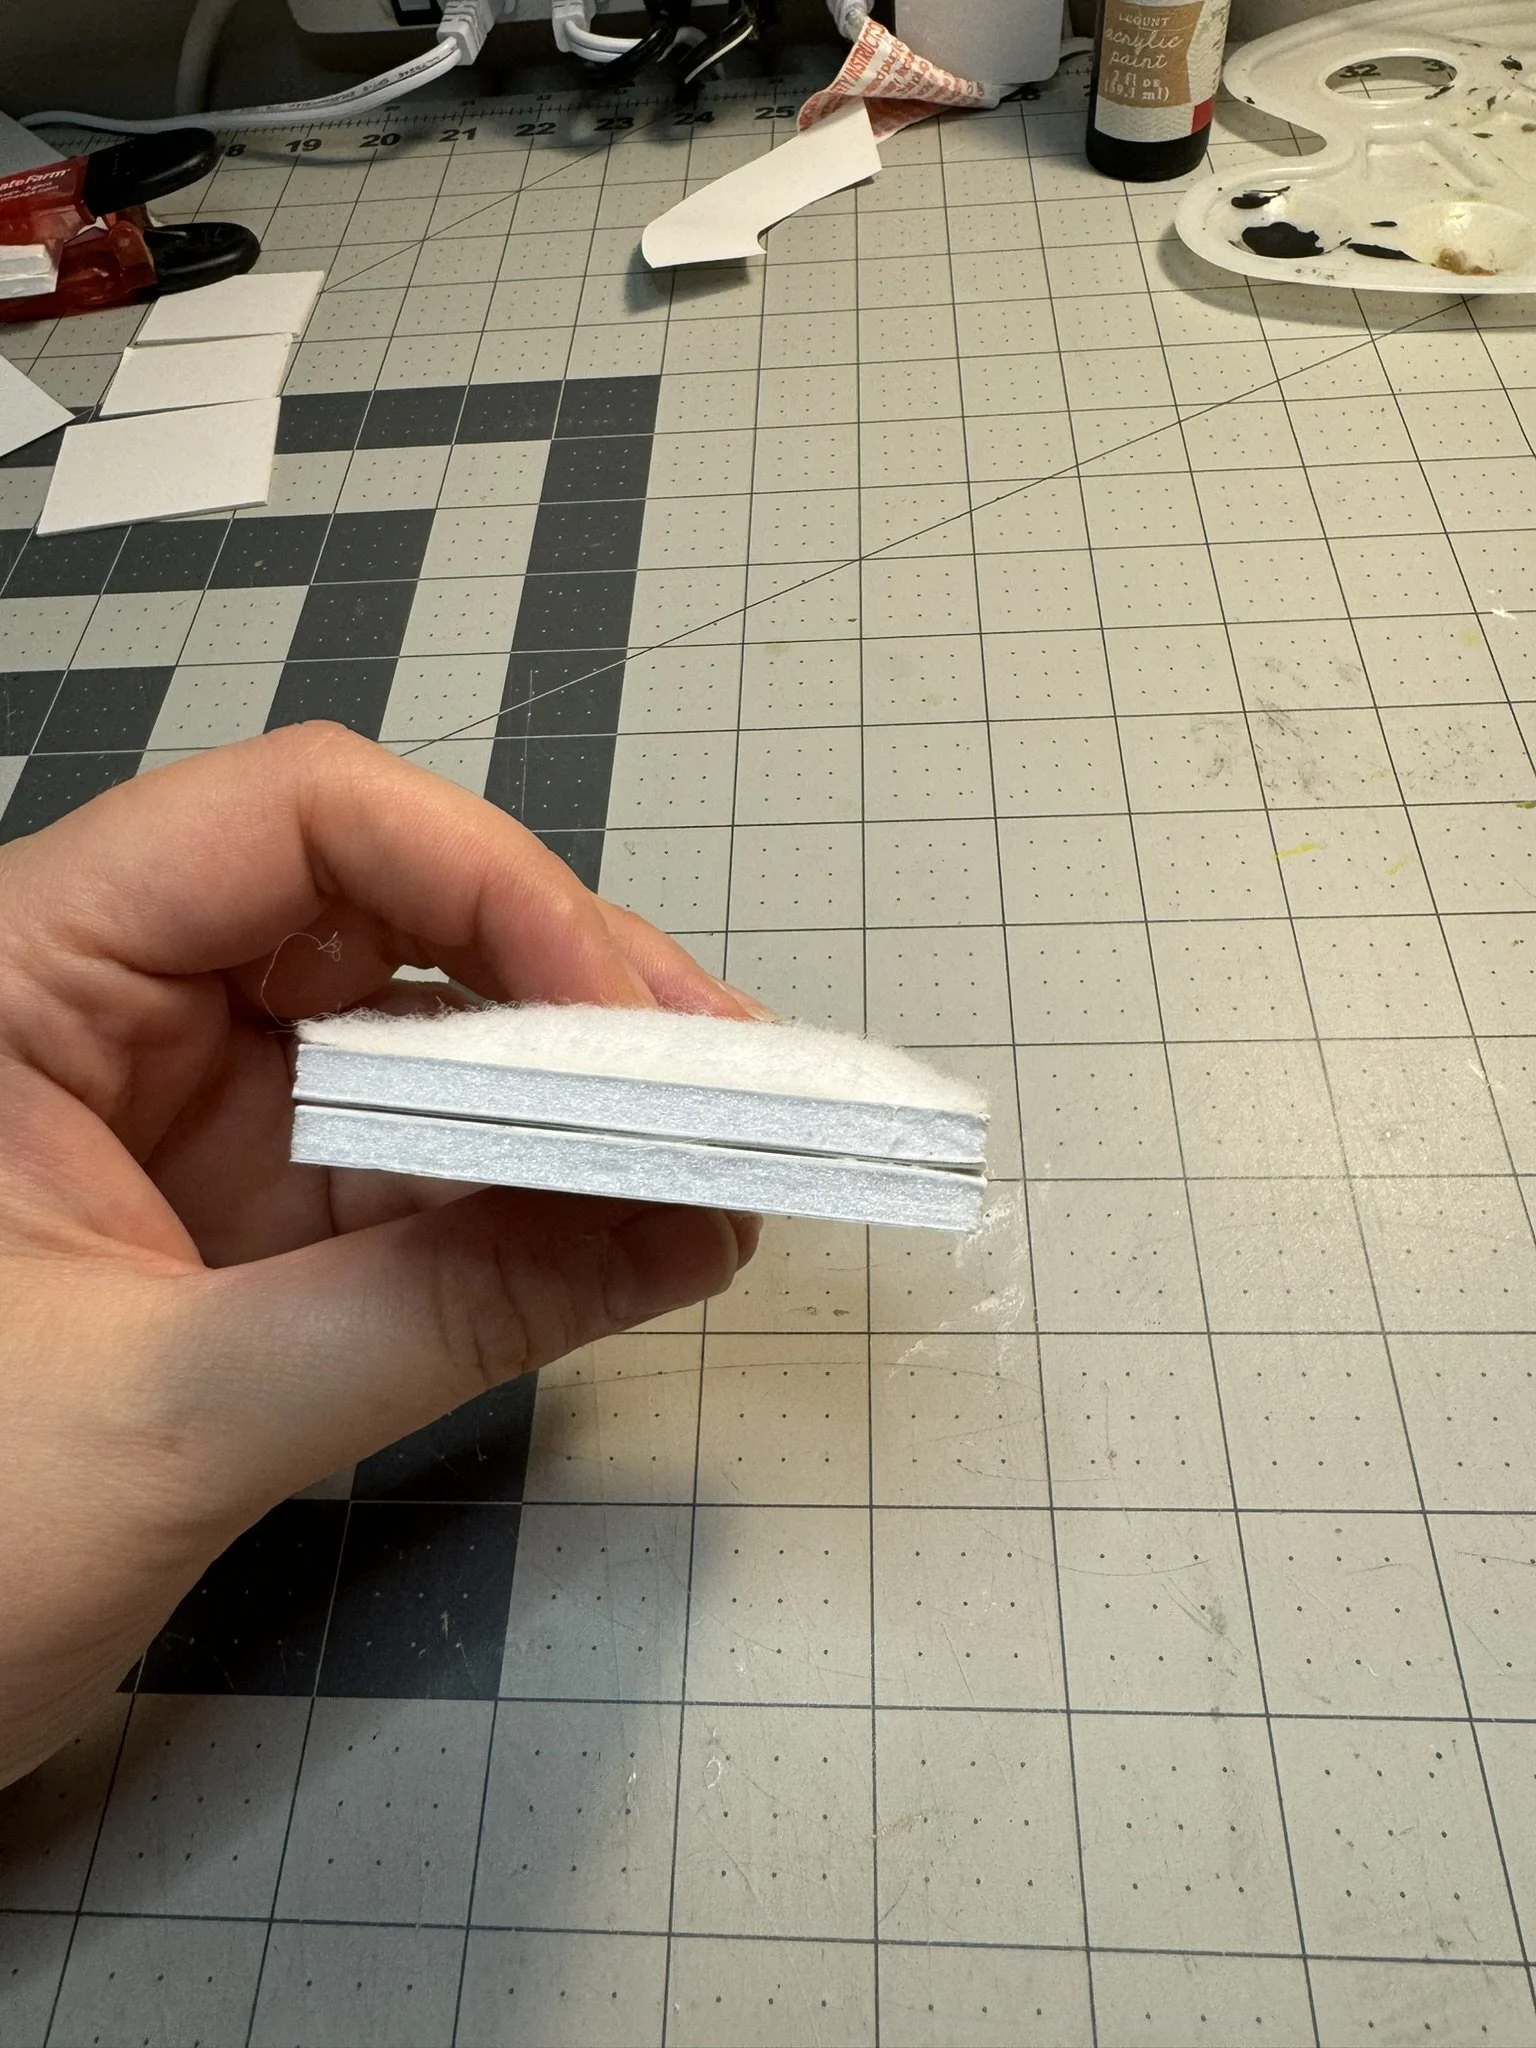
Glue the two foam core seat bases on top of each other, and glue the two ottoman cushions on top of each other as well. You’ll have two foam core sandwiches. Next, cut a couple of squares of batting or felt to cover the tops of both cushions. I wanted a rounded look, so I used about 5 layers total. Each layer gets progressively smaller so it’s stacked like a pyramid. Glue your felt sheets to the top of the cushions.
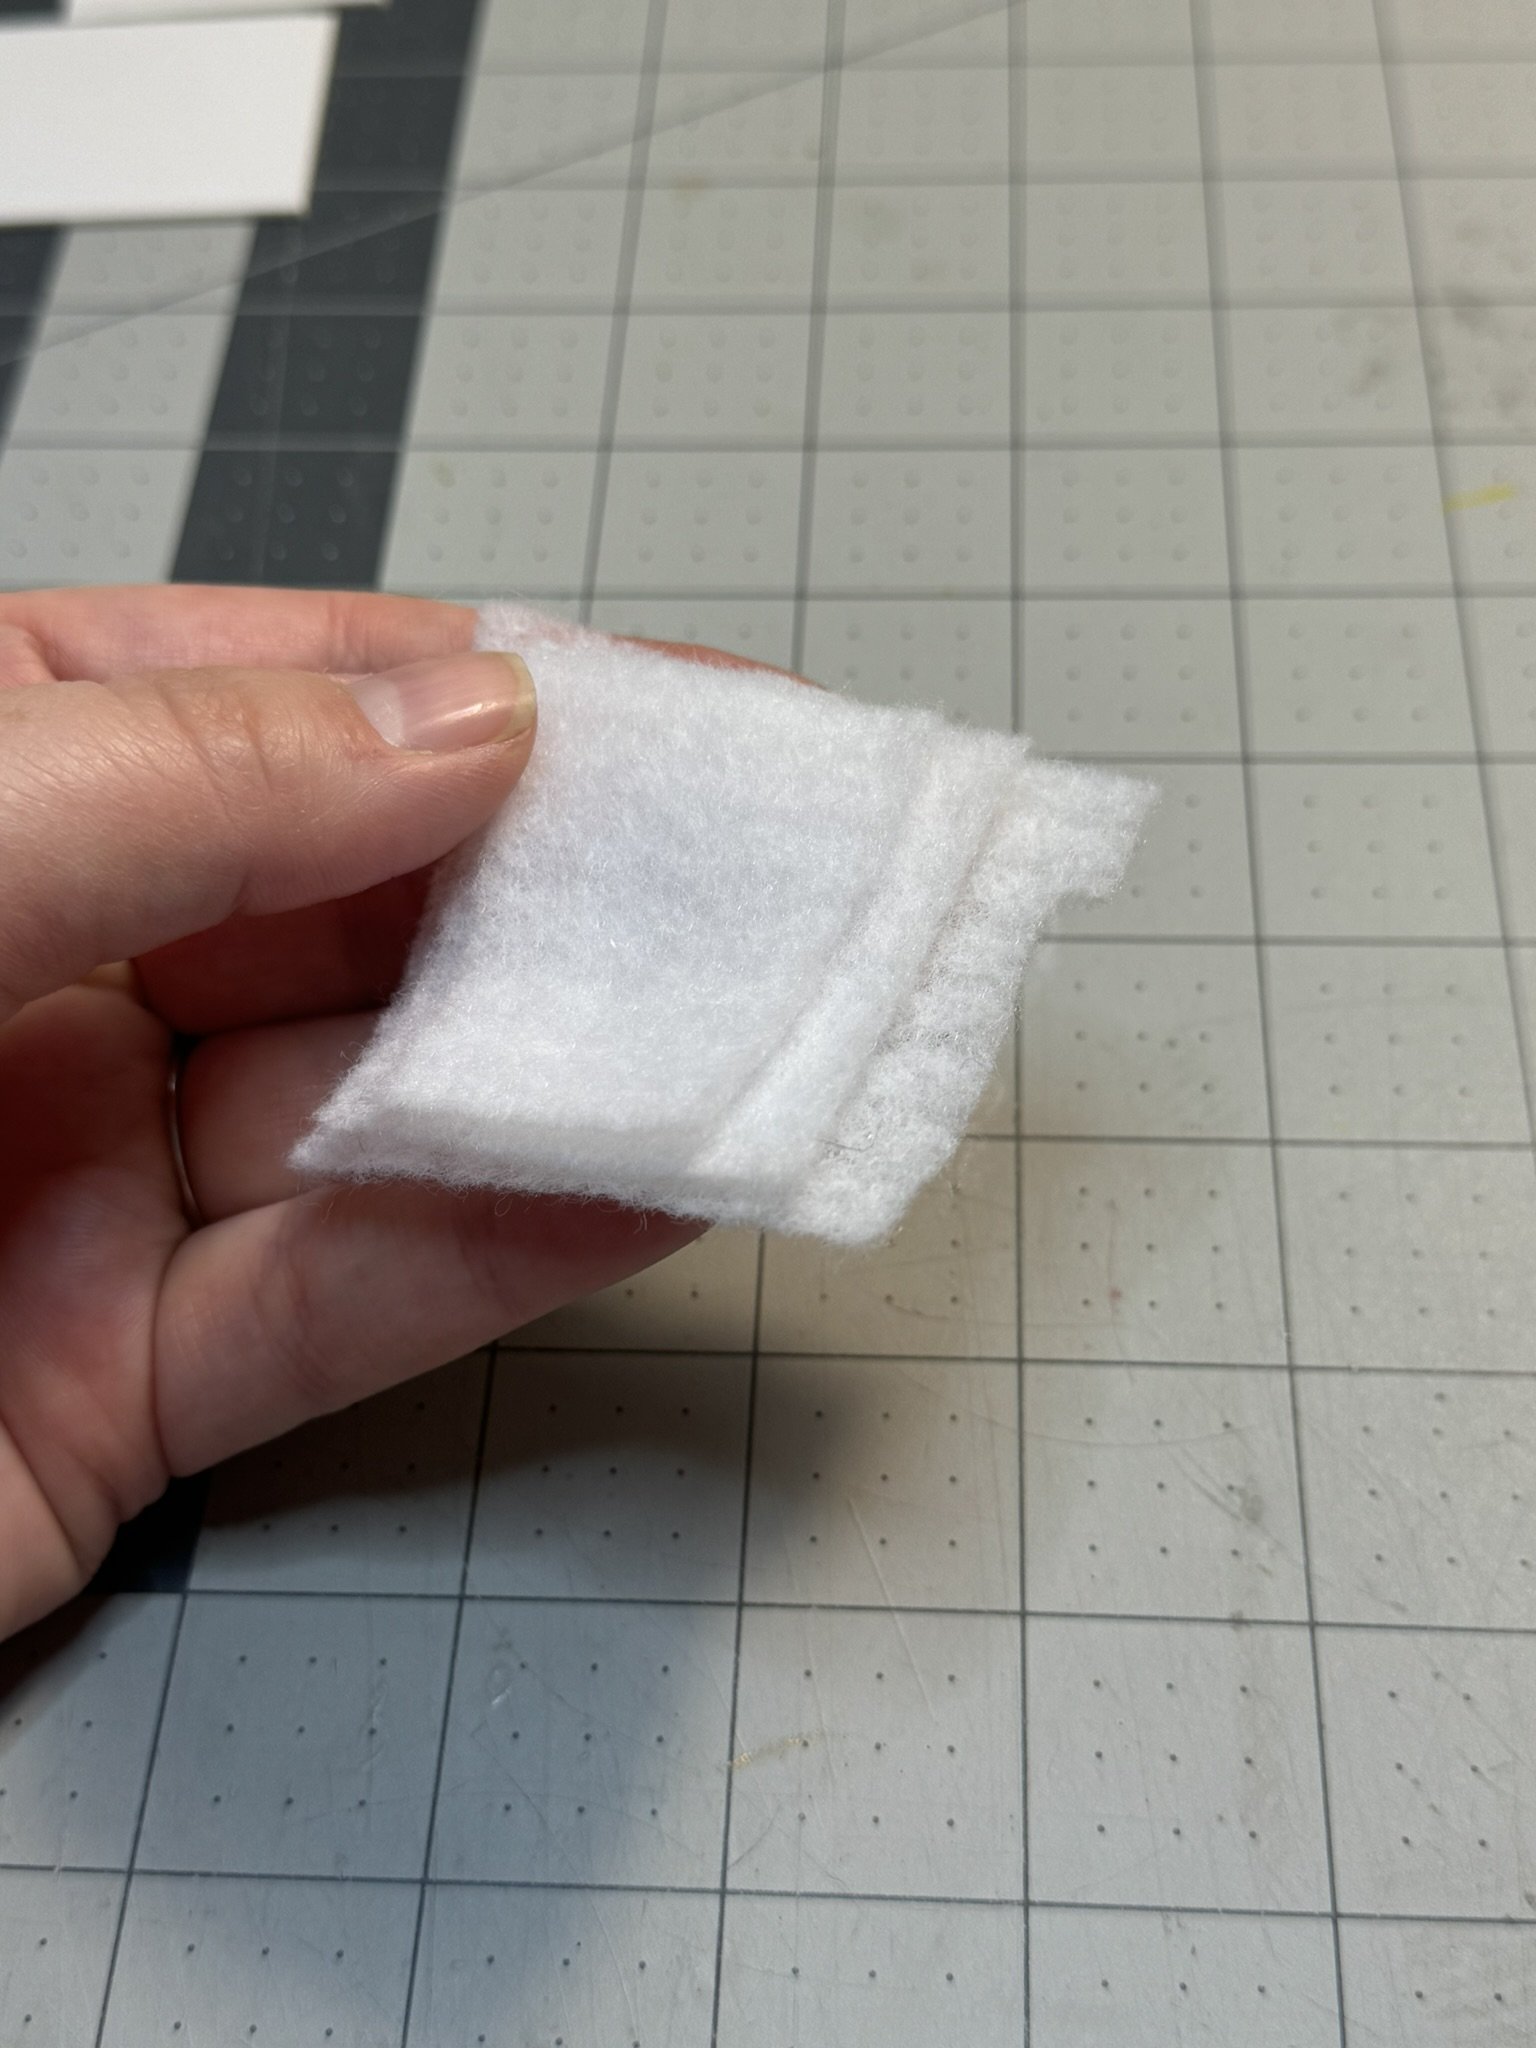
Wrap the edges of each foam core base in a 1/2” wide strip of batting or felt. You’ll need to wrap around the entire ottoman. For the chair cushion, only wrap the front part stopping at the notches.


Cover the Ottoman and Chair in Fabric
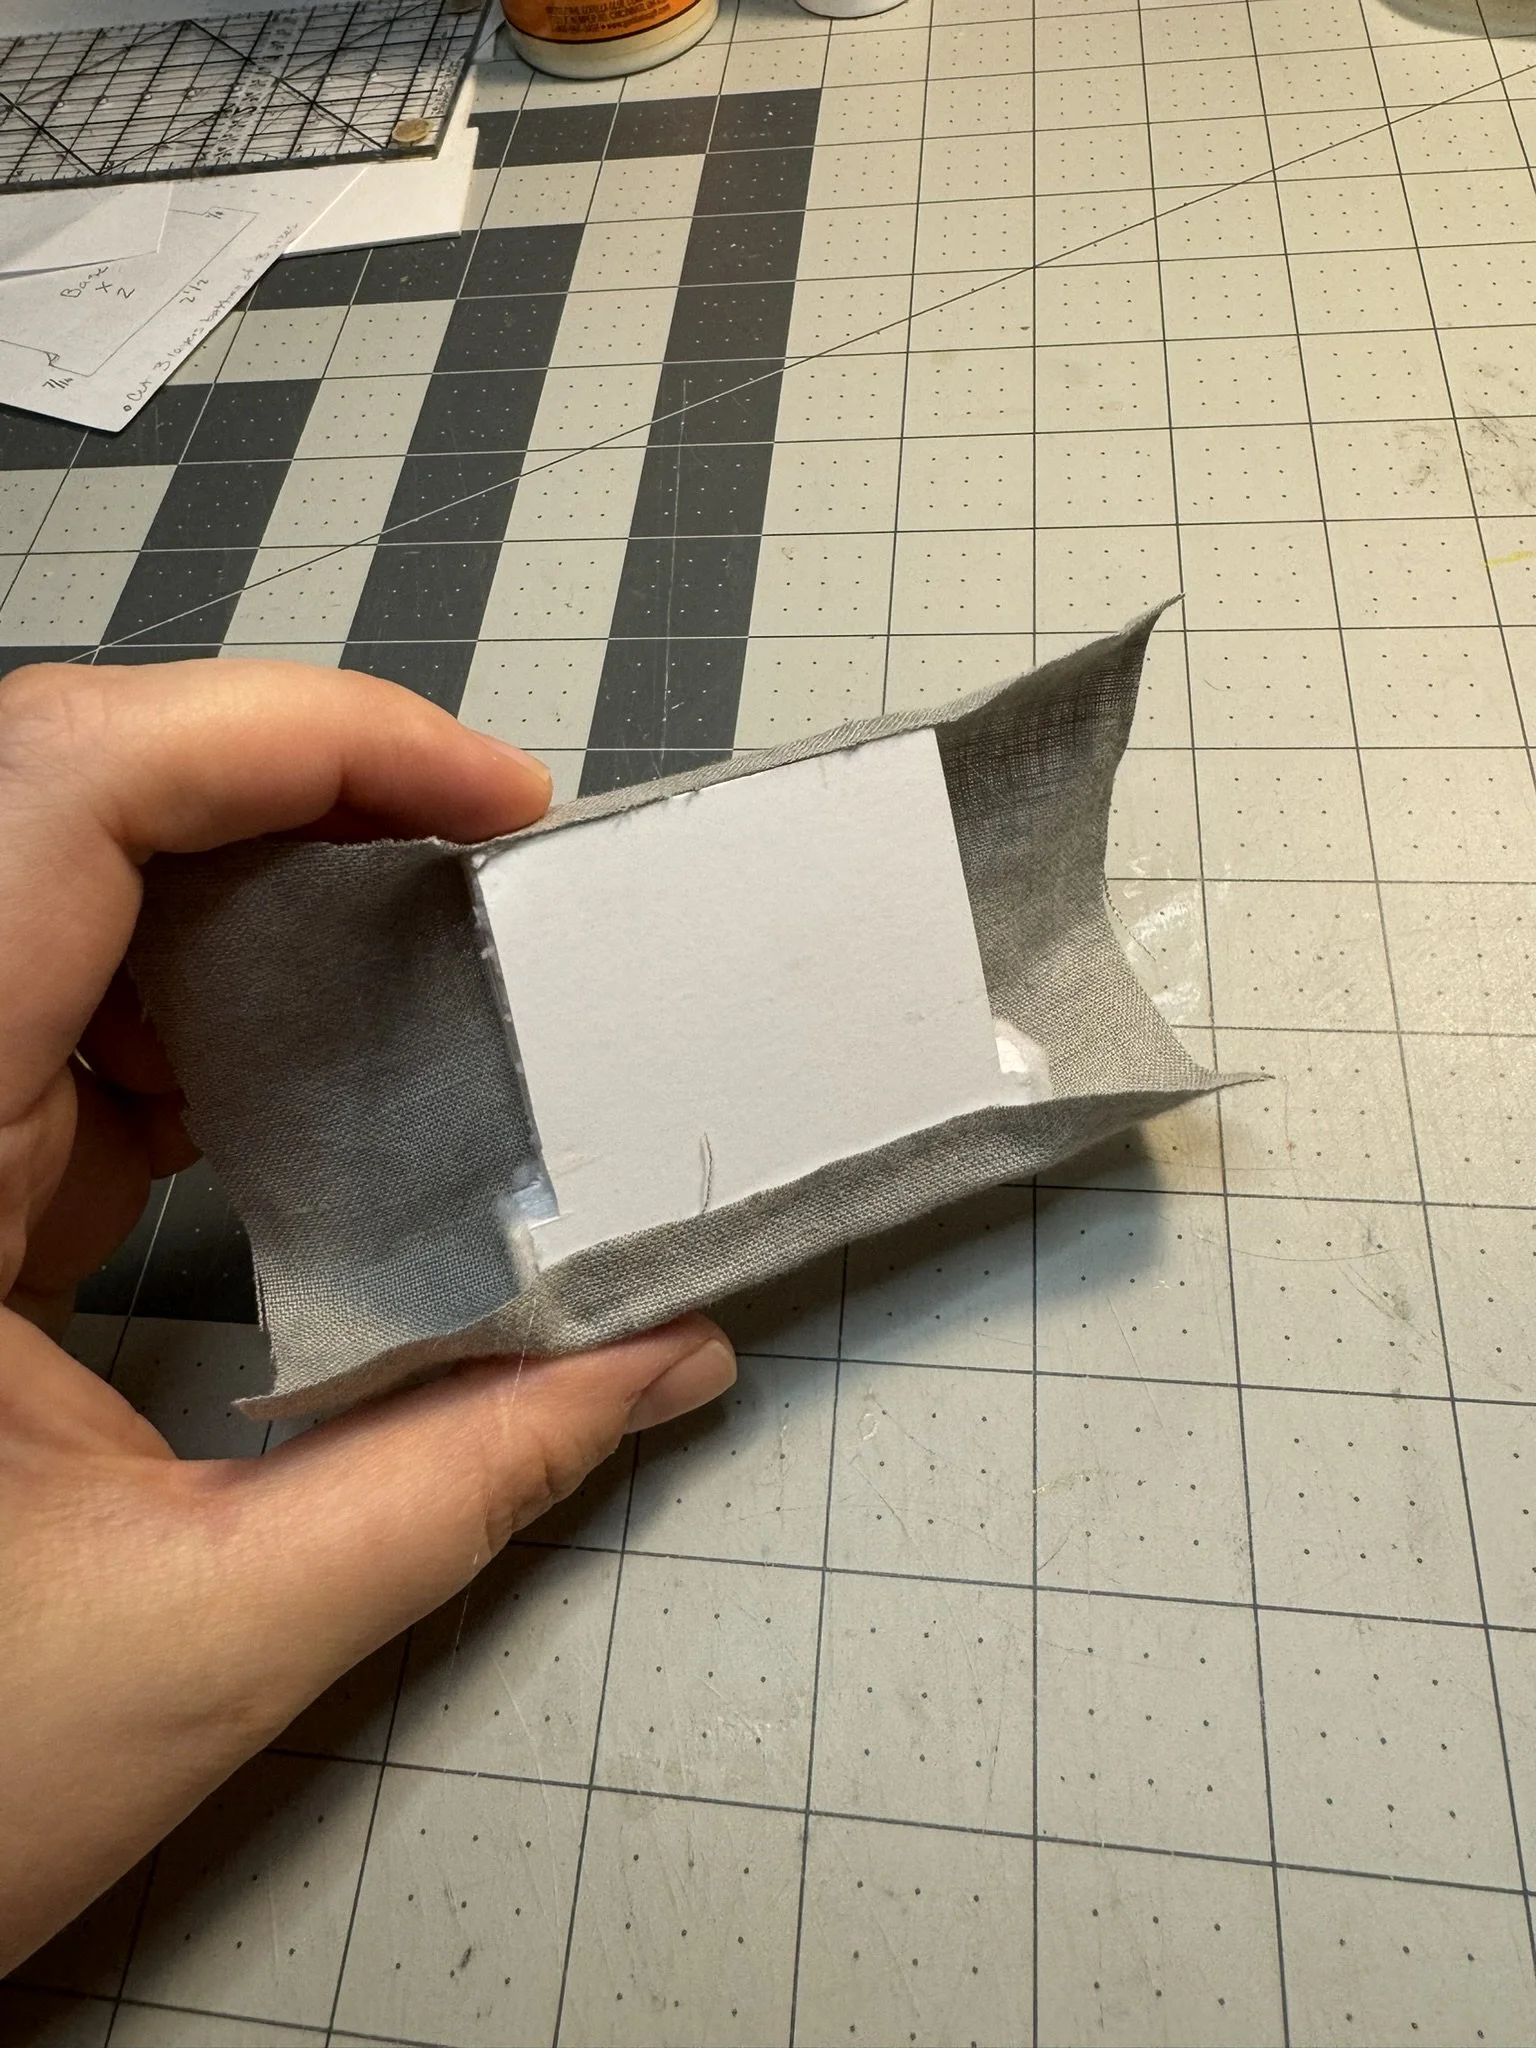
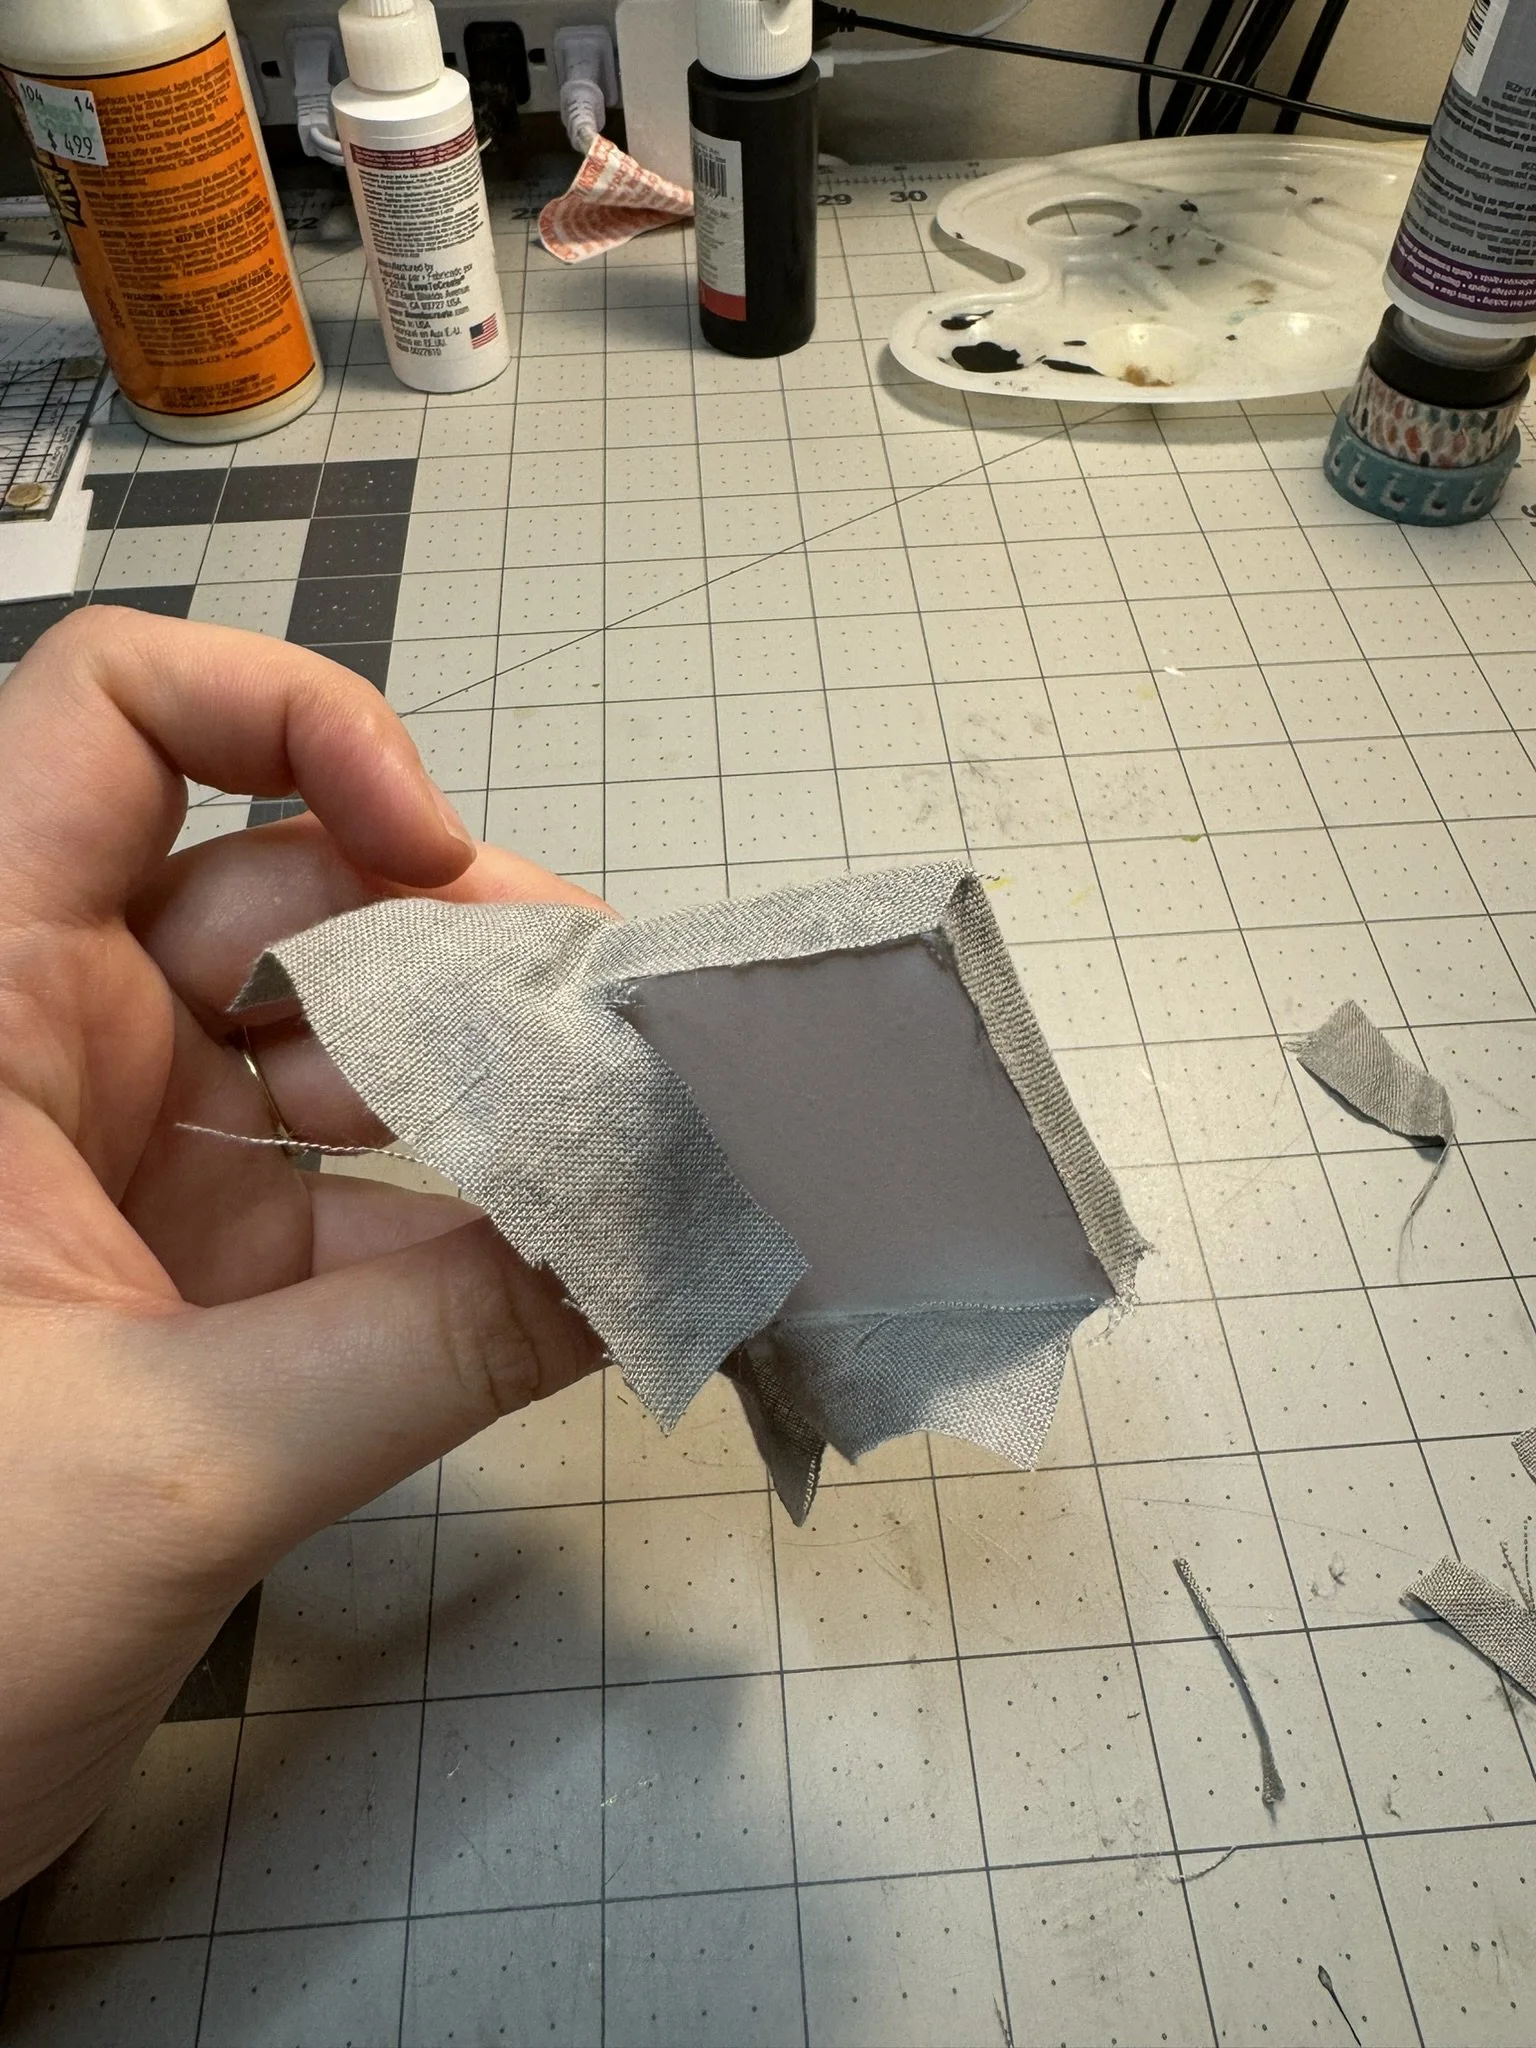
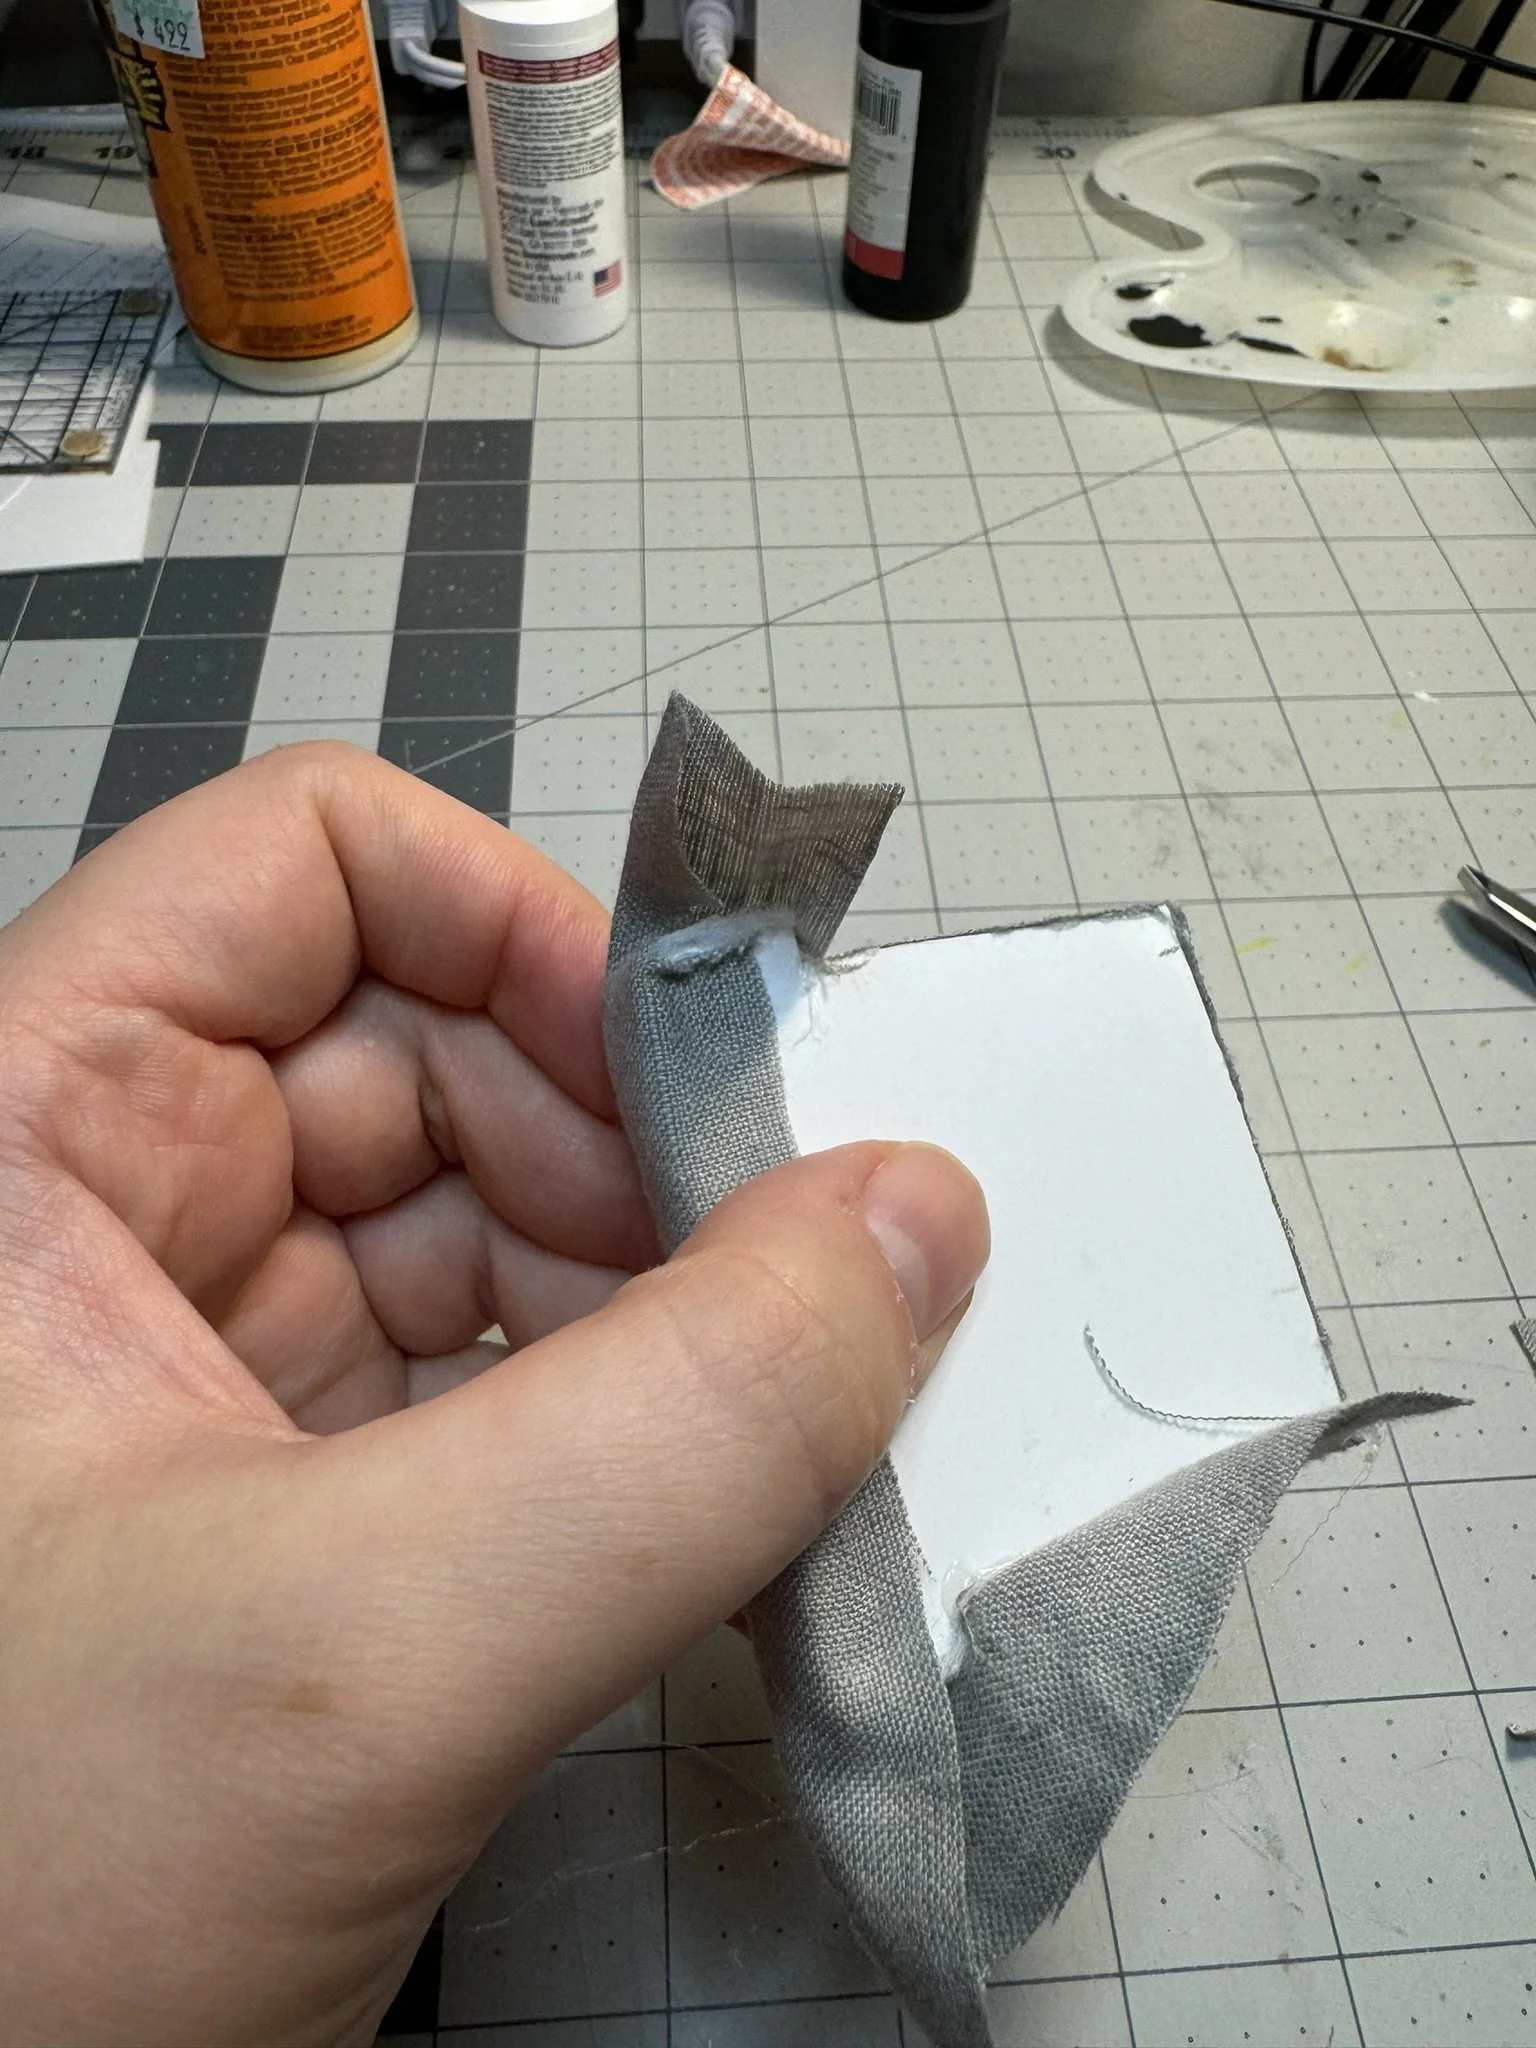
Using a bit of scrap fabric, wrap it around the ottoman cushion. Secure the long edges on the underside of the cushion, using just enough glue to hold it but not create a bulky seam. Trim any excess fabric as you go. Next fold down the short sides of the fabric to cover the edges. I created a straight fold on the corner and glued in place. Trim any excess fabric on the corner folder to keep it neat.
Glue this cushion down on top of the ottoman base. The ottoman is done!


The chair is a tad more tricky due to the seat notches. Start the same way by wrapping the fabric around the cushion. Glue the fabric under the front of the seat and wrap to the back. Since the back of the cushion will butt against the seat back, you don’t have to wrap all the way underneath on the back and sides.

Glue the inside of the notch and press the fabric down to make that inside corner sharp. Then fold the excess around the corners to create a neat square.
Do a dry fit of the seat cushion with the arm structures before moving on.
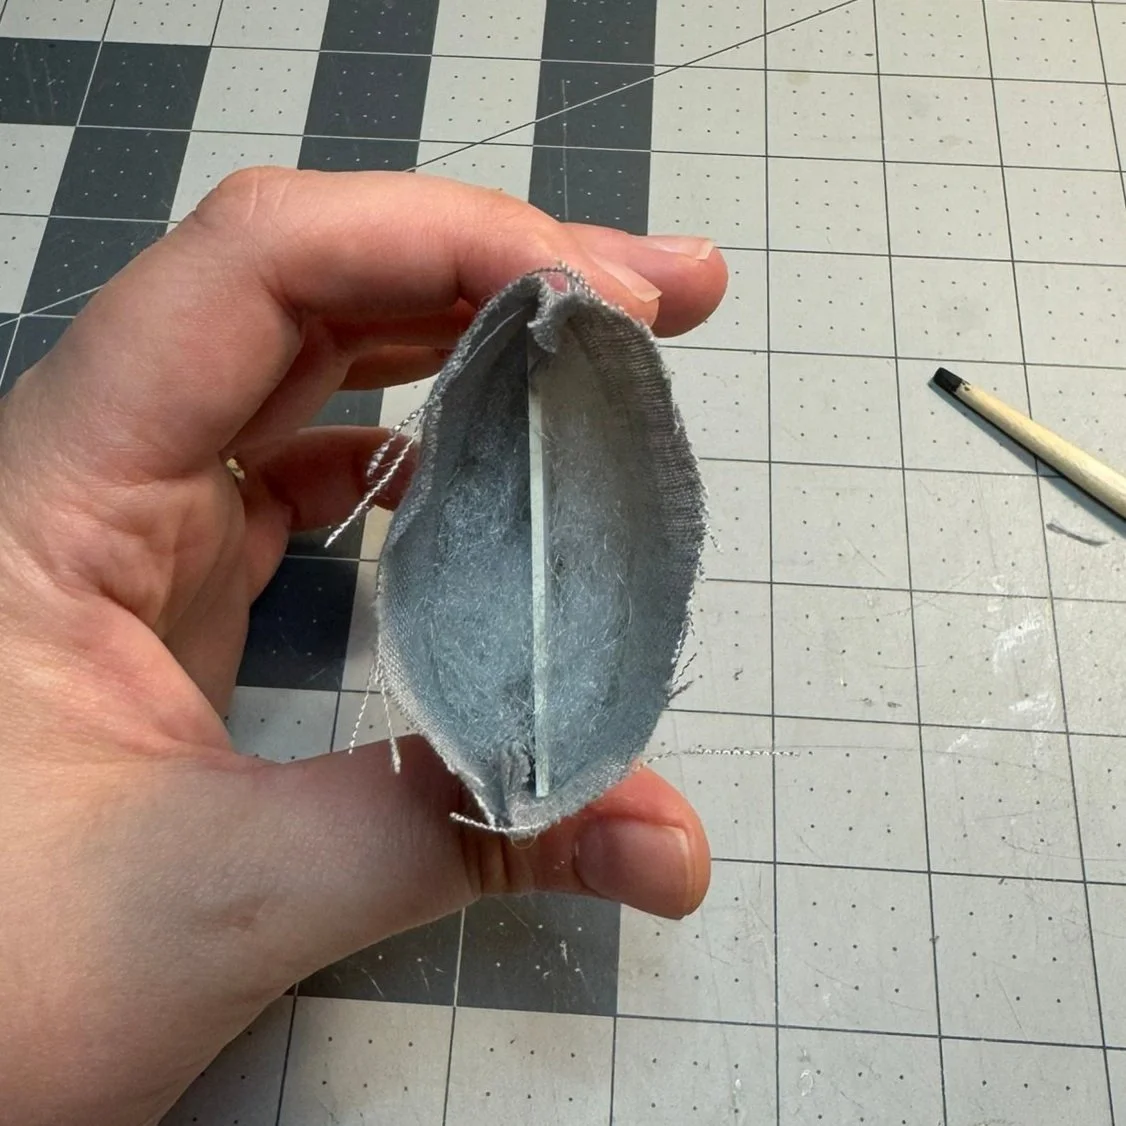
To make the arm covers and back cover, you will essentially make a tiny pillow case for each and stuff with the batting and mat board. Easy enough! Here’s your sewing steps:
Chair Back Sewing Instructions
Cut a rectangle scrap of fabric and fold in half “hamburger style”. You’ll sew two straight lines approximately 2 1/2” inches apart on each side, perpendicular to the folded side (make sure your fabric is right sides together when sewing). Leave the bottom edge open. The mat board card for the back should fit just inside the seams. Trim the seams down to 1/4” inch and turn right sides out.


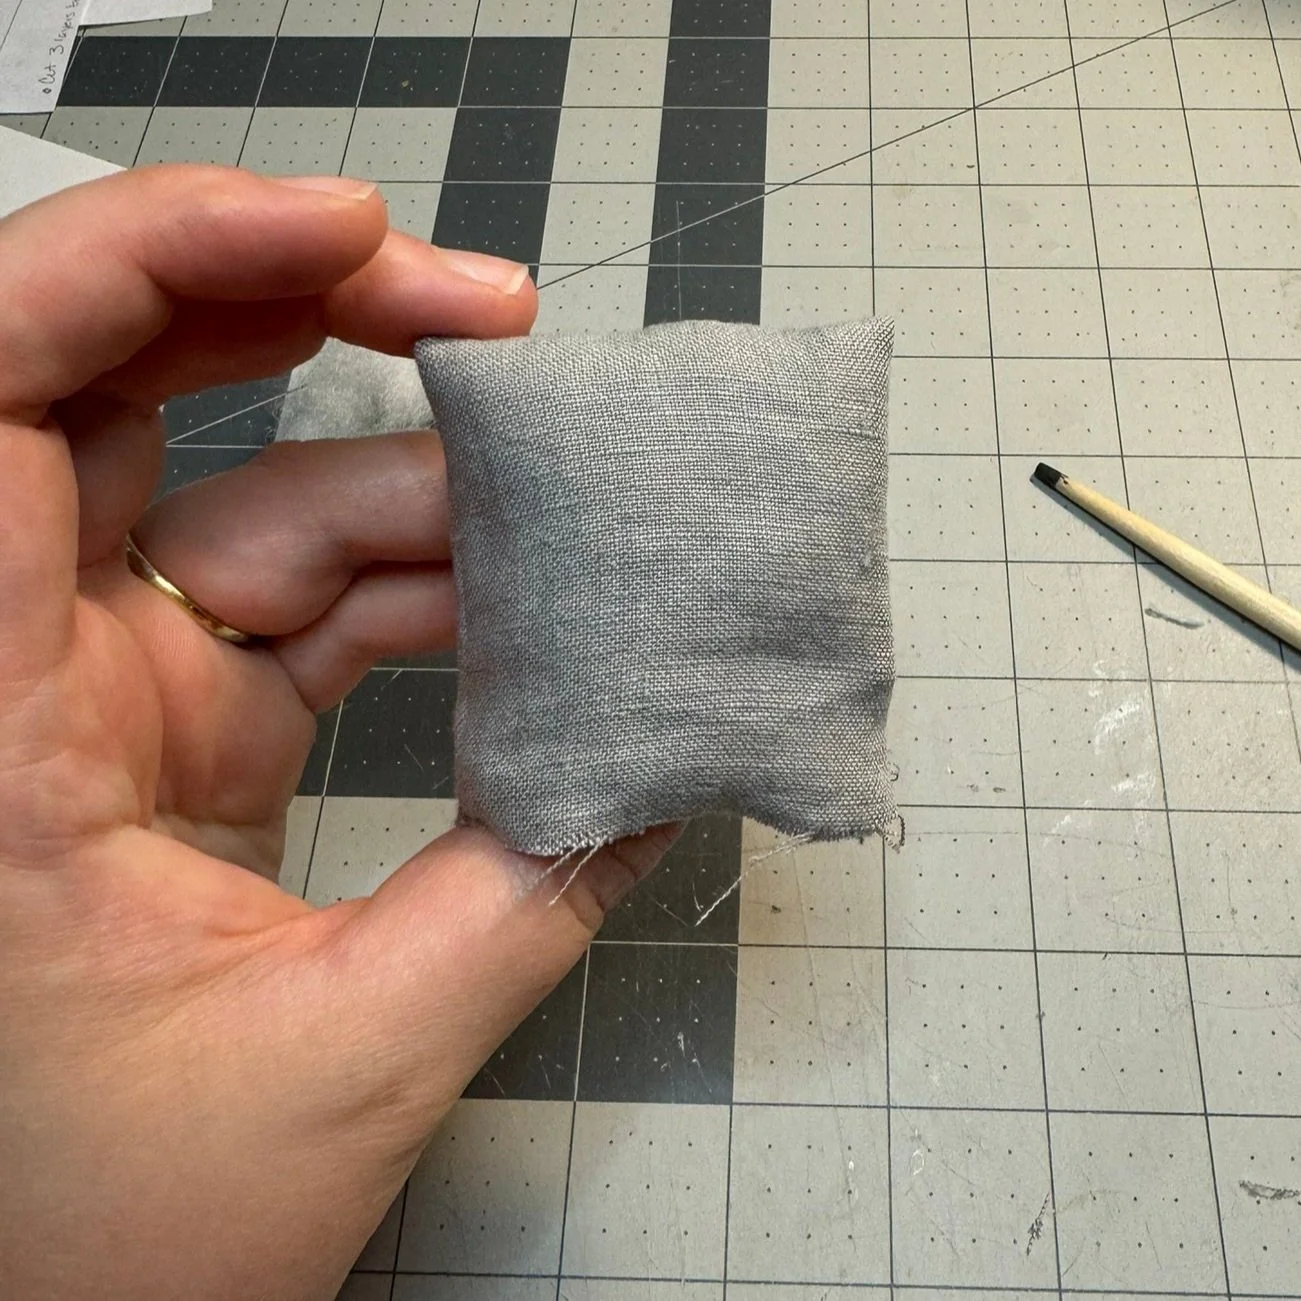
You should now have a little pocket or pillow case that the mat board card fits into. Slide it inside, and then stuff a little bit of batting on each side of the card inside the pocket.
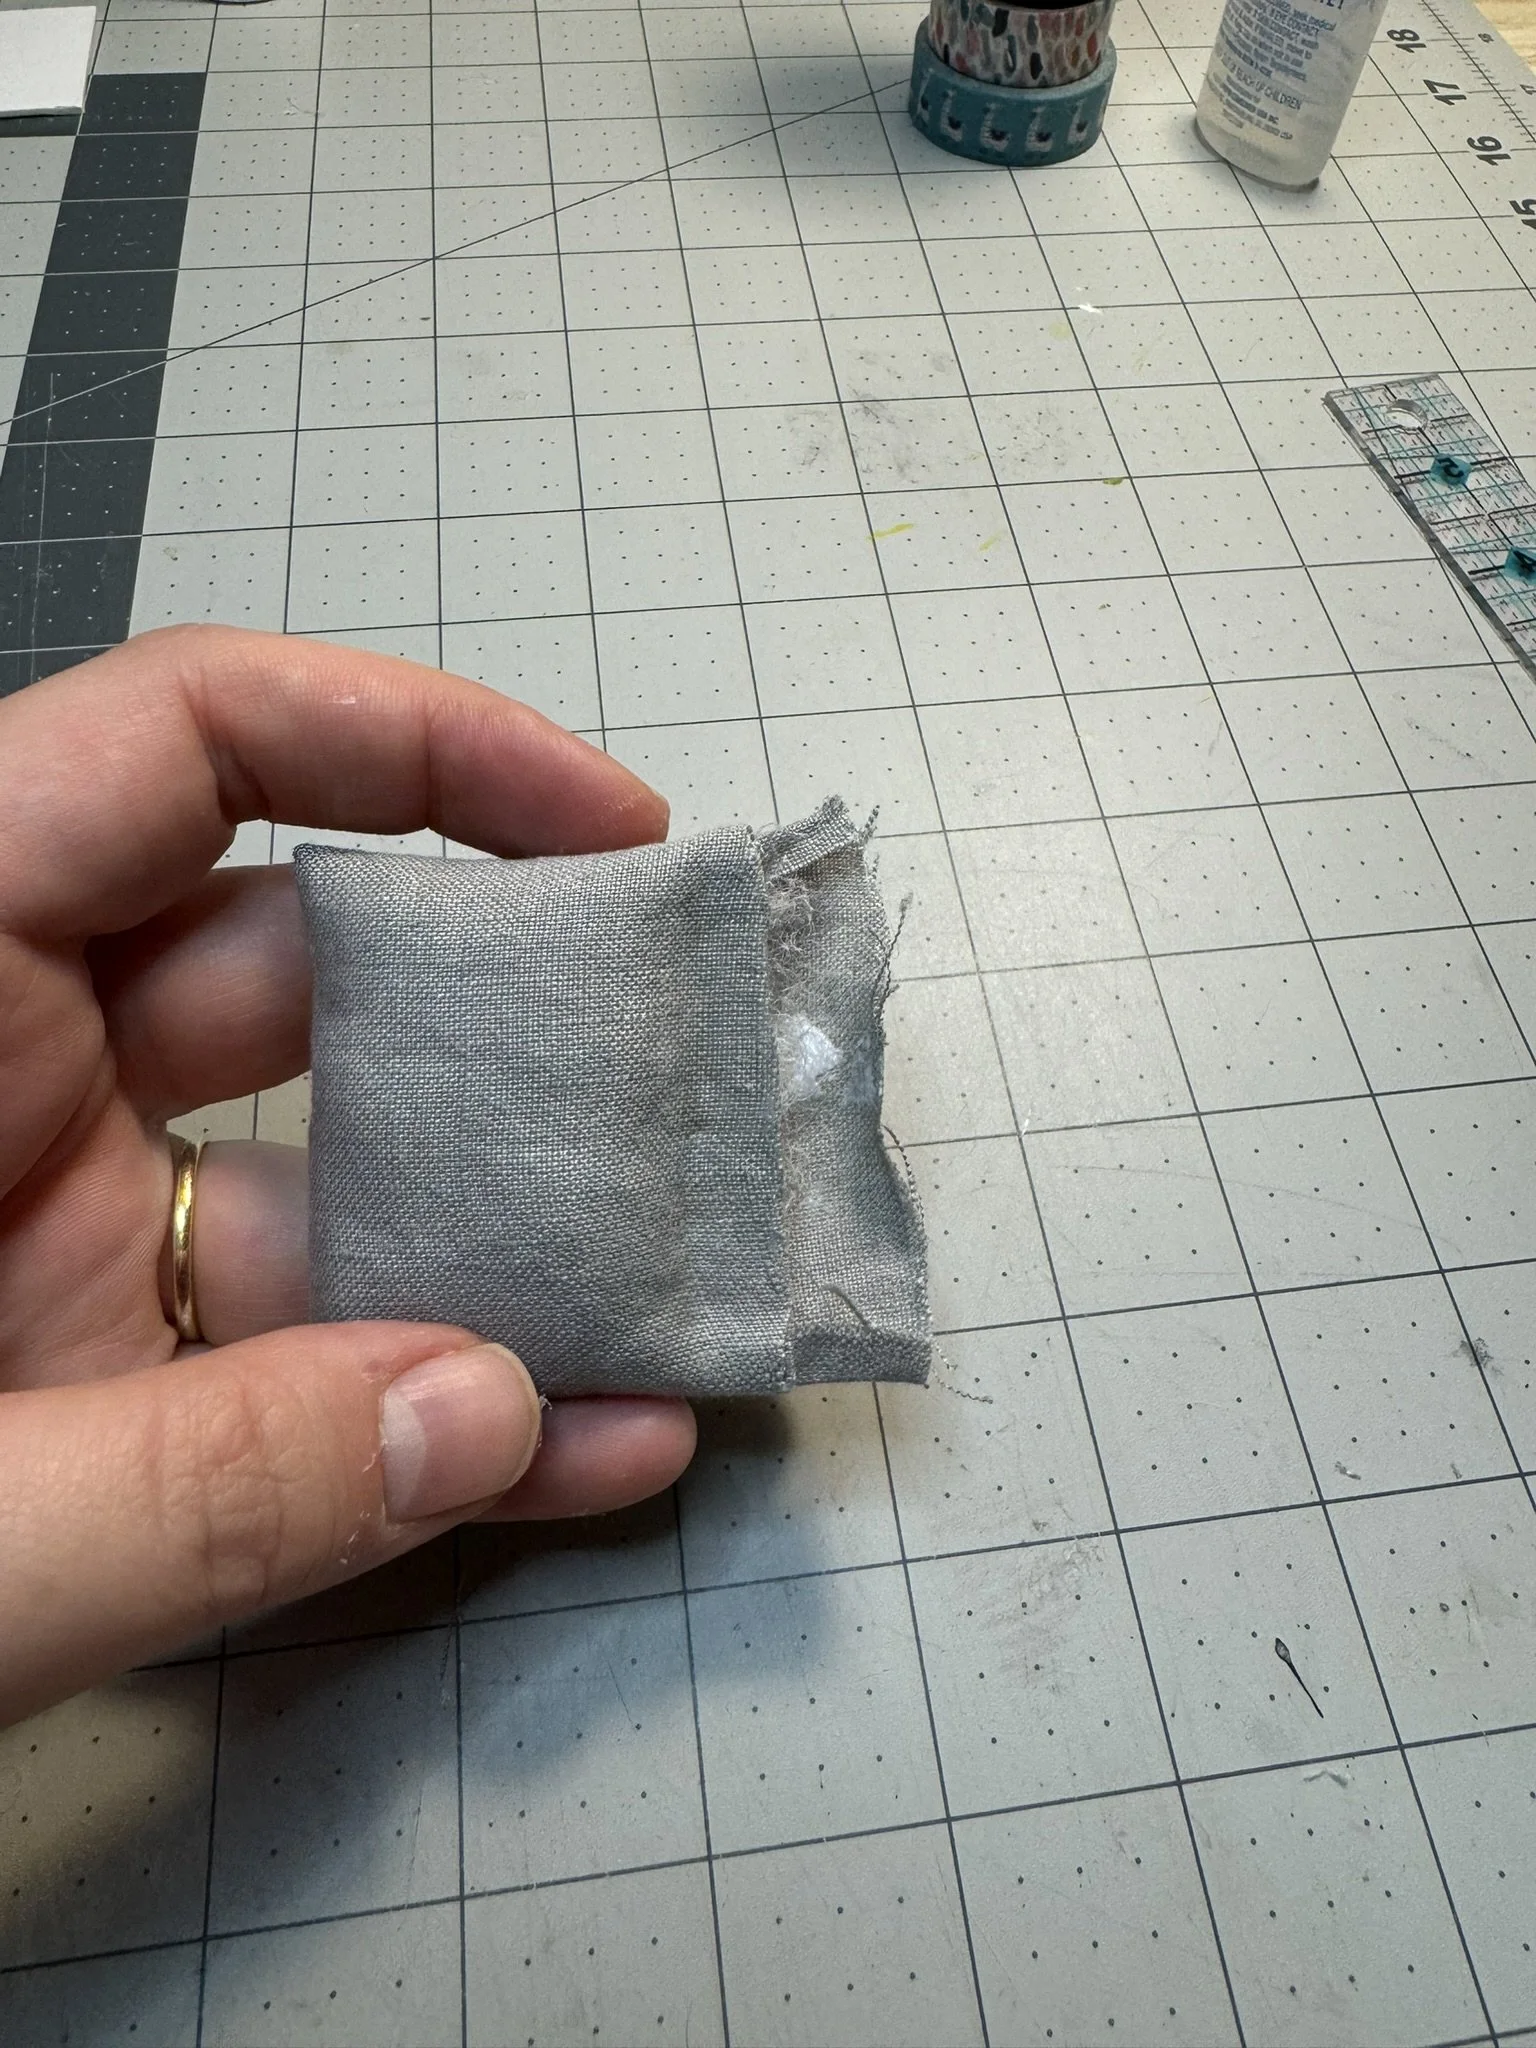
Trim one of the open fabric edges even with the edge of the card inside. Glue the fabric down creating a flat spot about 3/8” tall at the bottom edge. This is where the inside back cushion will butt up against the seat cushion. On the back fabric flap, fold this around the bottom edge and secure with glue on the flat spot. This should all be hidden by the seat cushion.
You’ll do the exact same technique for both arms. For the arm pillowcase pockets, you’ll need to sew your parallel lines 2 1/8” apart. Stuff these with batting around the card, and glue the bottom edges. The inside arm side will still need a flat spot to butt up against seat cushion.


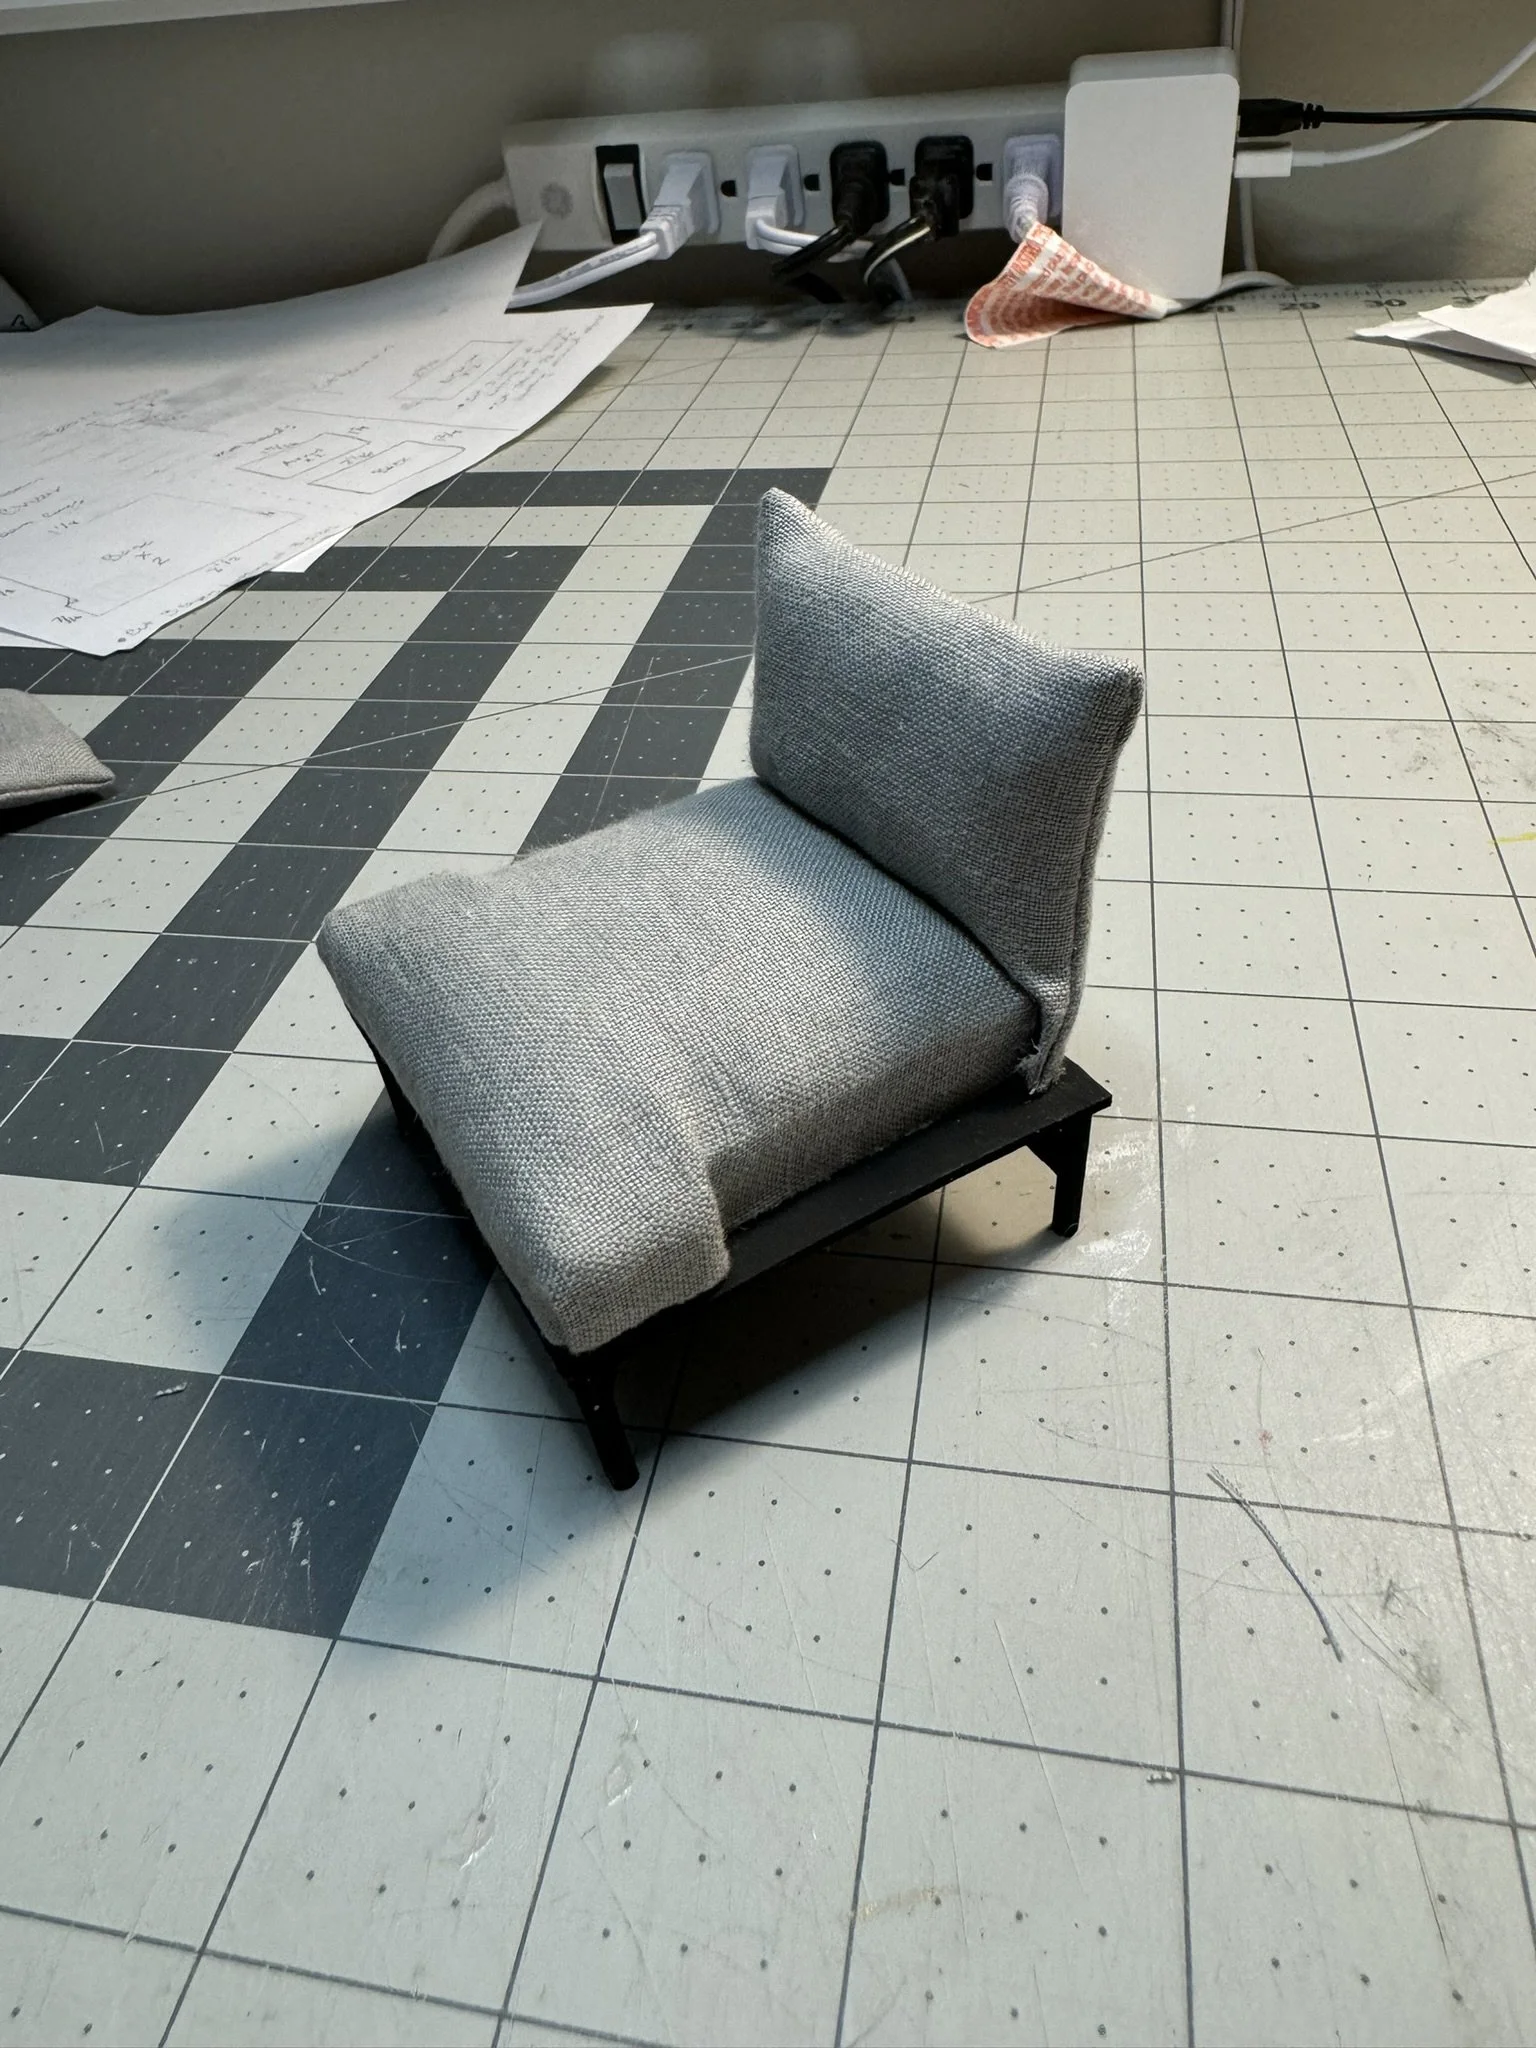
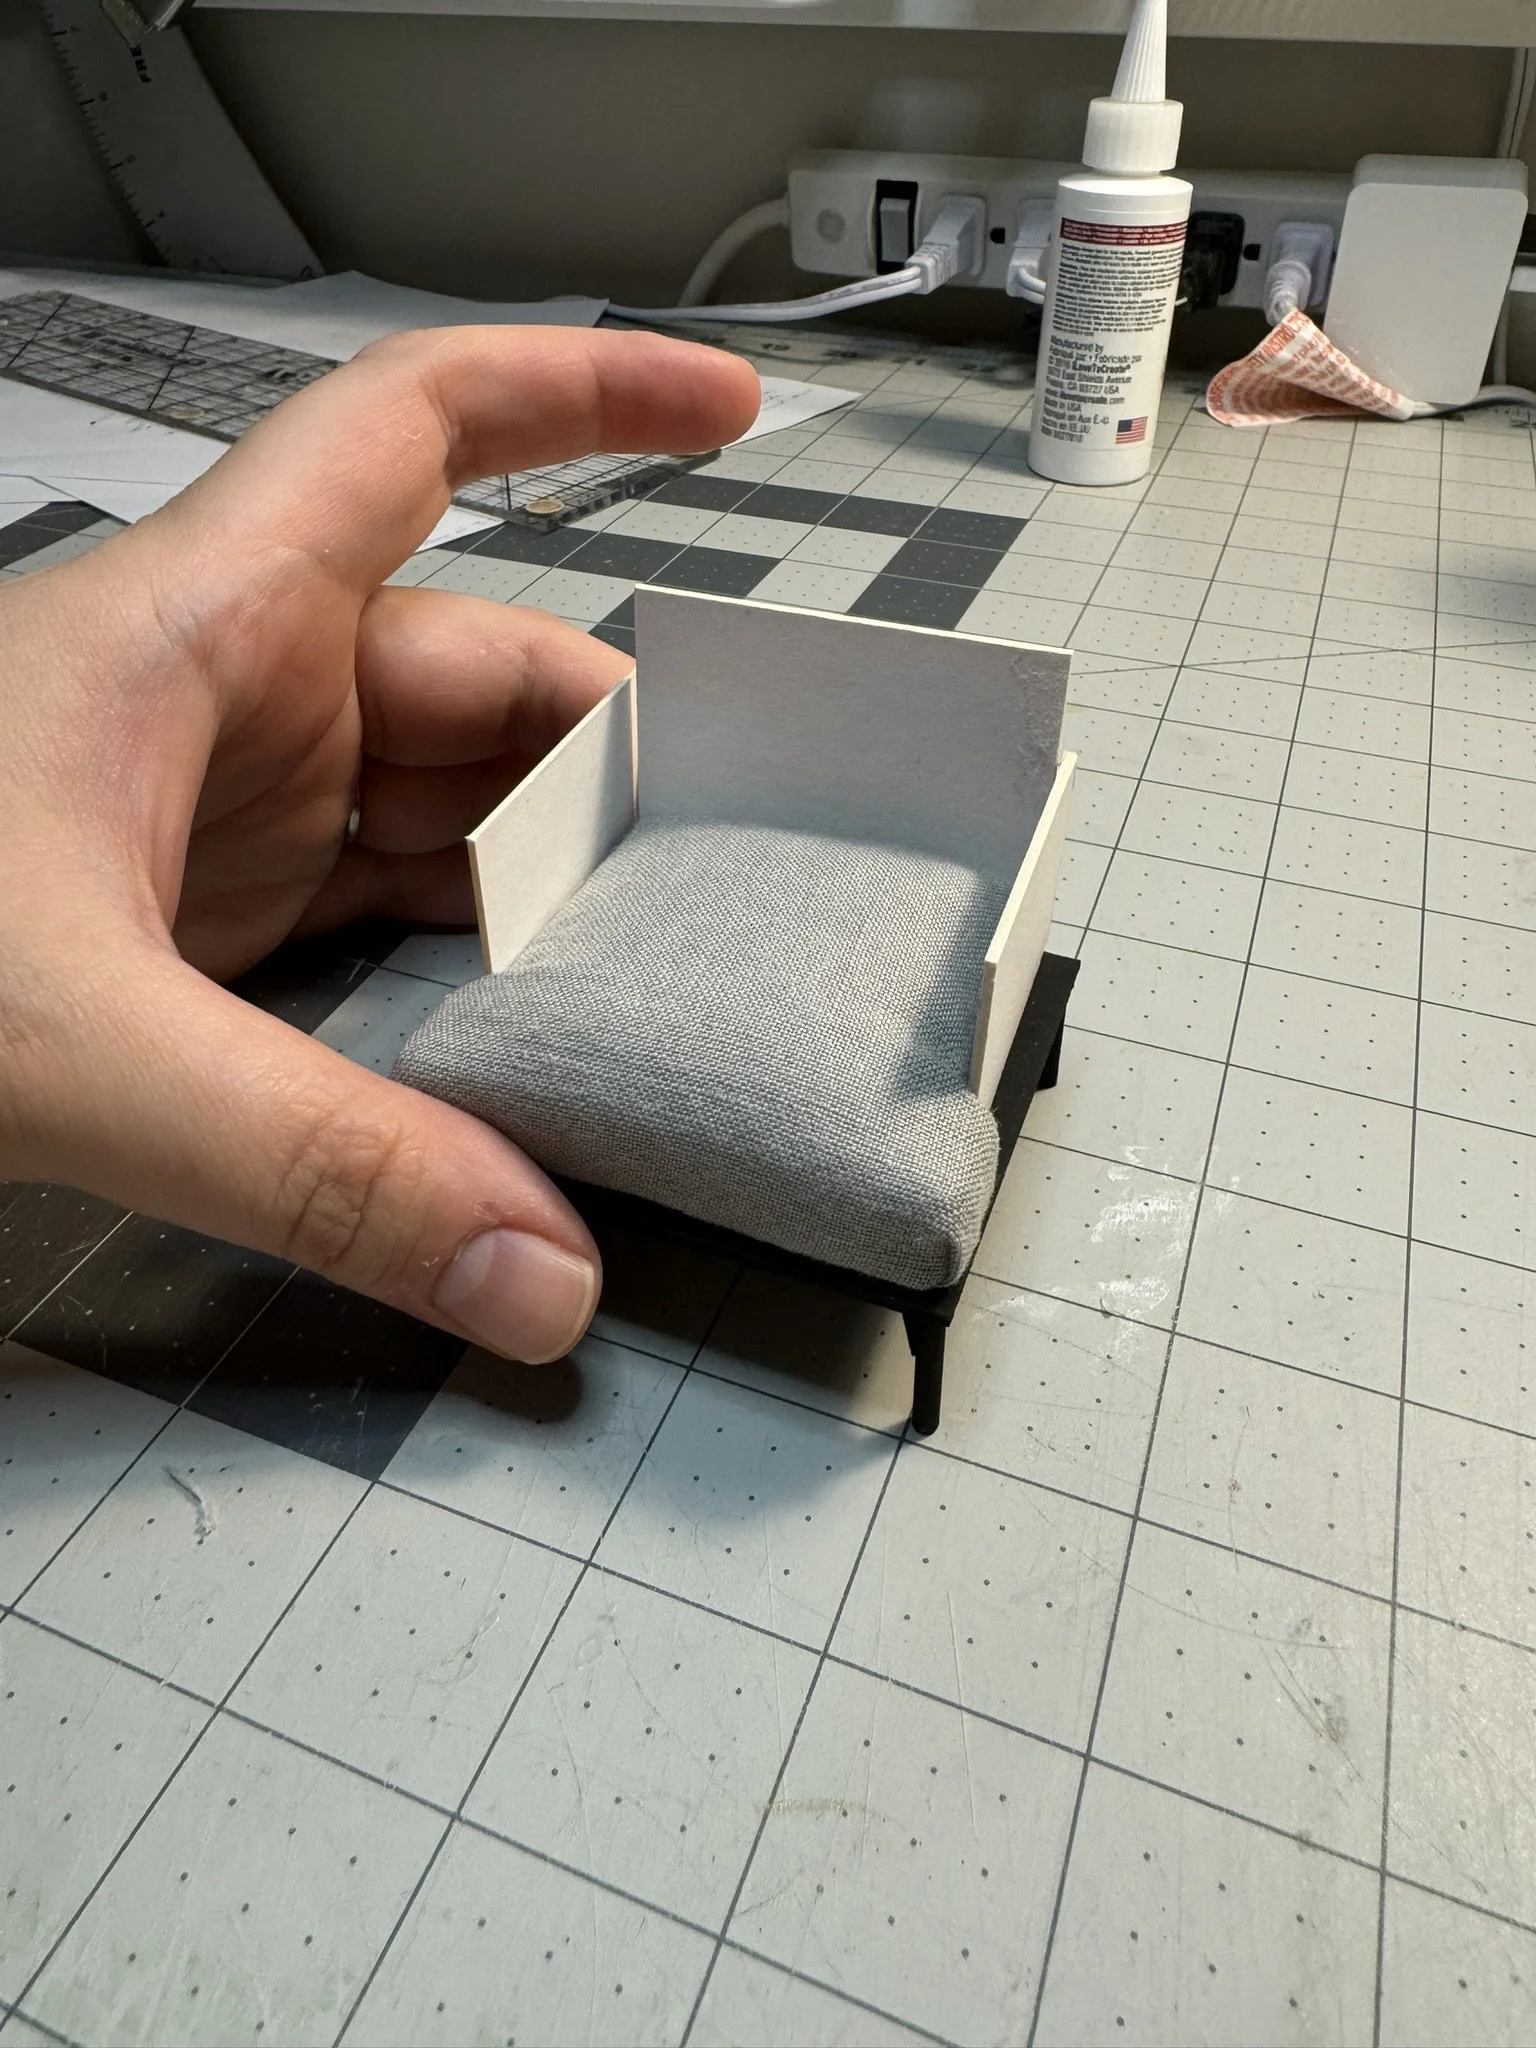
Assemble Your Chair
Glue the base cushion to the wood base, but keep the front long edge even with the front of the base. You’ll have an extra space around the sides and back for the arms and seat back to fit in.
Glue the back on next. I used a line of glue on the very bottom edge of the seat back, and along the “flat spot” that touches the seat cushion. Wait for that to dry well before doing the arms.
The arms will need to be glued in a similar way with a line of glue on the bottom and flat inside edges. I also added a dab of fabric glue to the corners where the top of the arms meet the back cushion. And an extra dab of hot glue for extra security along the inside notch!